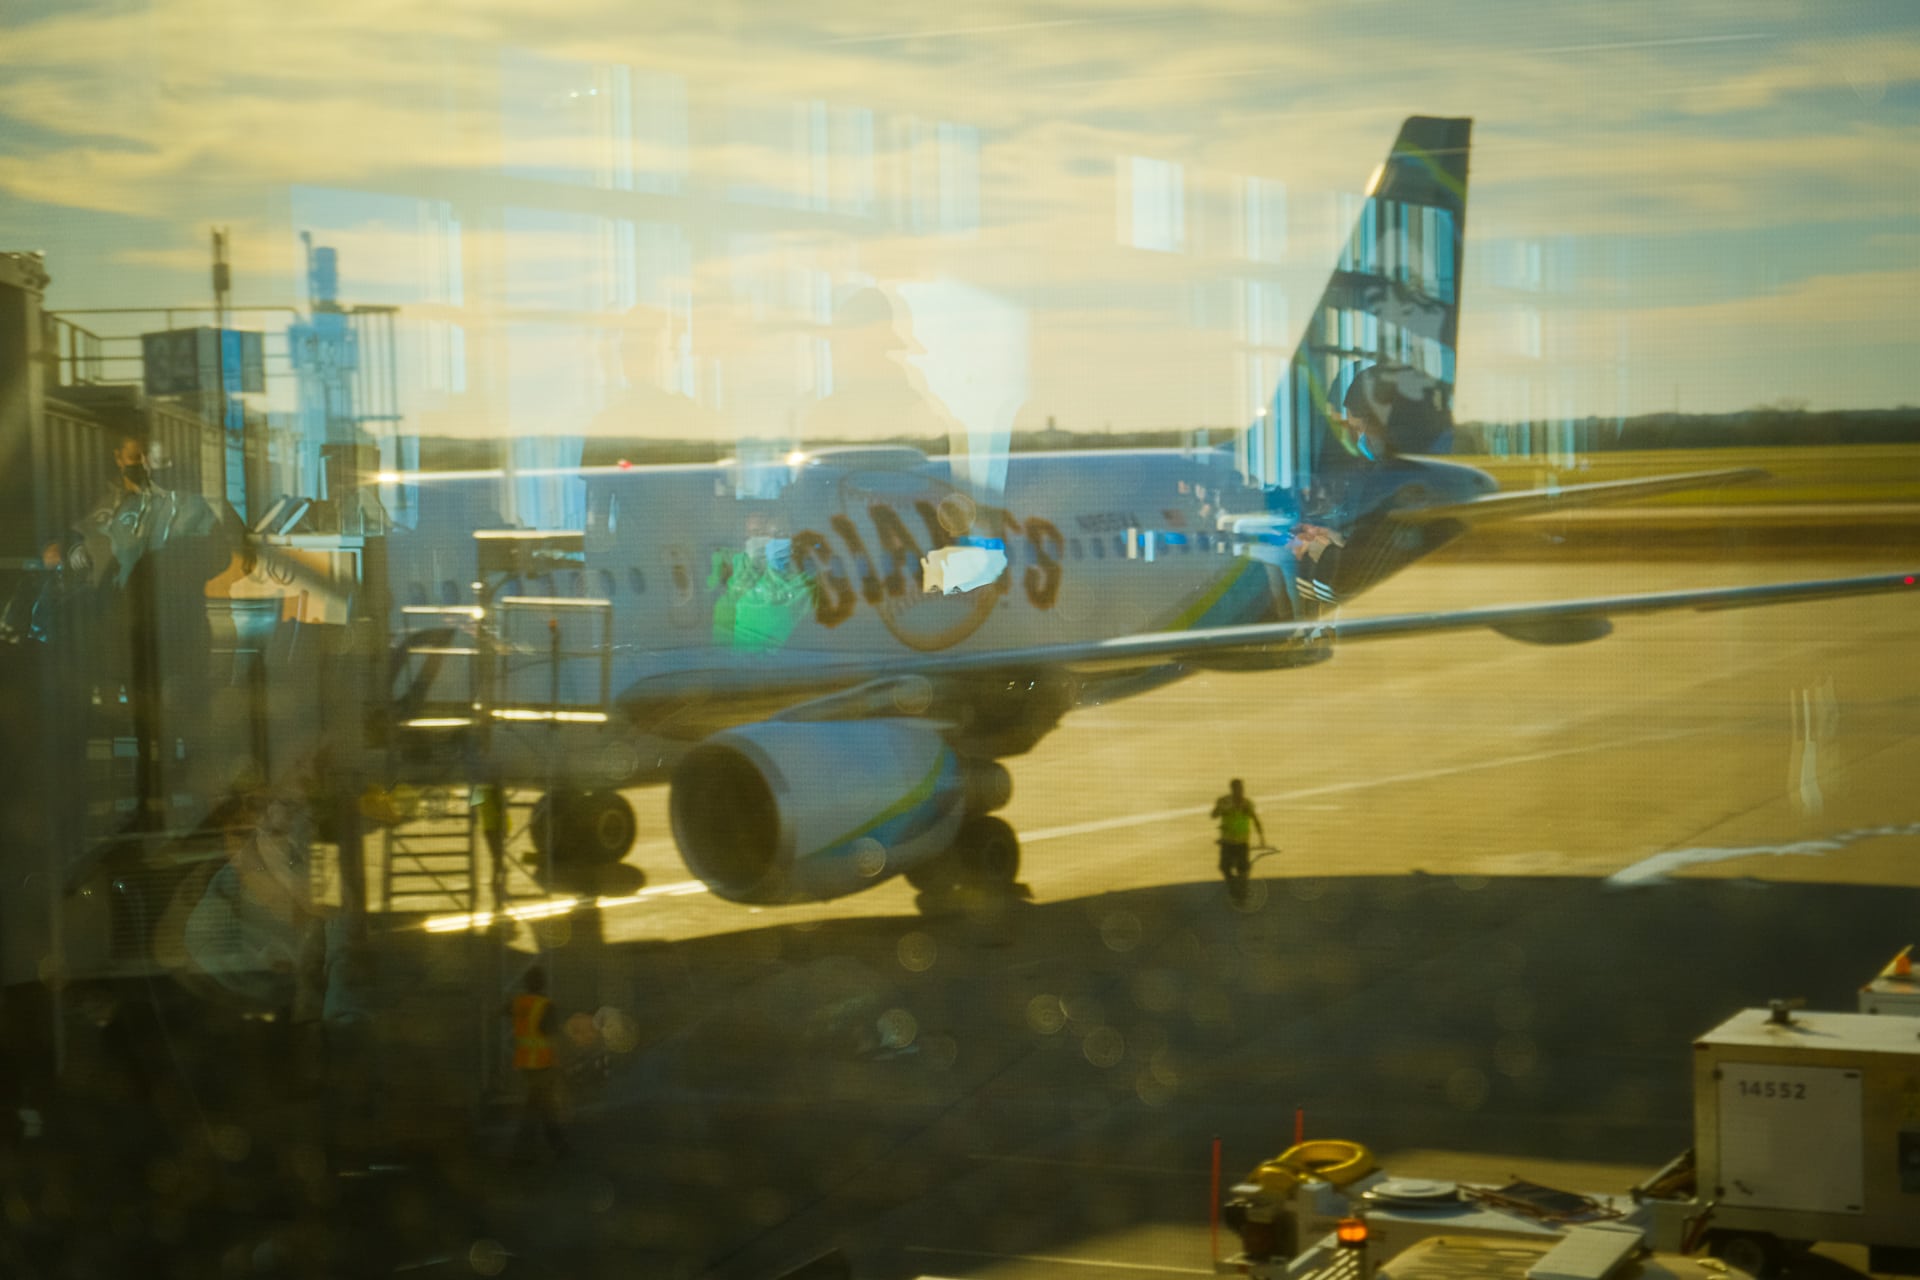
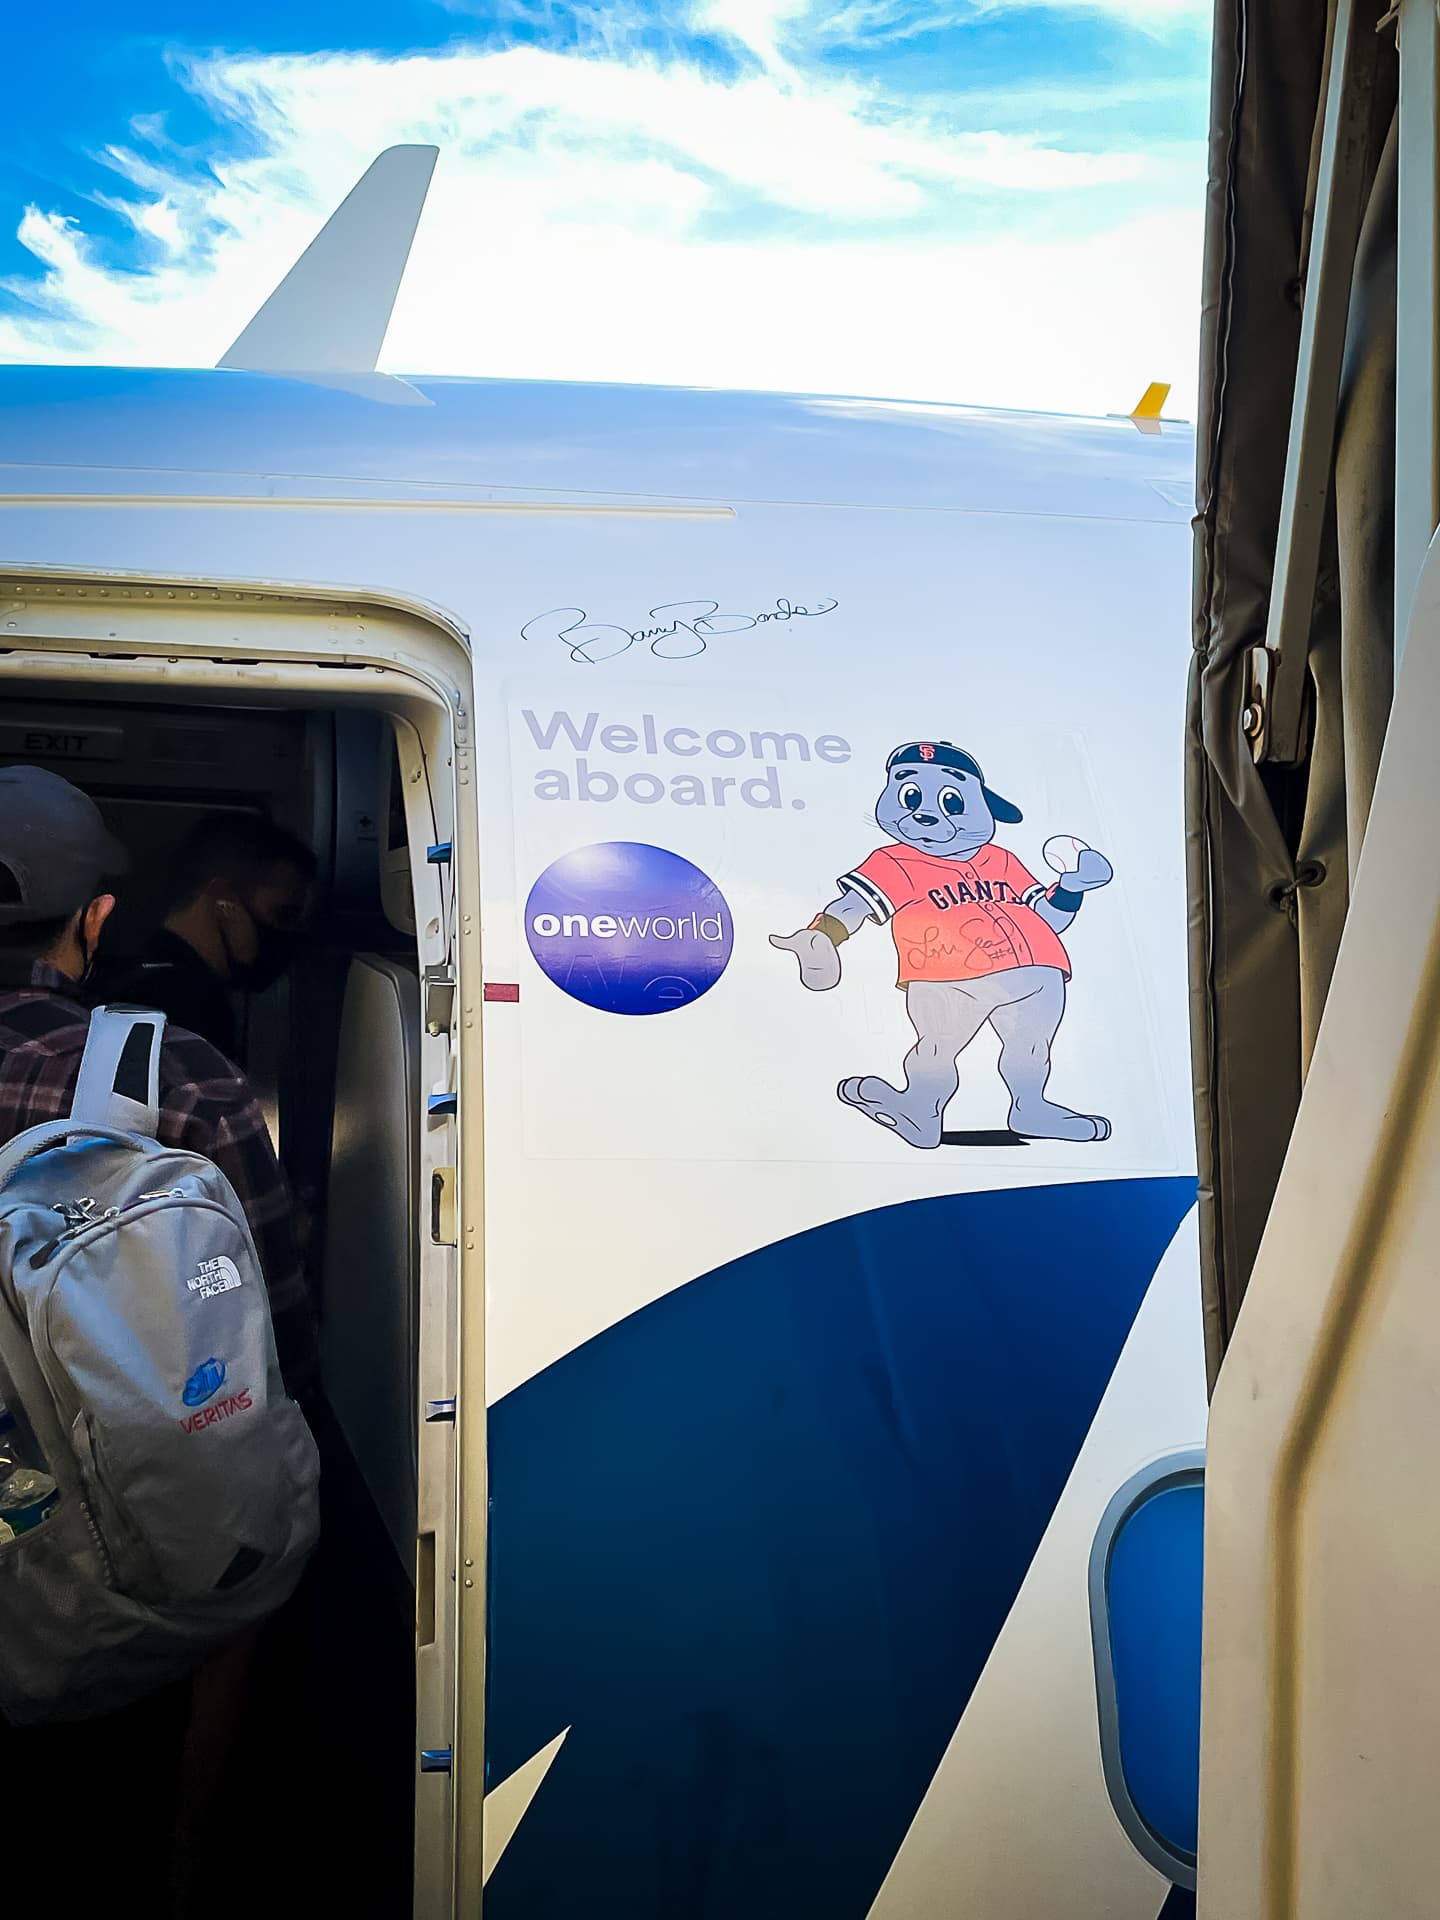
The airplane we are flying on is sporting a San Francisco Giants logo, which is weird since we are traveling from Austin to Los Angeles. I wouldn’t be surprised if we’re refused landing by the control tower at LAX!
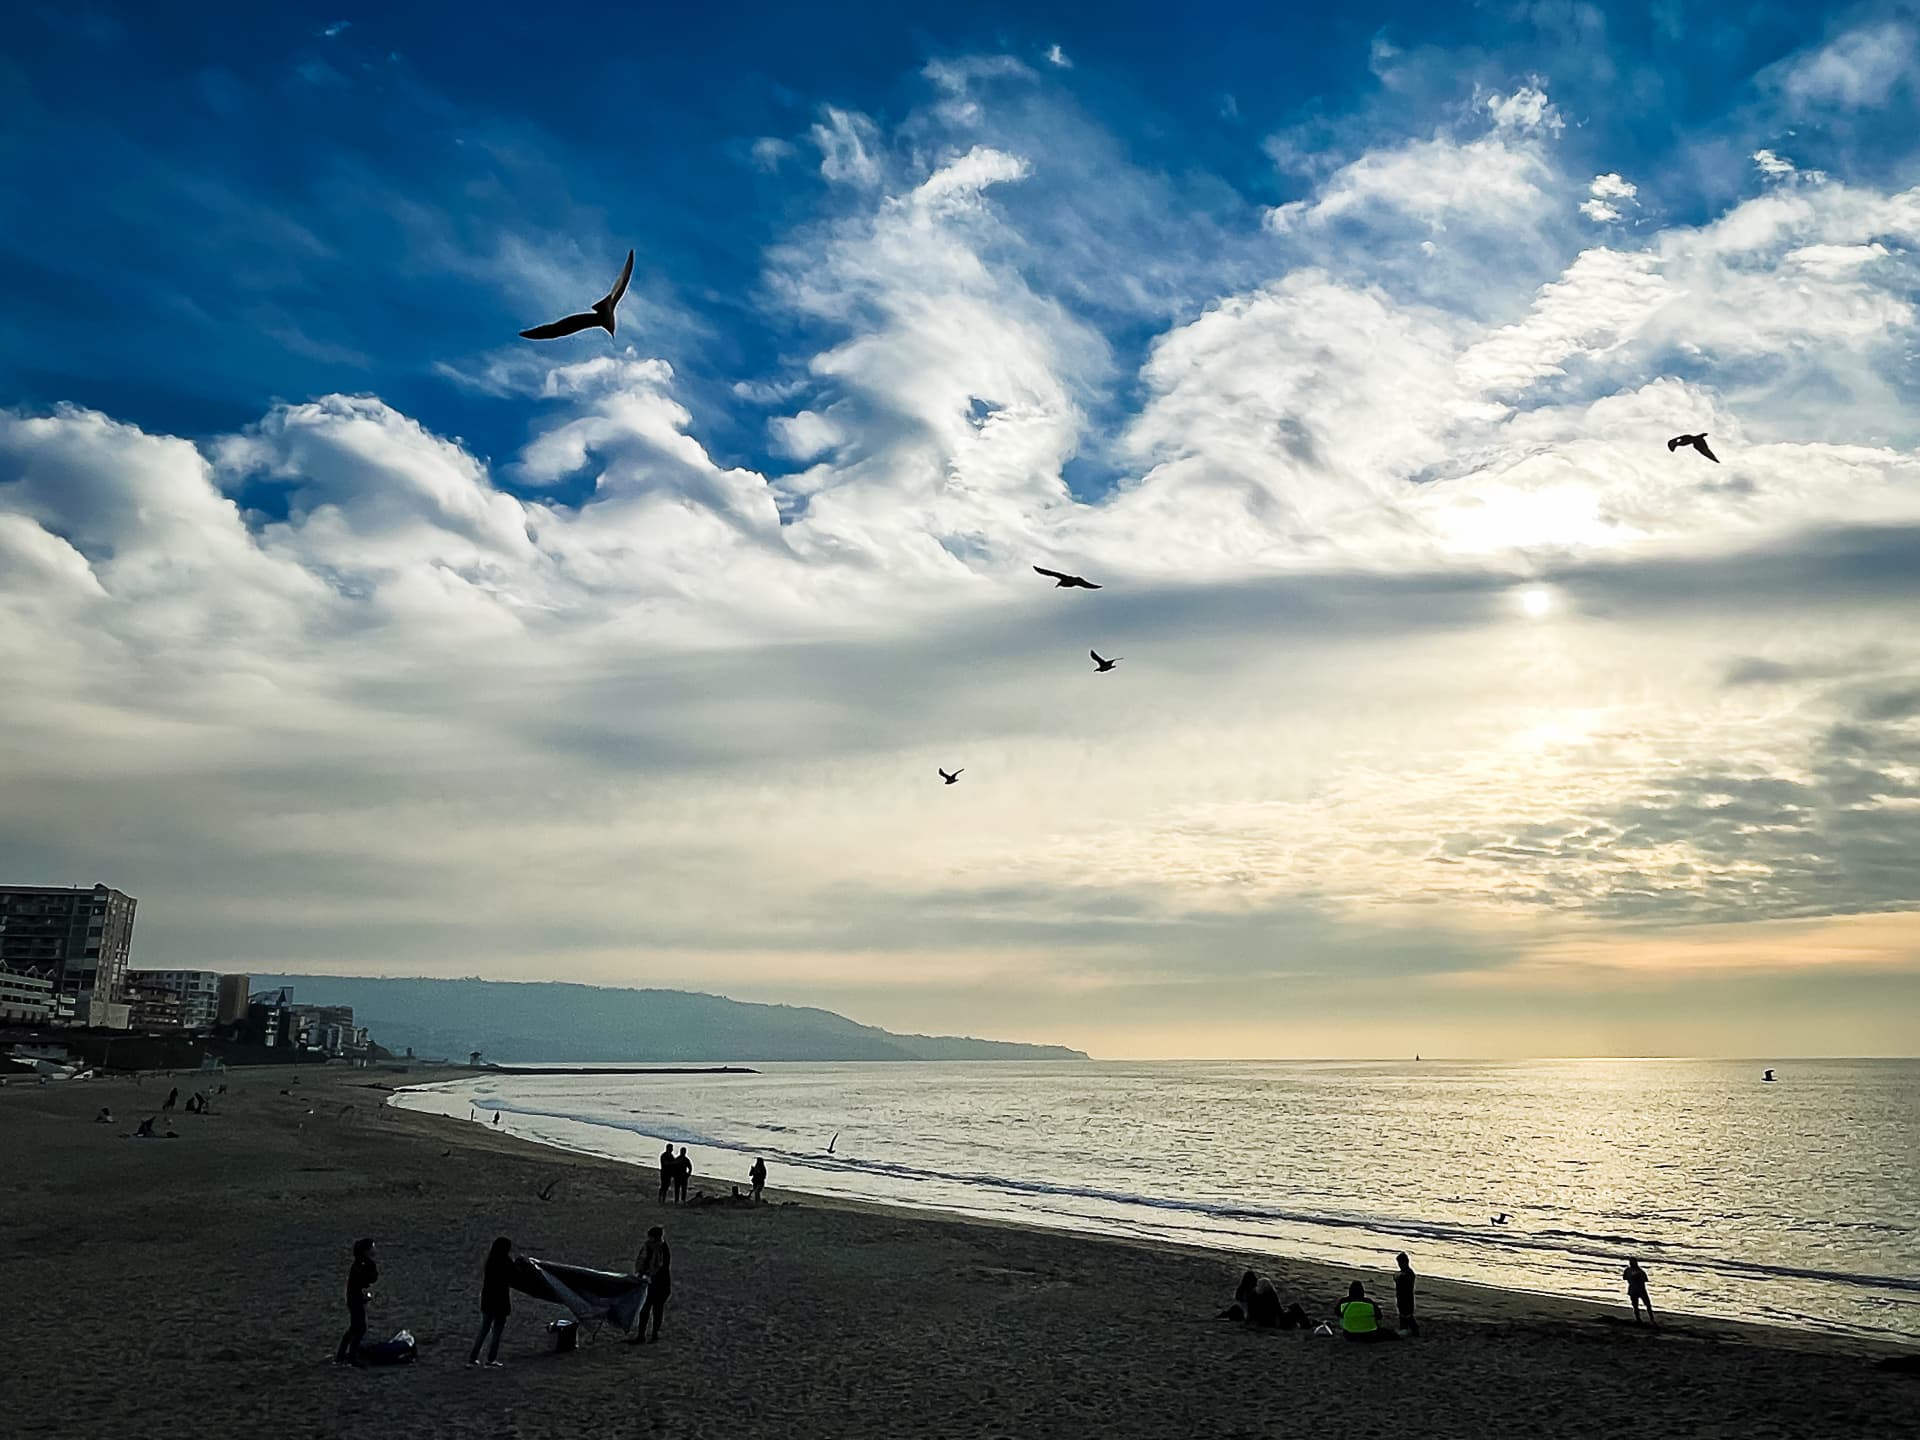
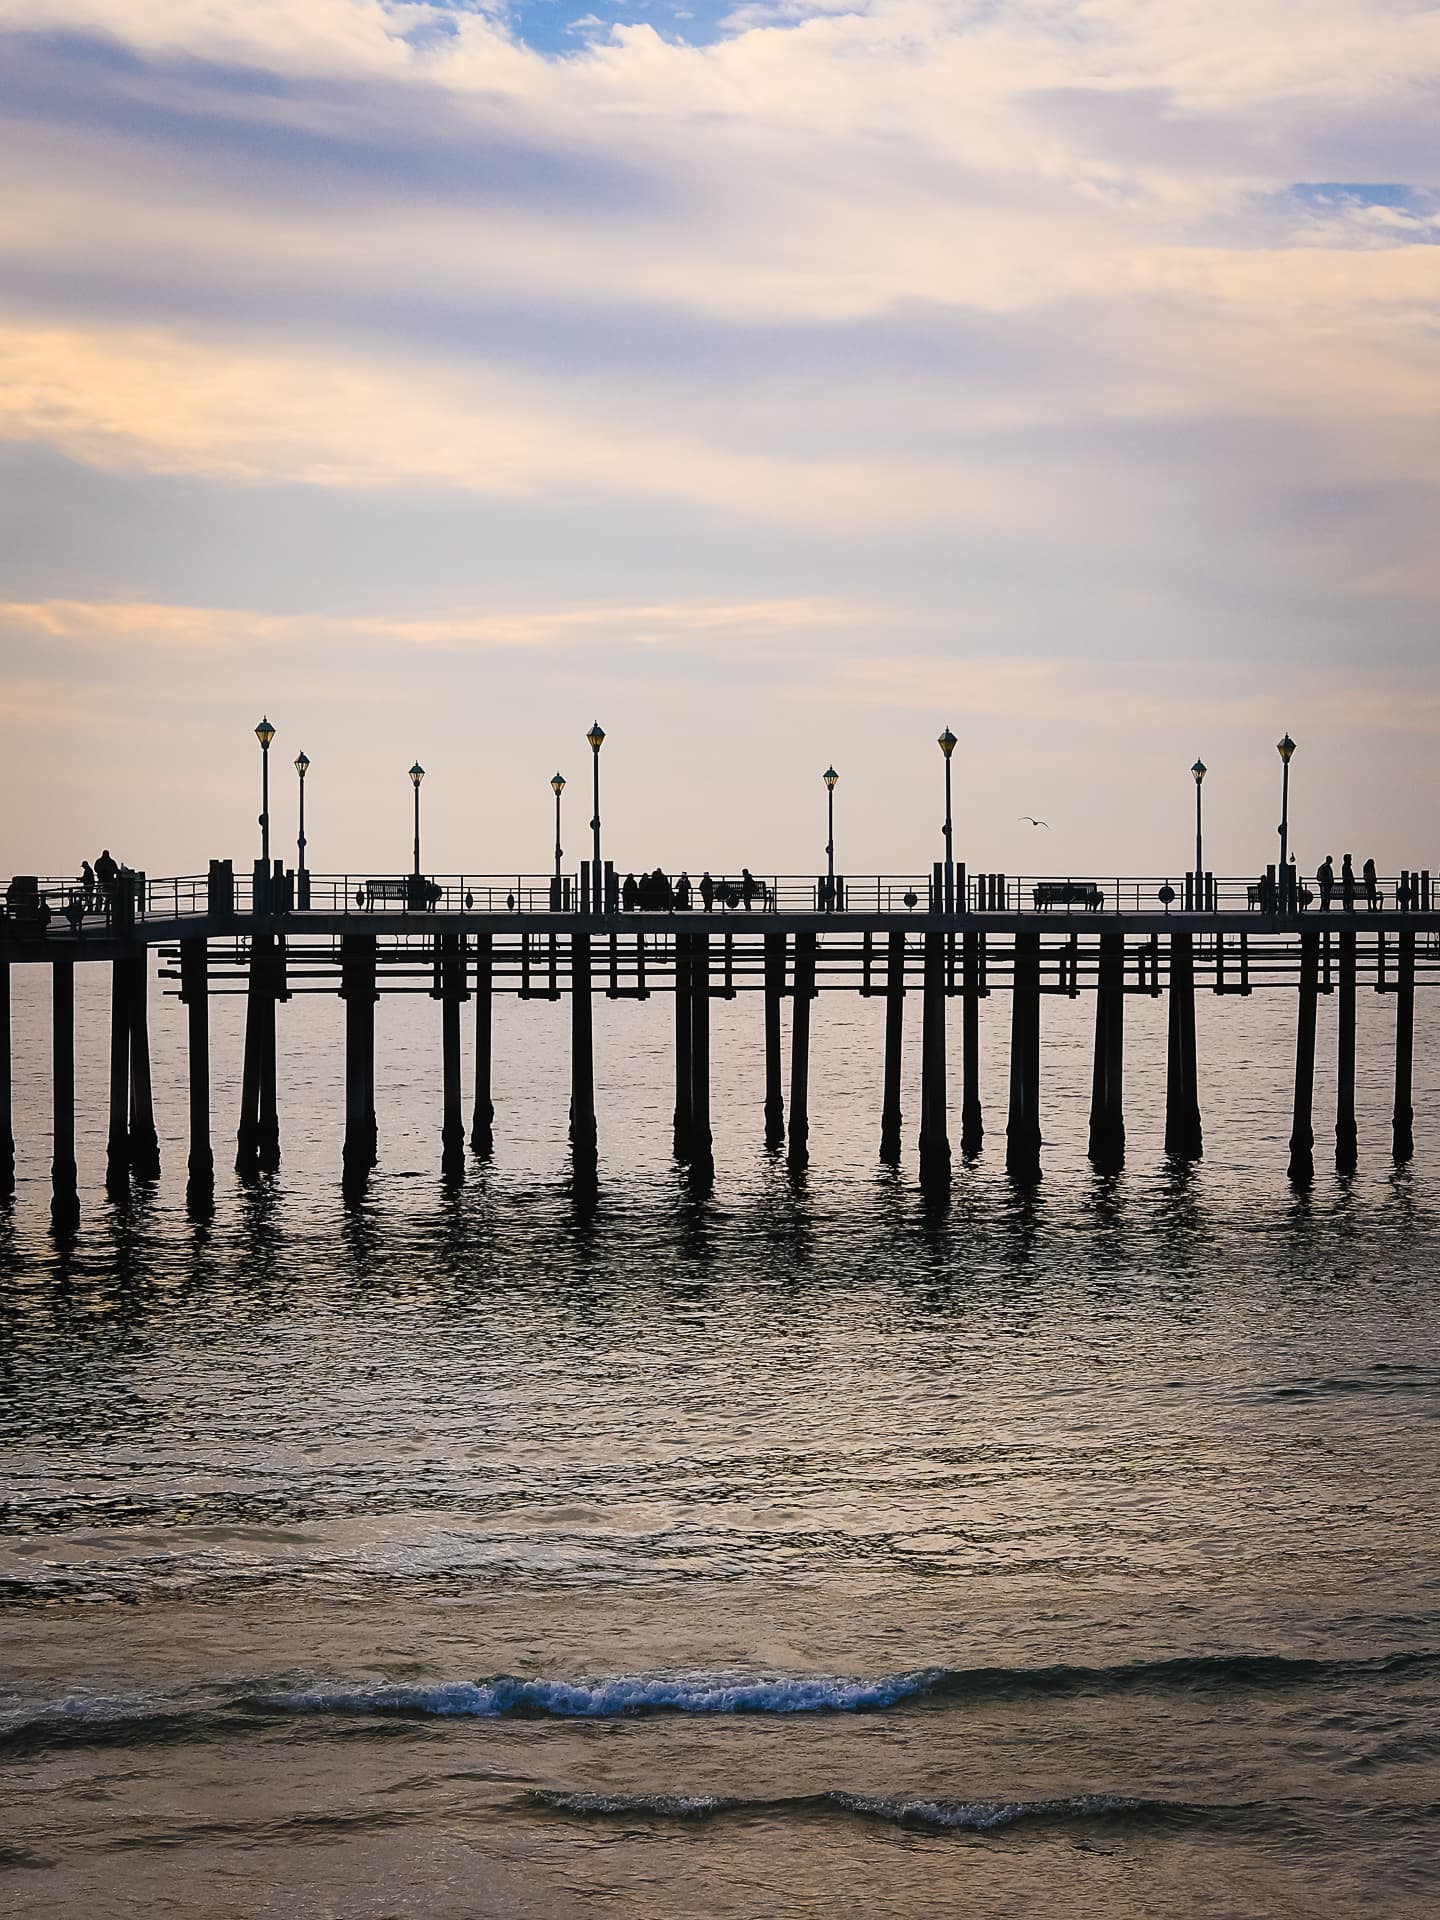
Photo info: Apple iPhone 12 mini, 1.55mm, f/2.4, 1/1800 sec, ISO25 “Horseshoe” Redondo Beach, 2021
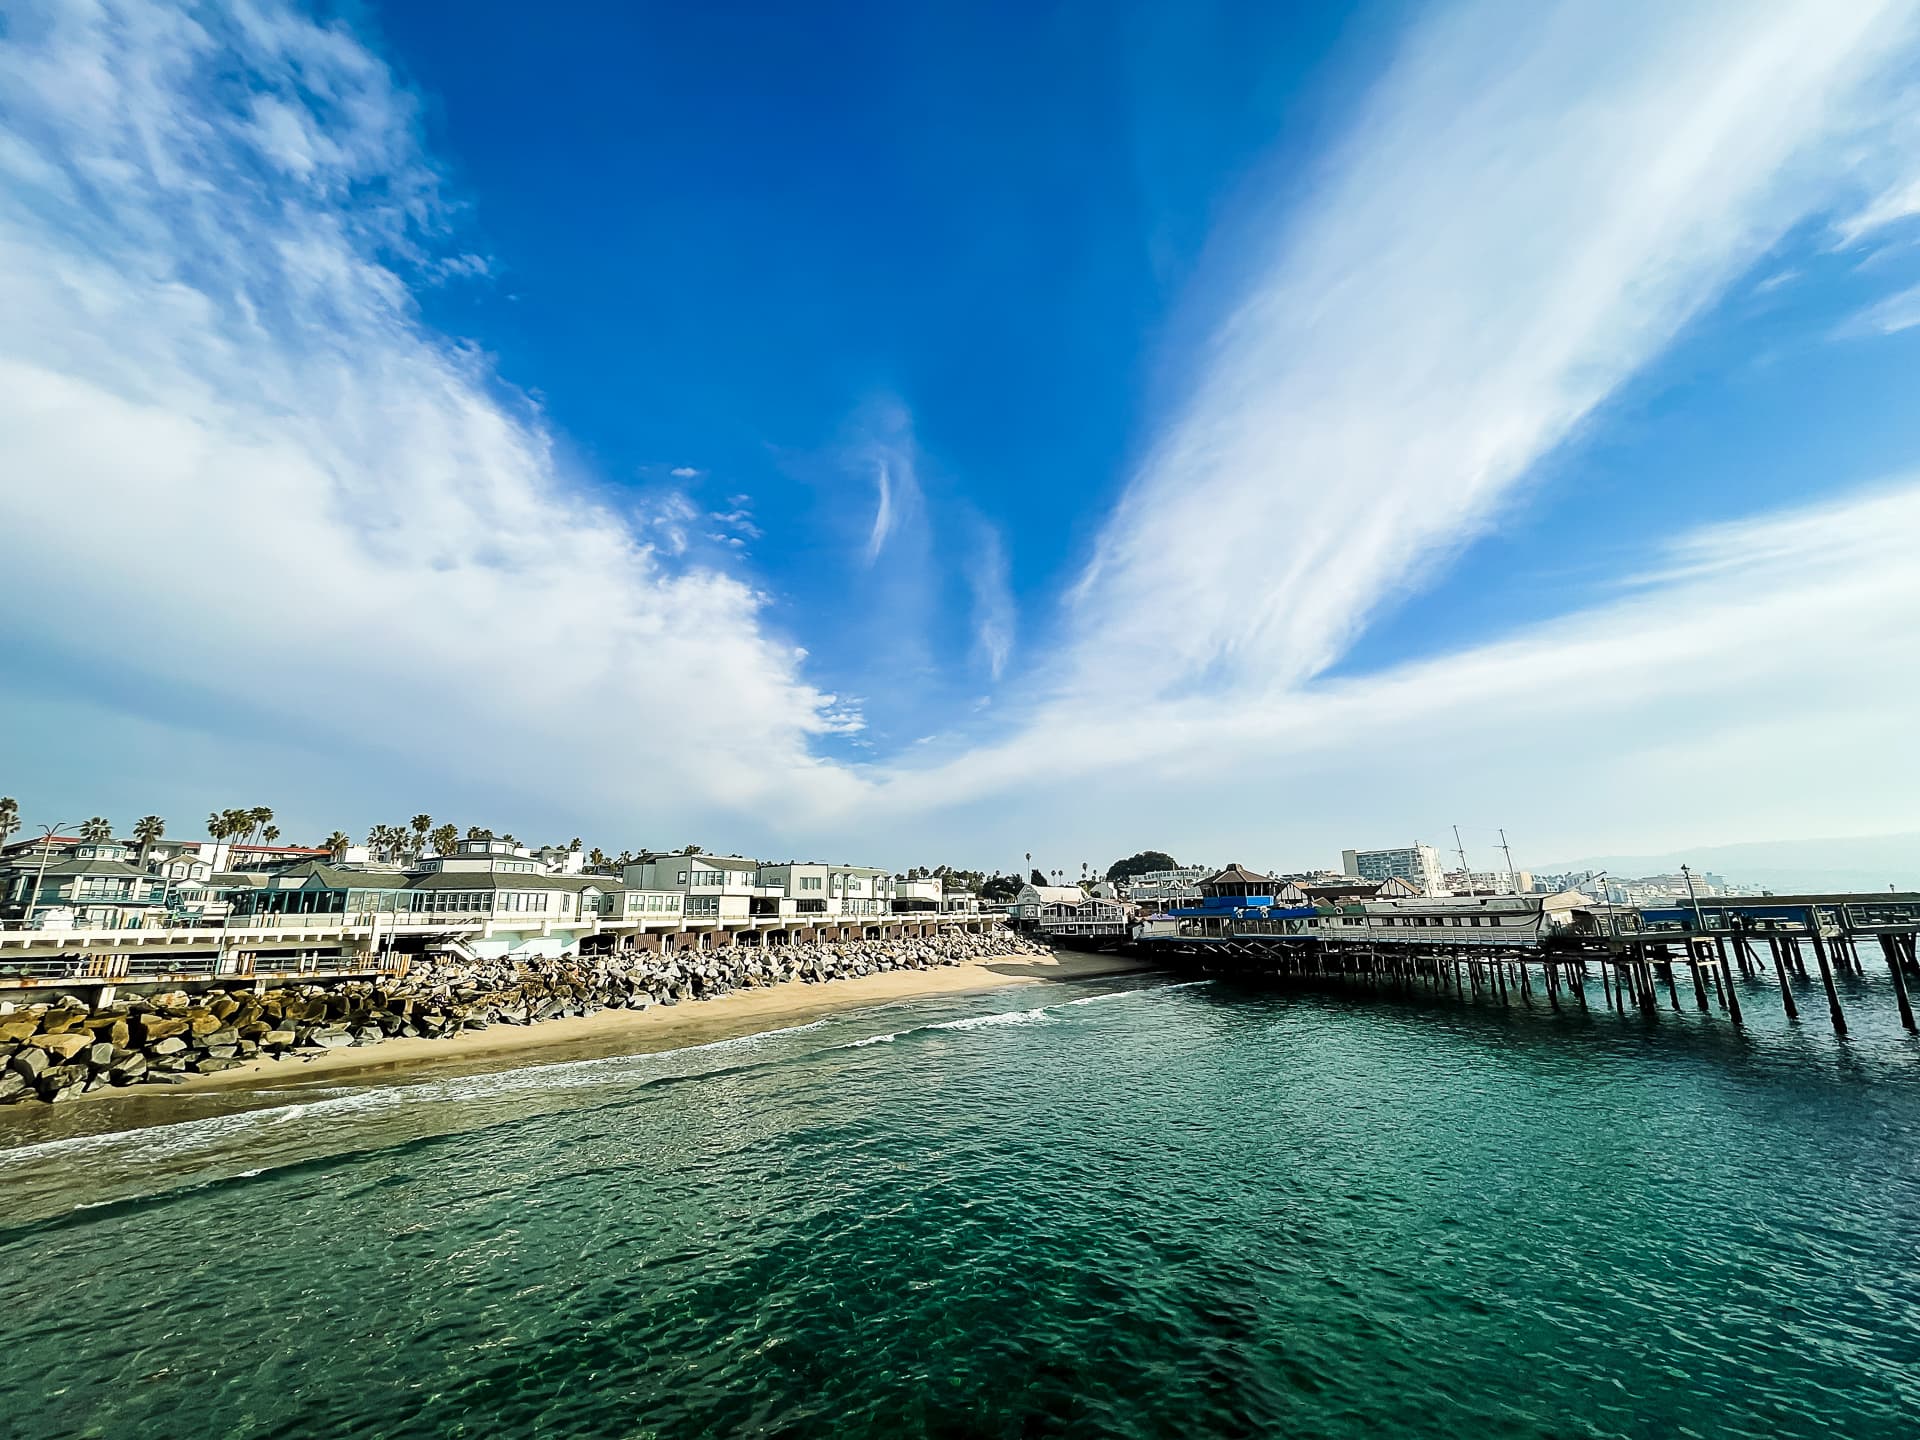
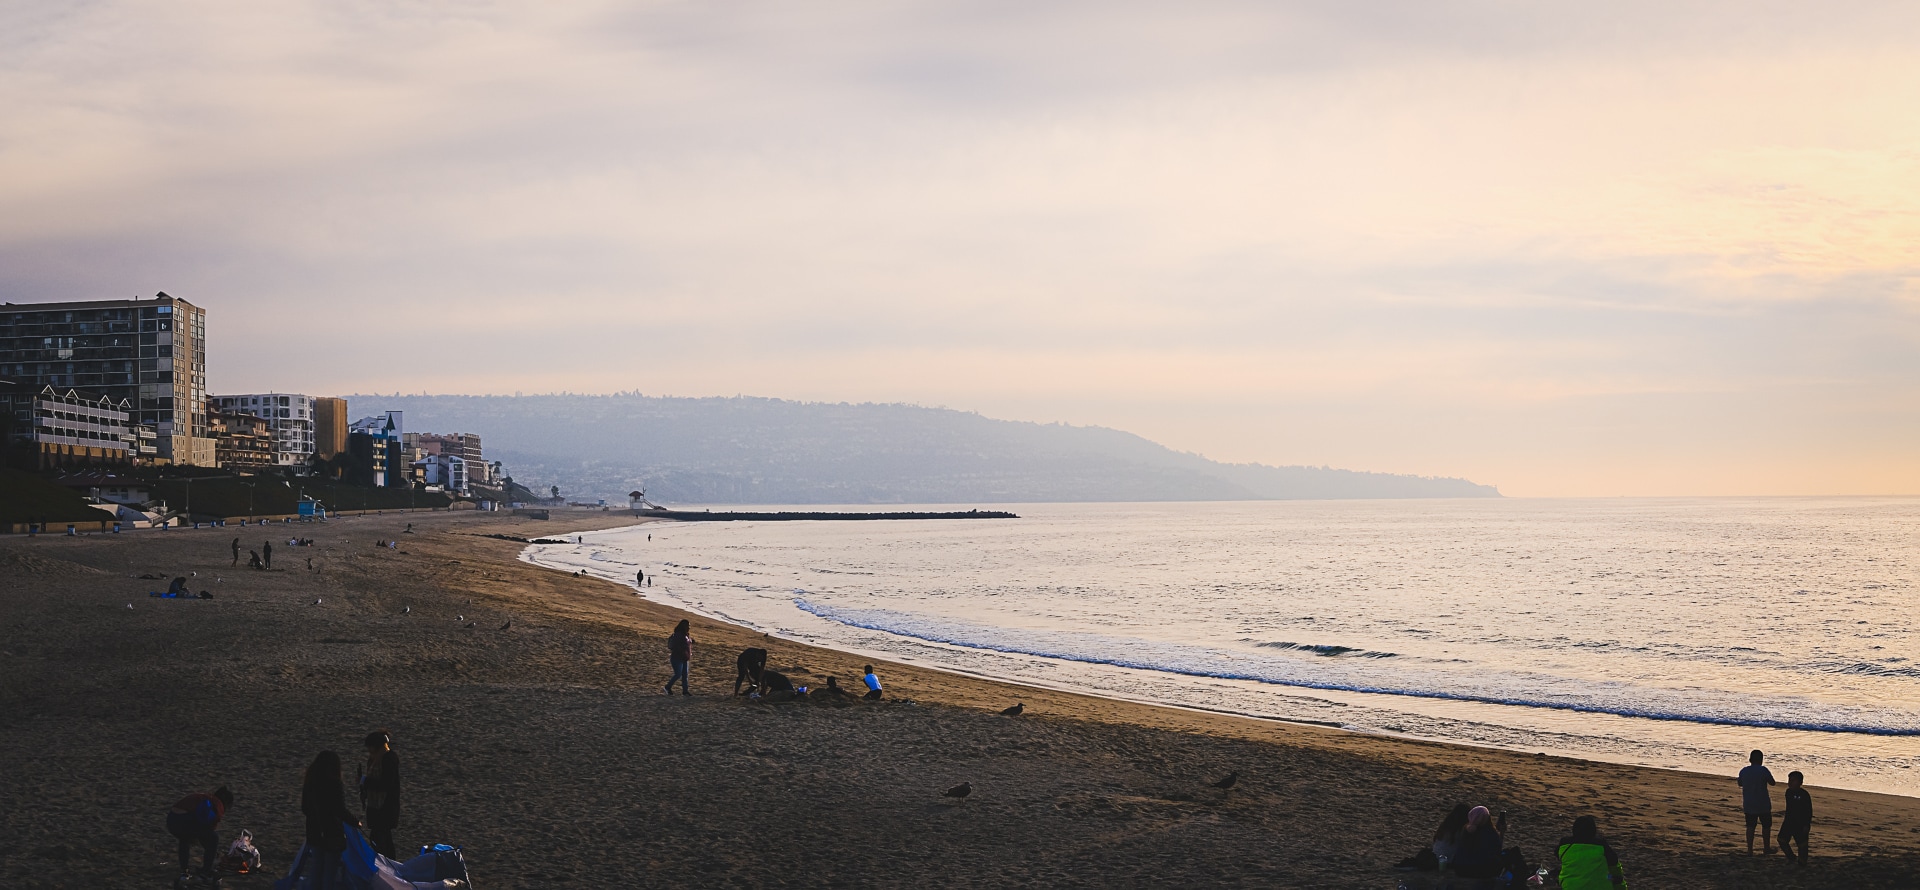
Today Mariko and I went down to the Redondo Beach Pier to walk around for a bit. We come here every year it seems, and it has stayed relatively the same all this time. Of course there are a few changes, such as the Fun Factory being gone, but landmarks such as Quality Seafood, Naja’s, and Tony’s still remain. 😊
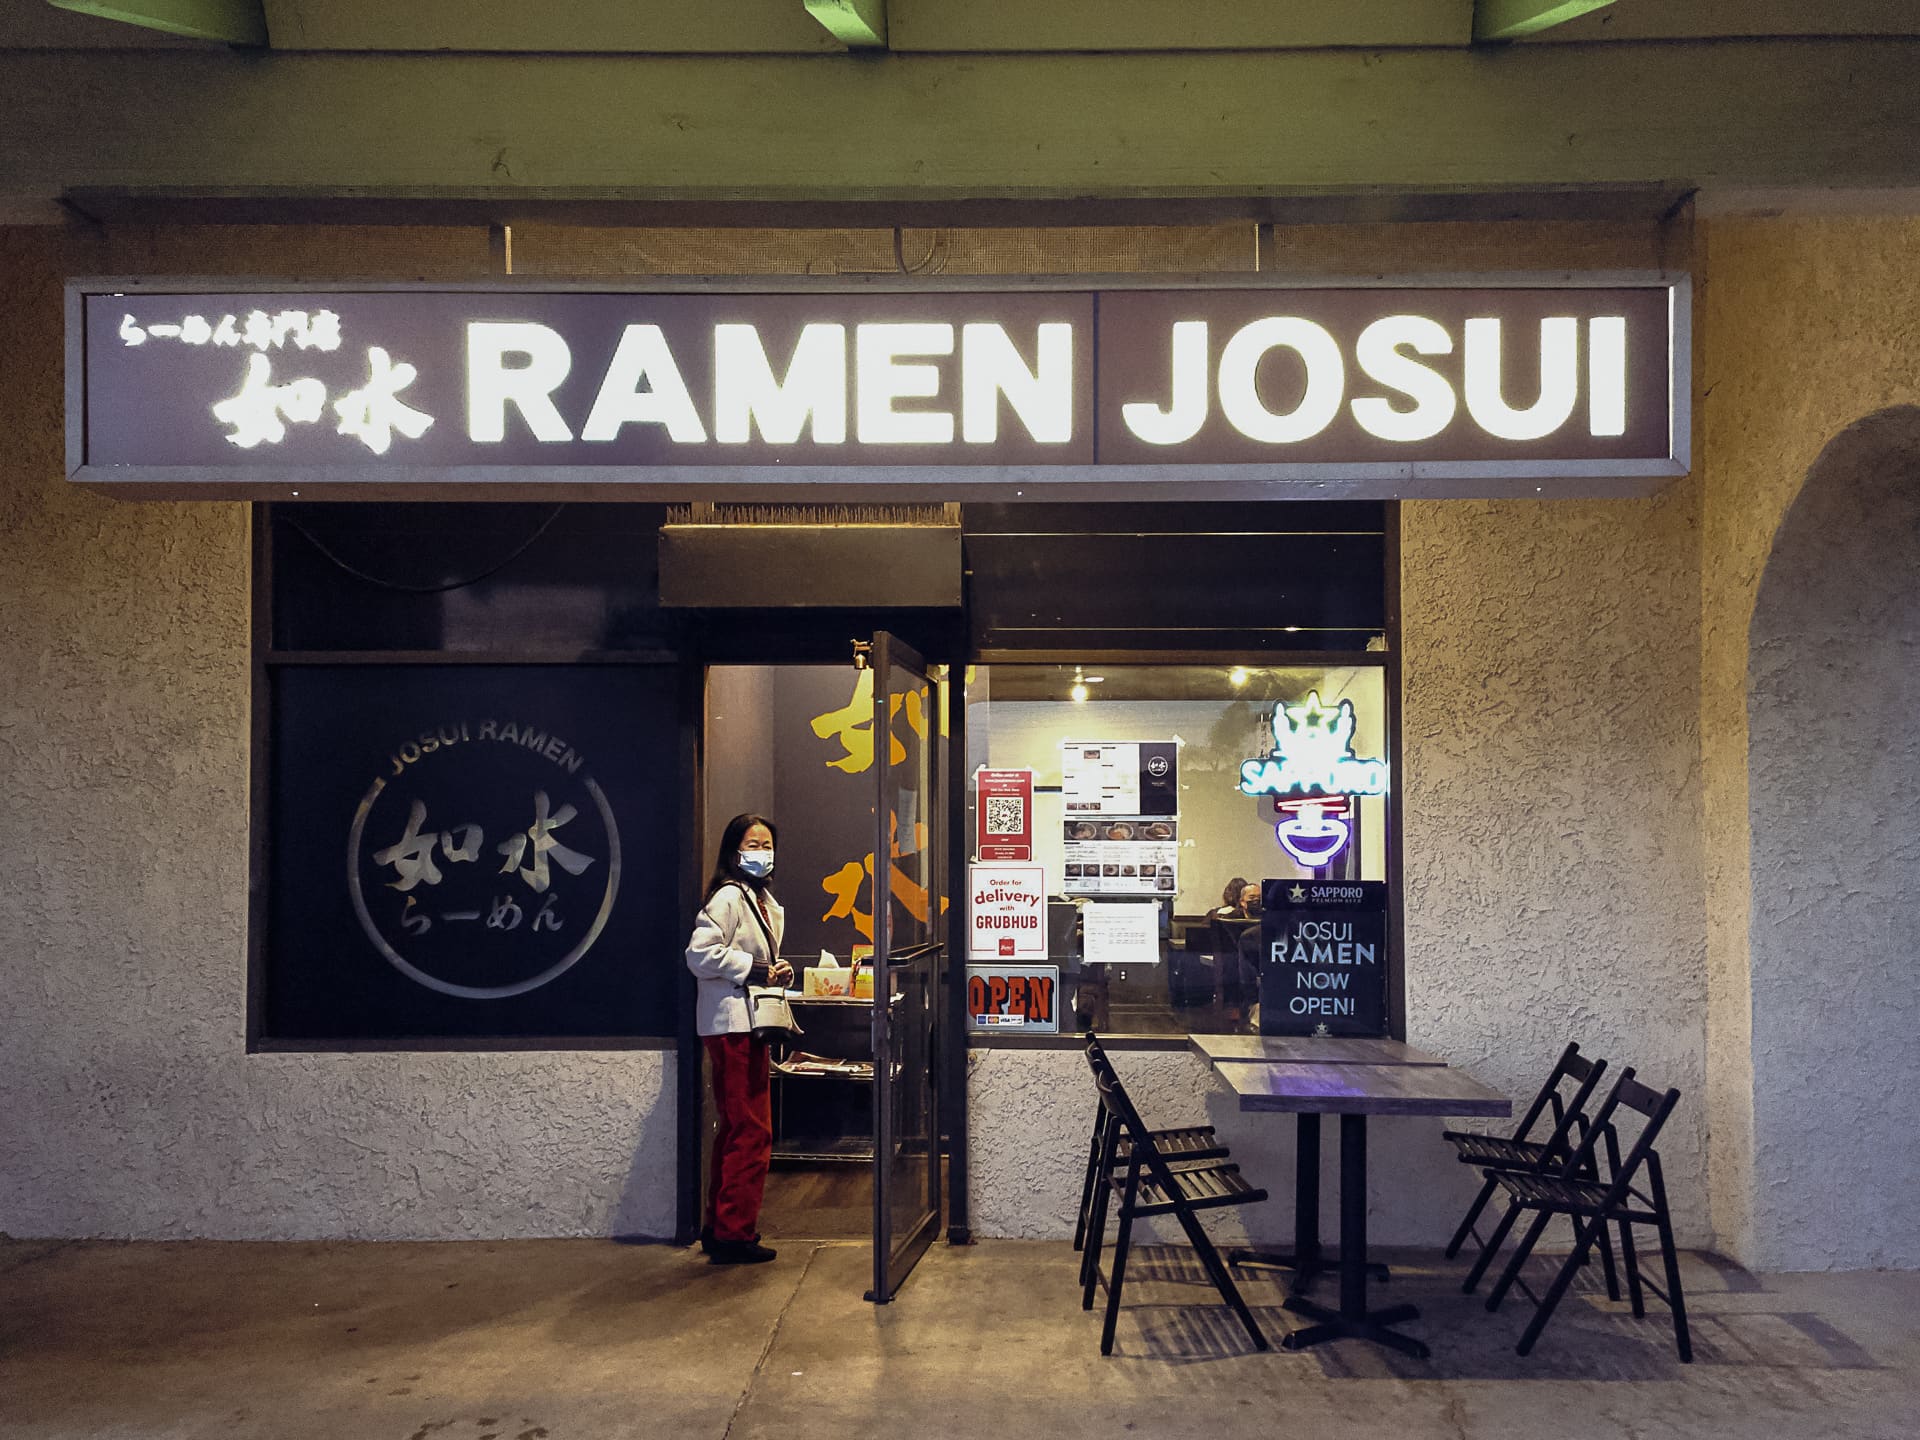
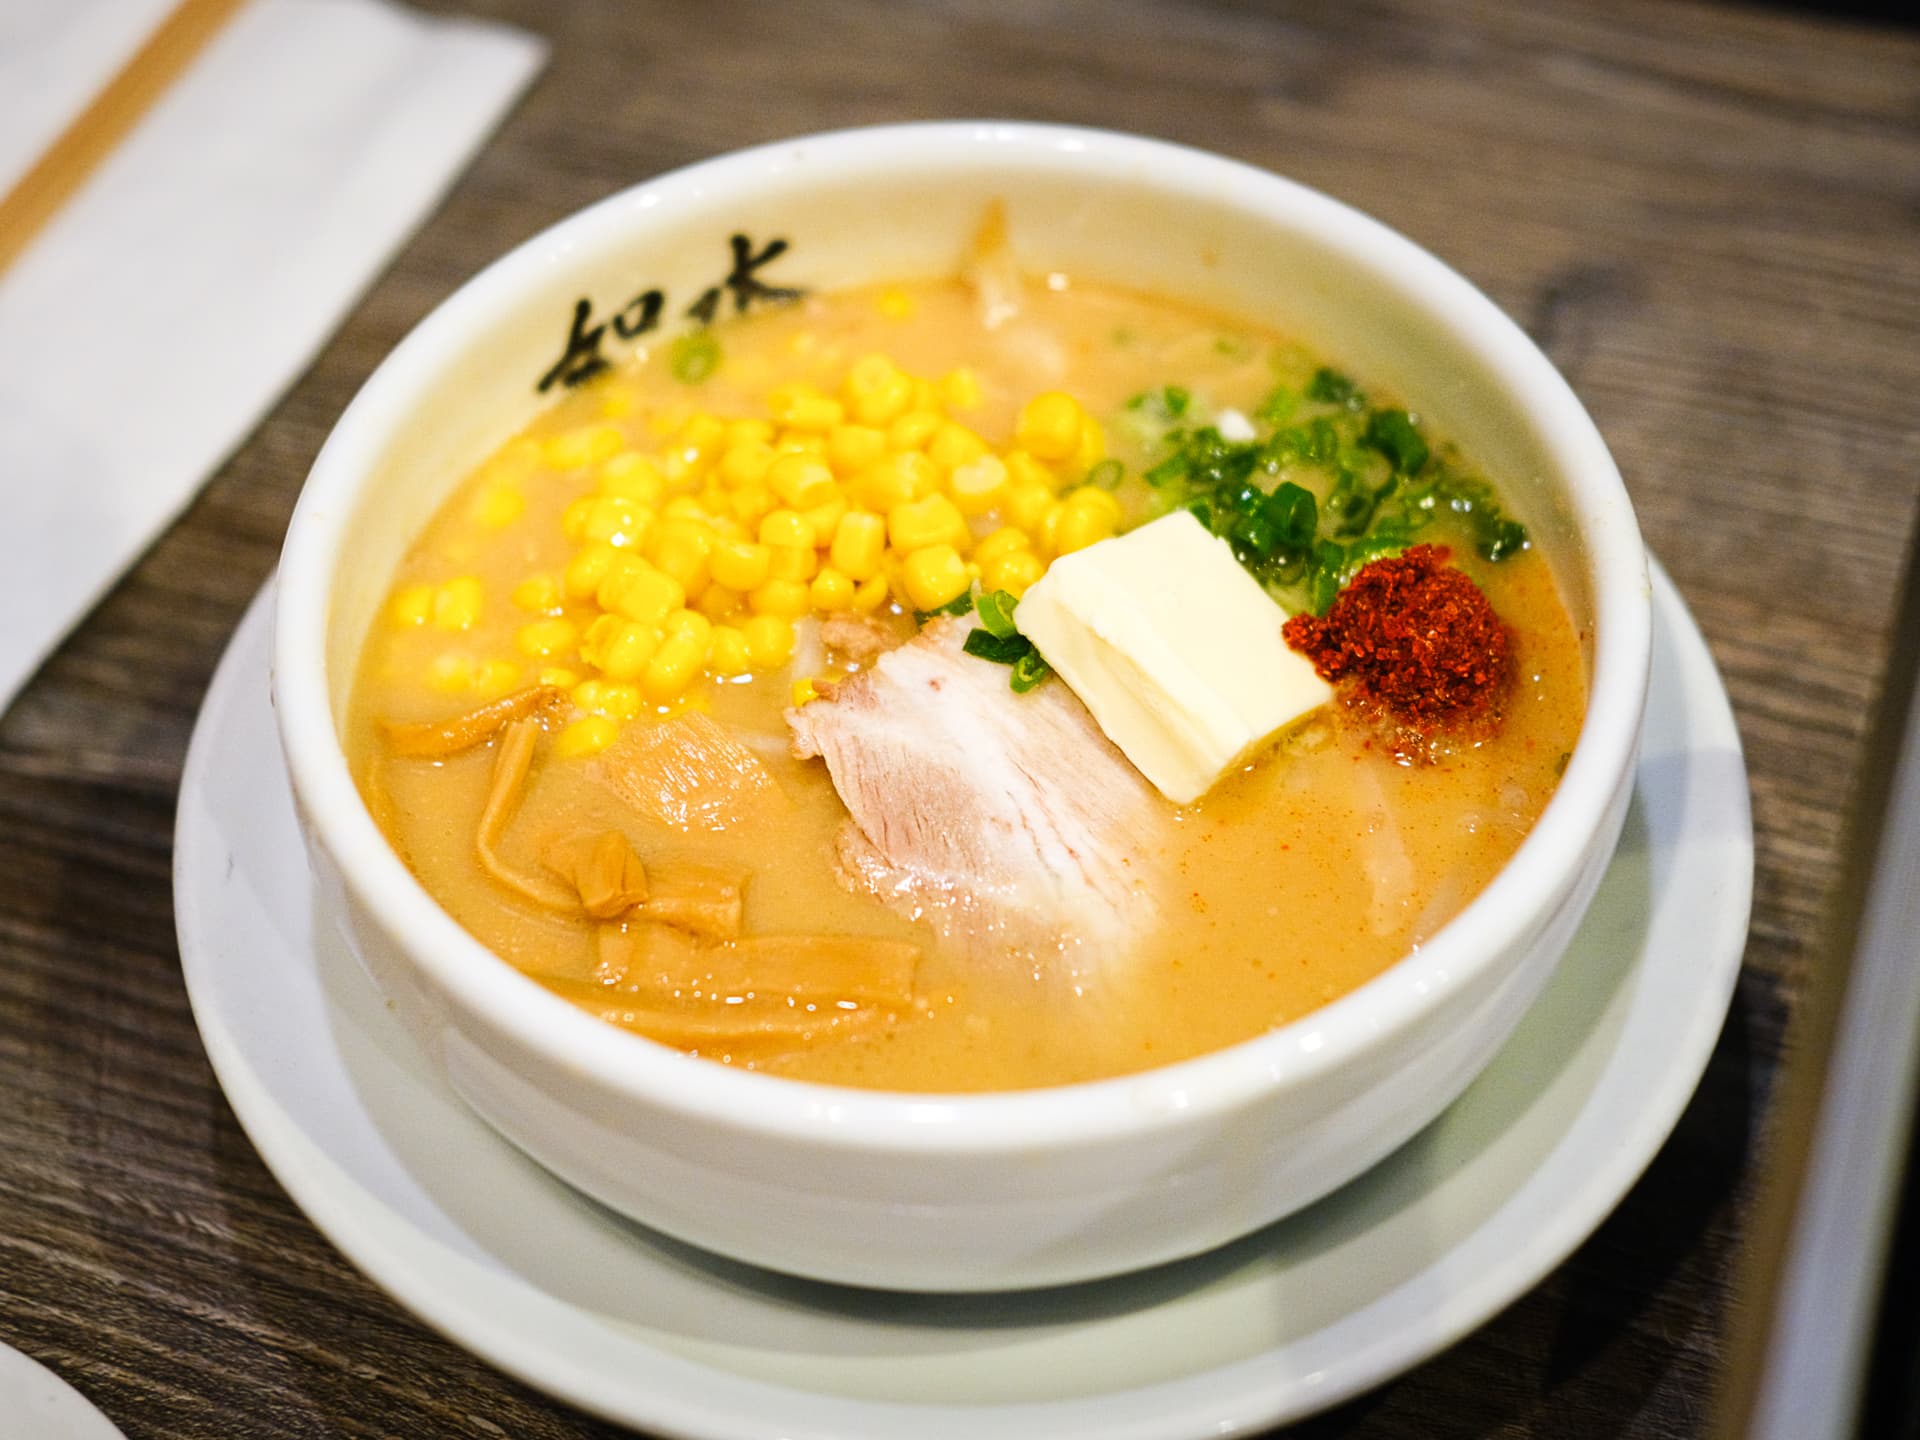
Usually one of the first meals we have when we visit family in Torrance is CoCo Ichibanya curry, but this year we opted to try Josui Ramen. It was yummy! The service wasn’t the best (and the timing of when the food came out was not optimal), but the portions were large and the broth was delicious and very hot. Recommended!
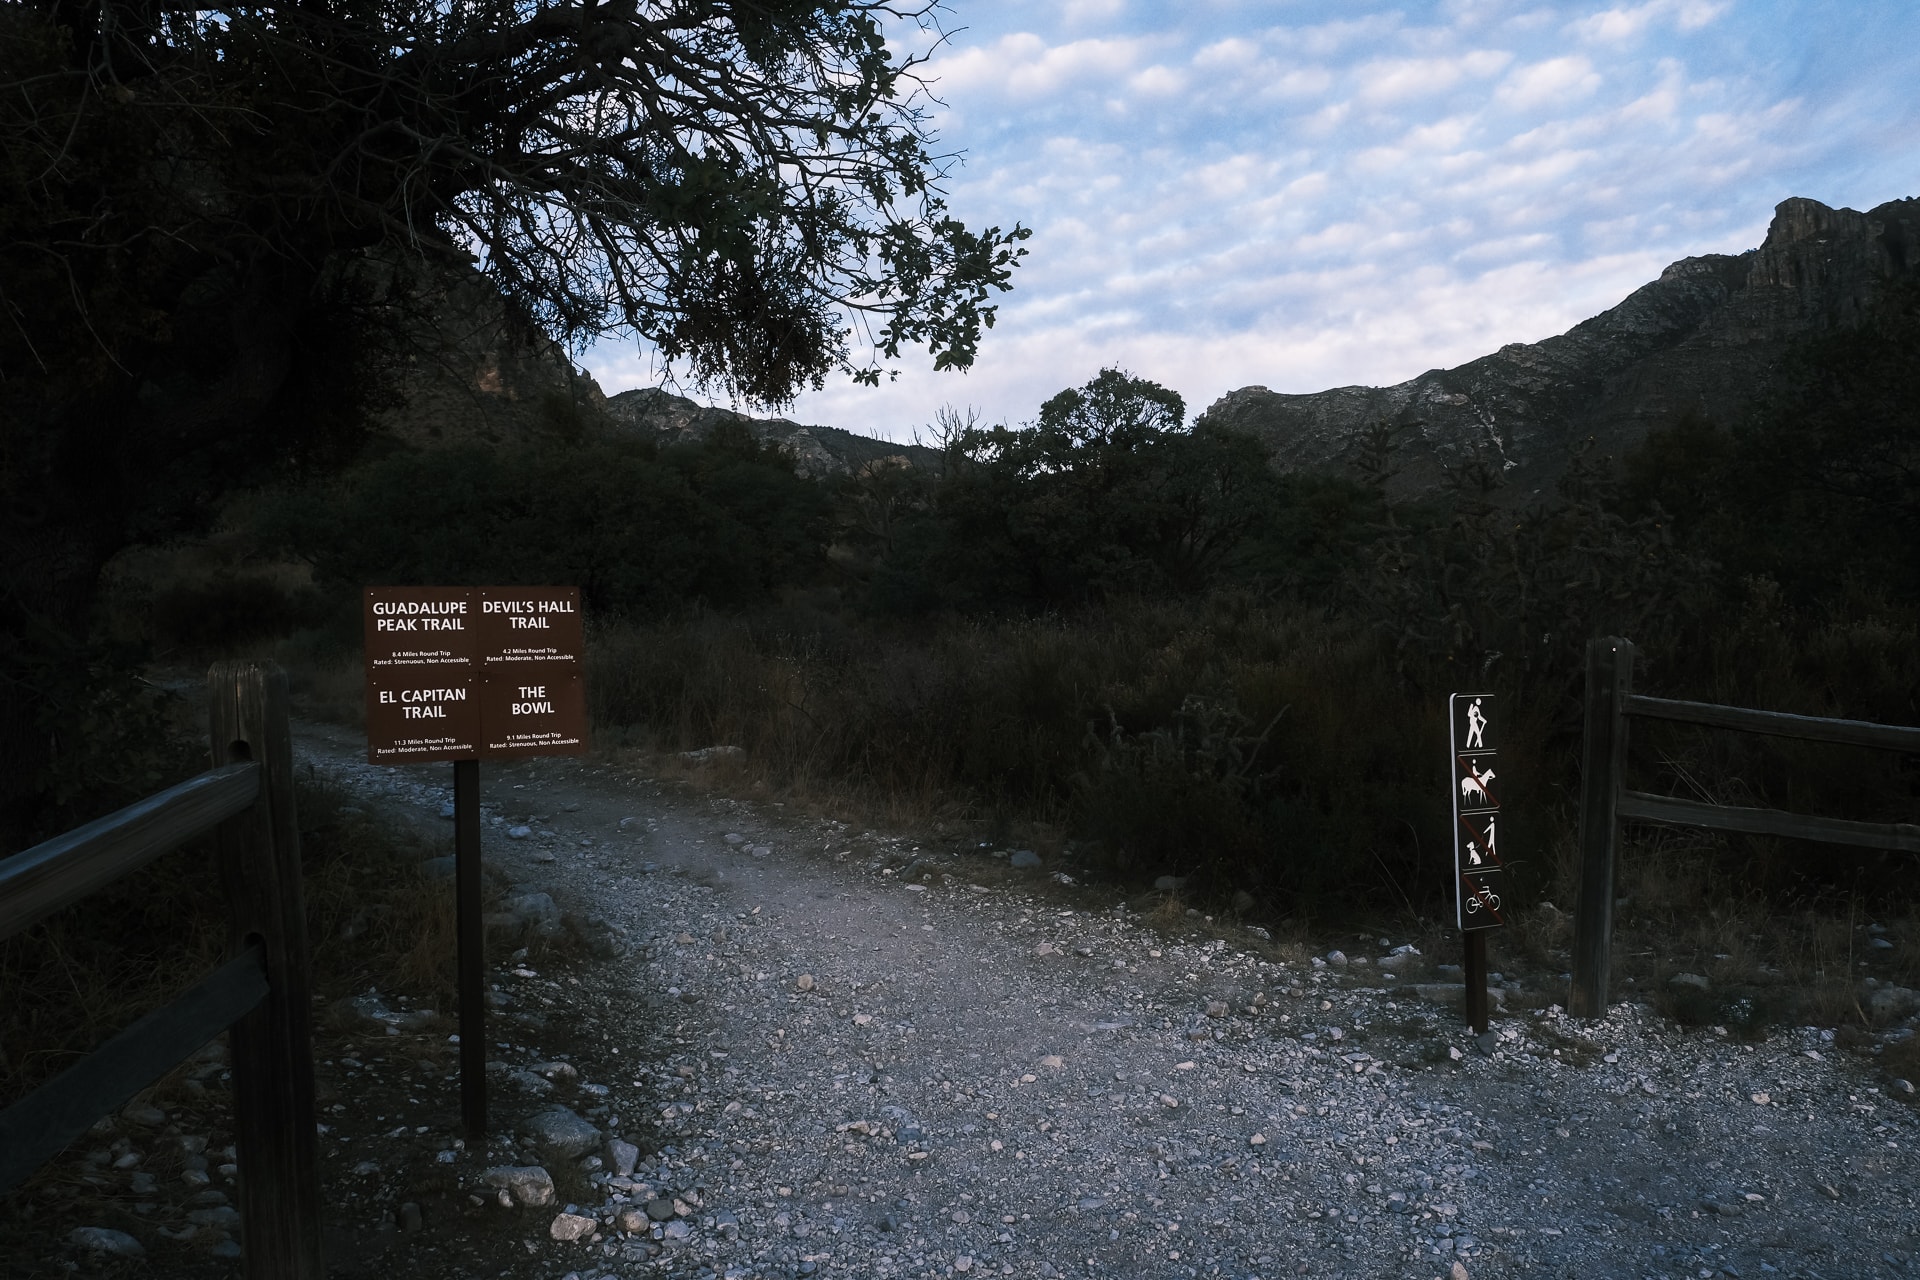
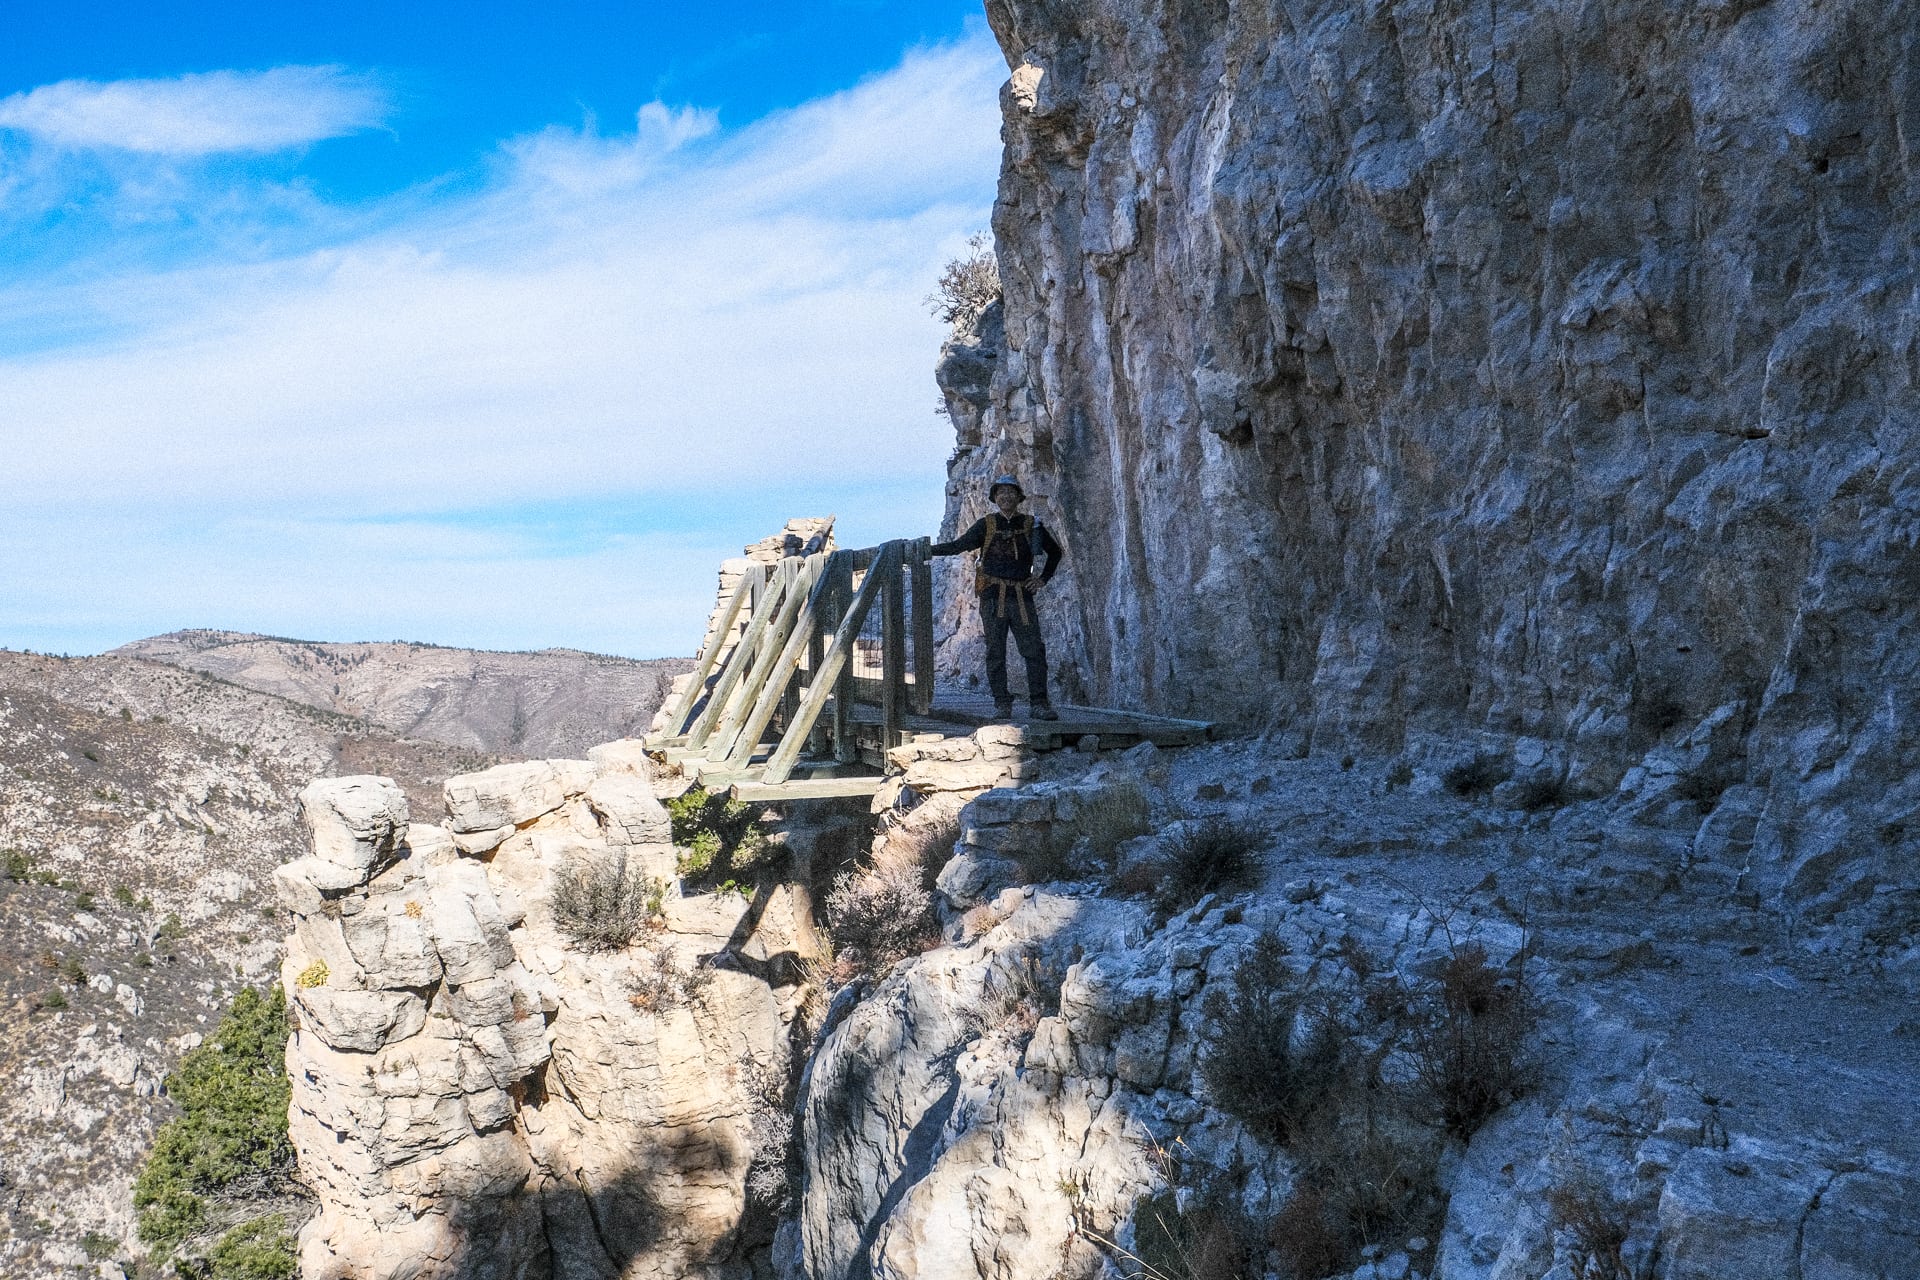
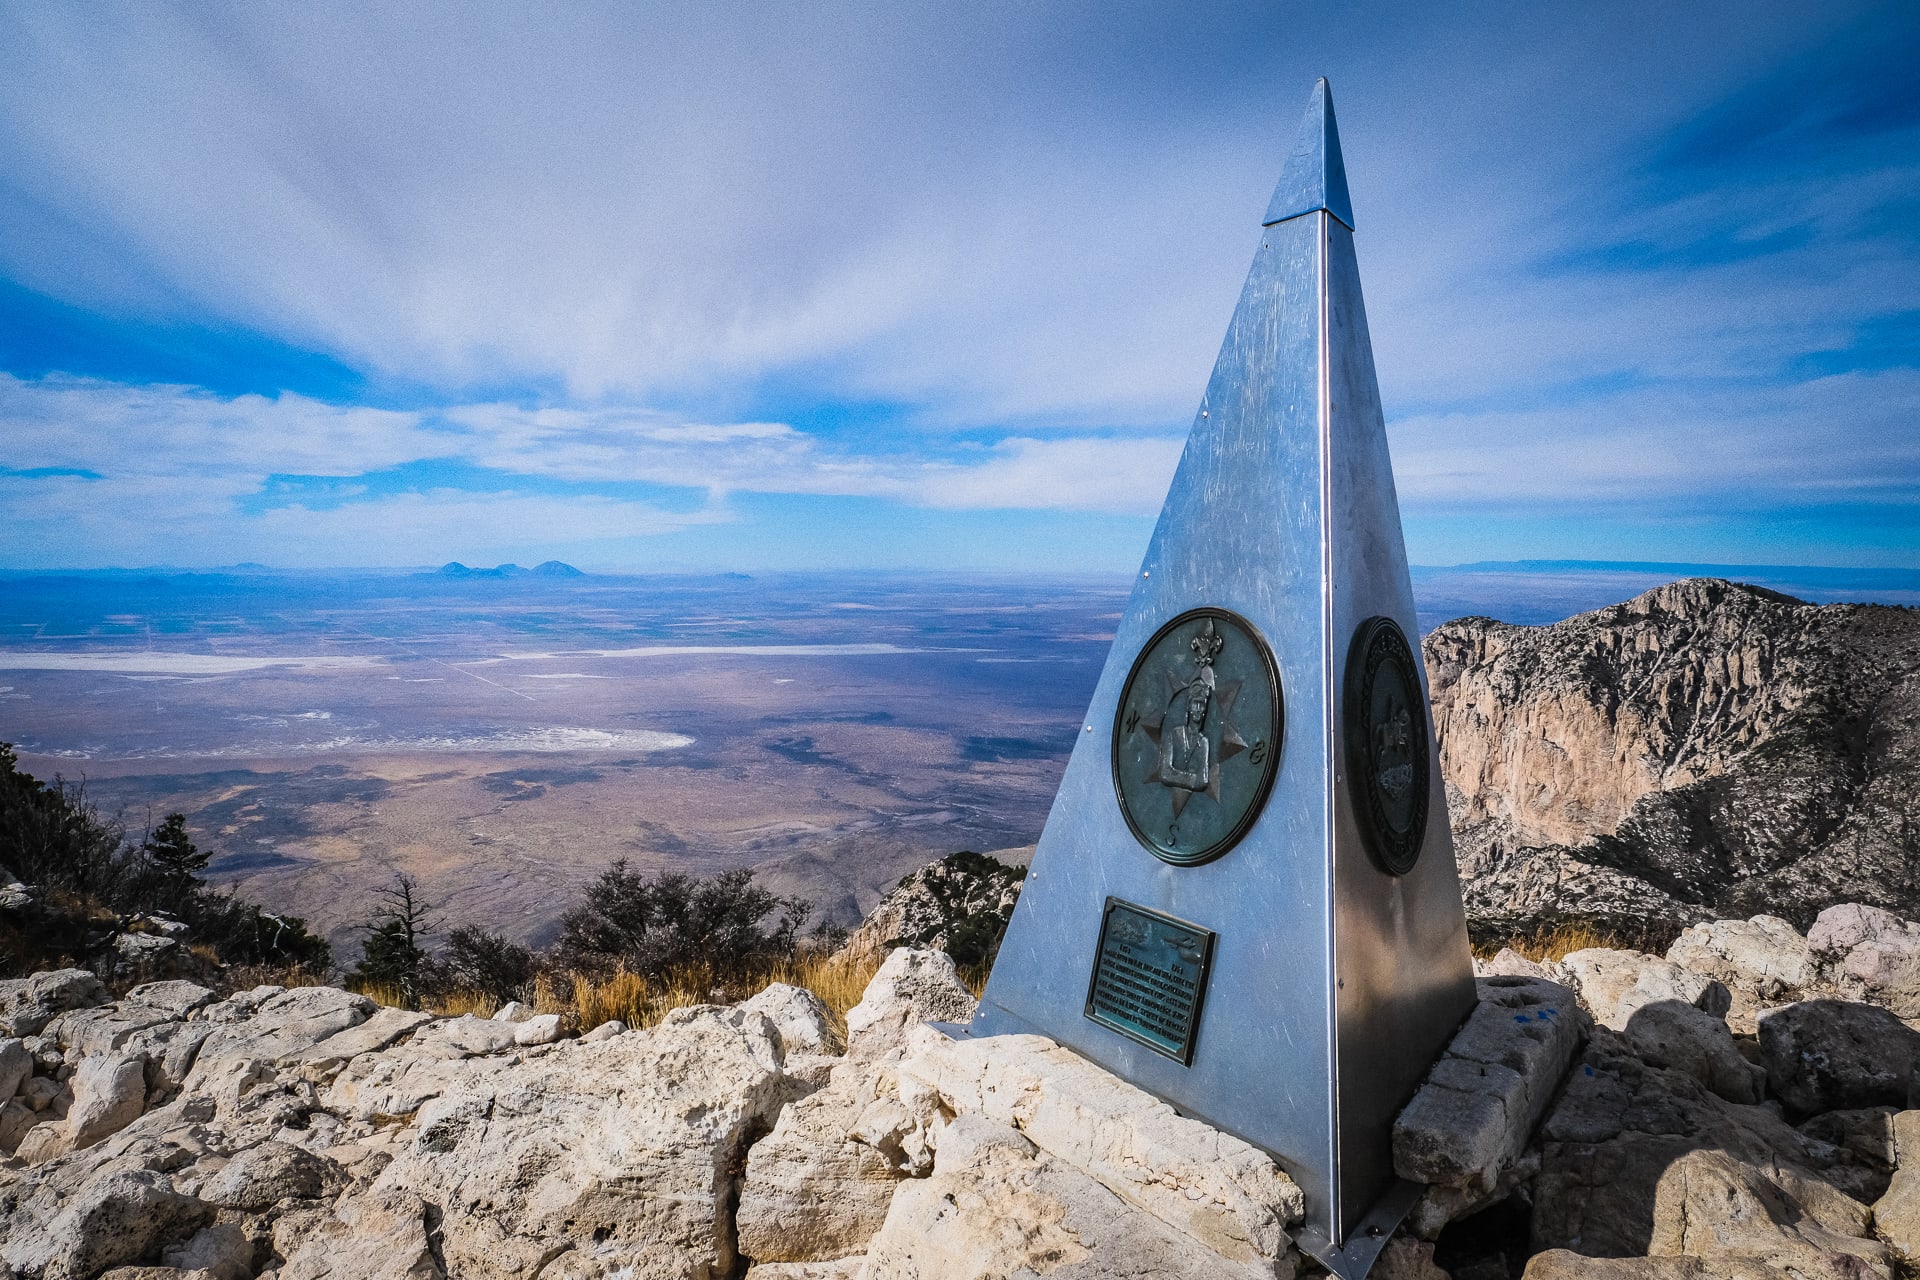
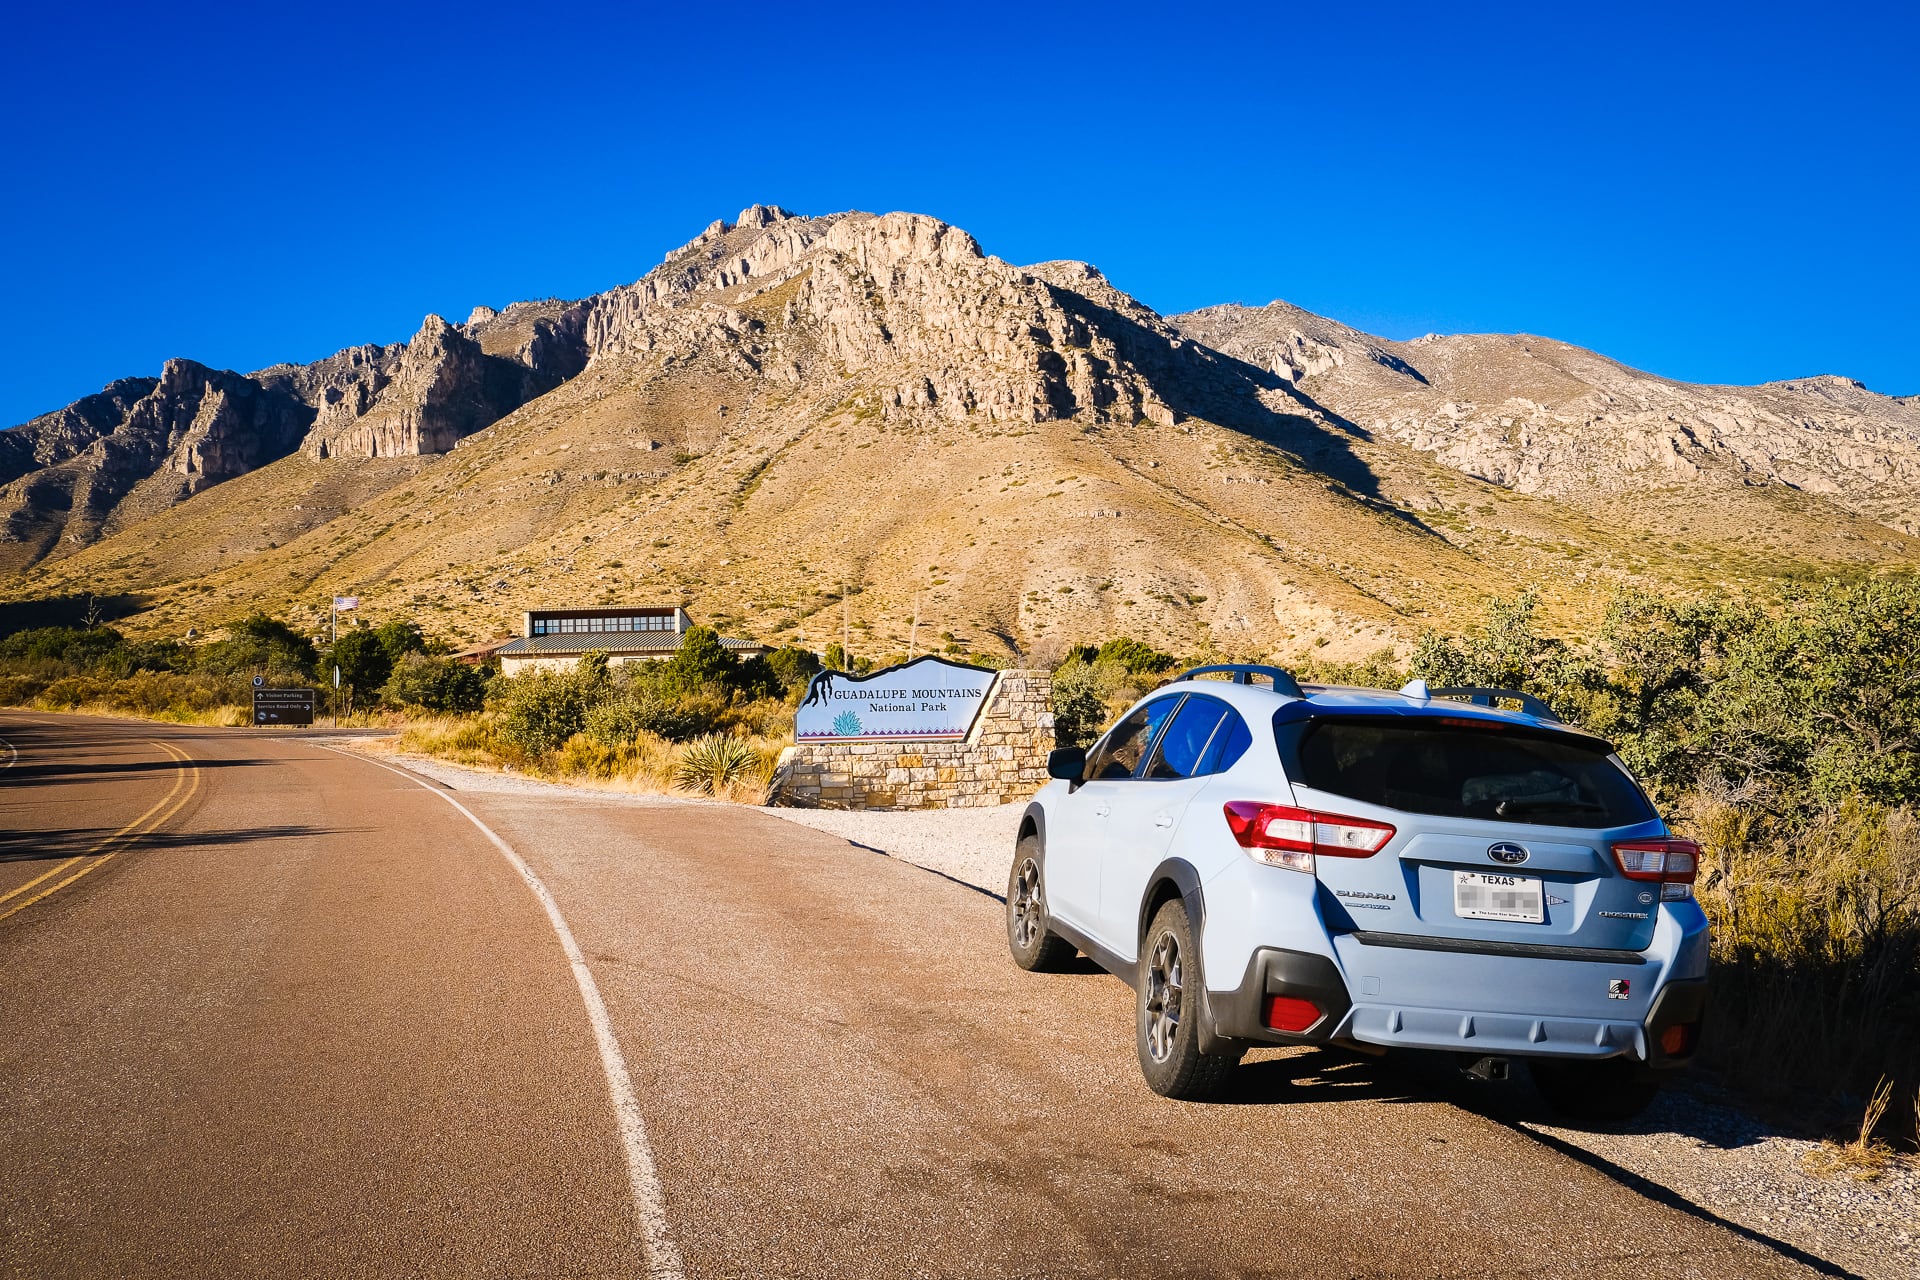
Today was the day of the big hike up to the top of Texas. At 8,751 feet (2,667 m), Guadalupe Peak is the highest point in the state, and a popular destination for hiker’s hoping to cross off an item on their bucket list.
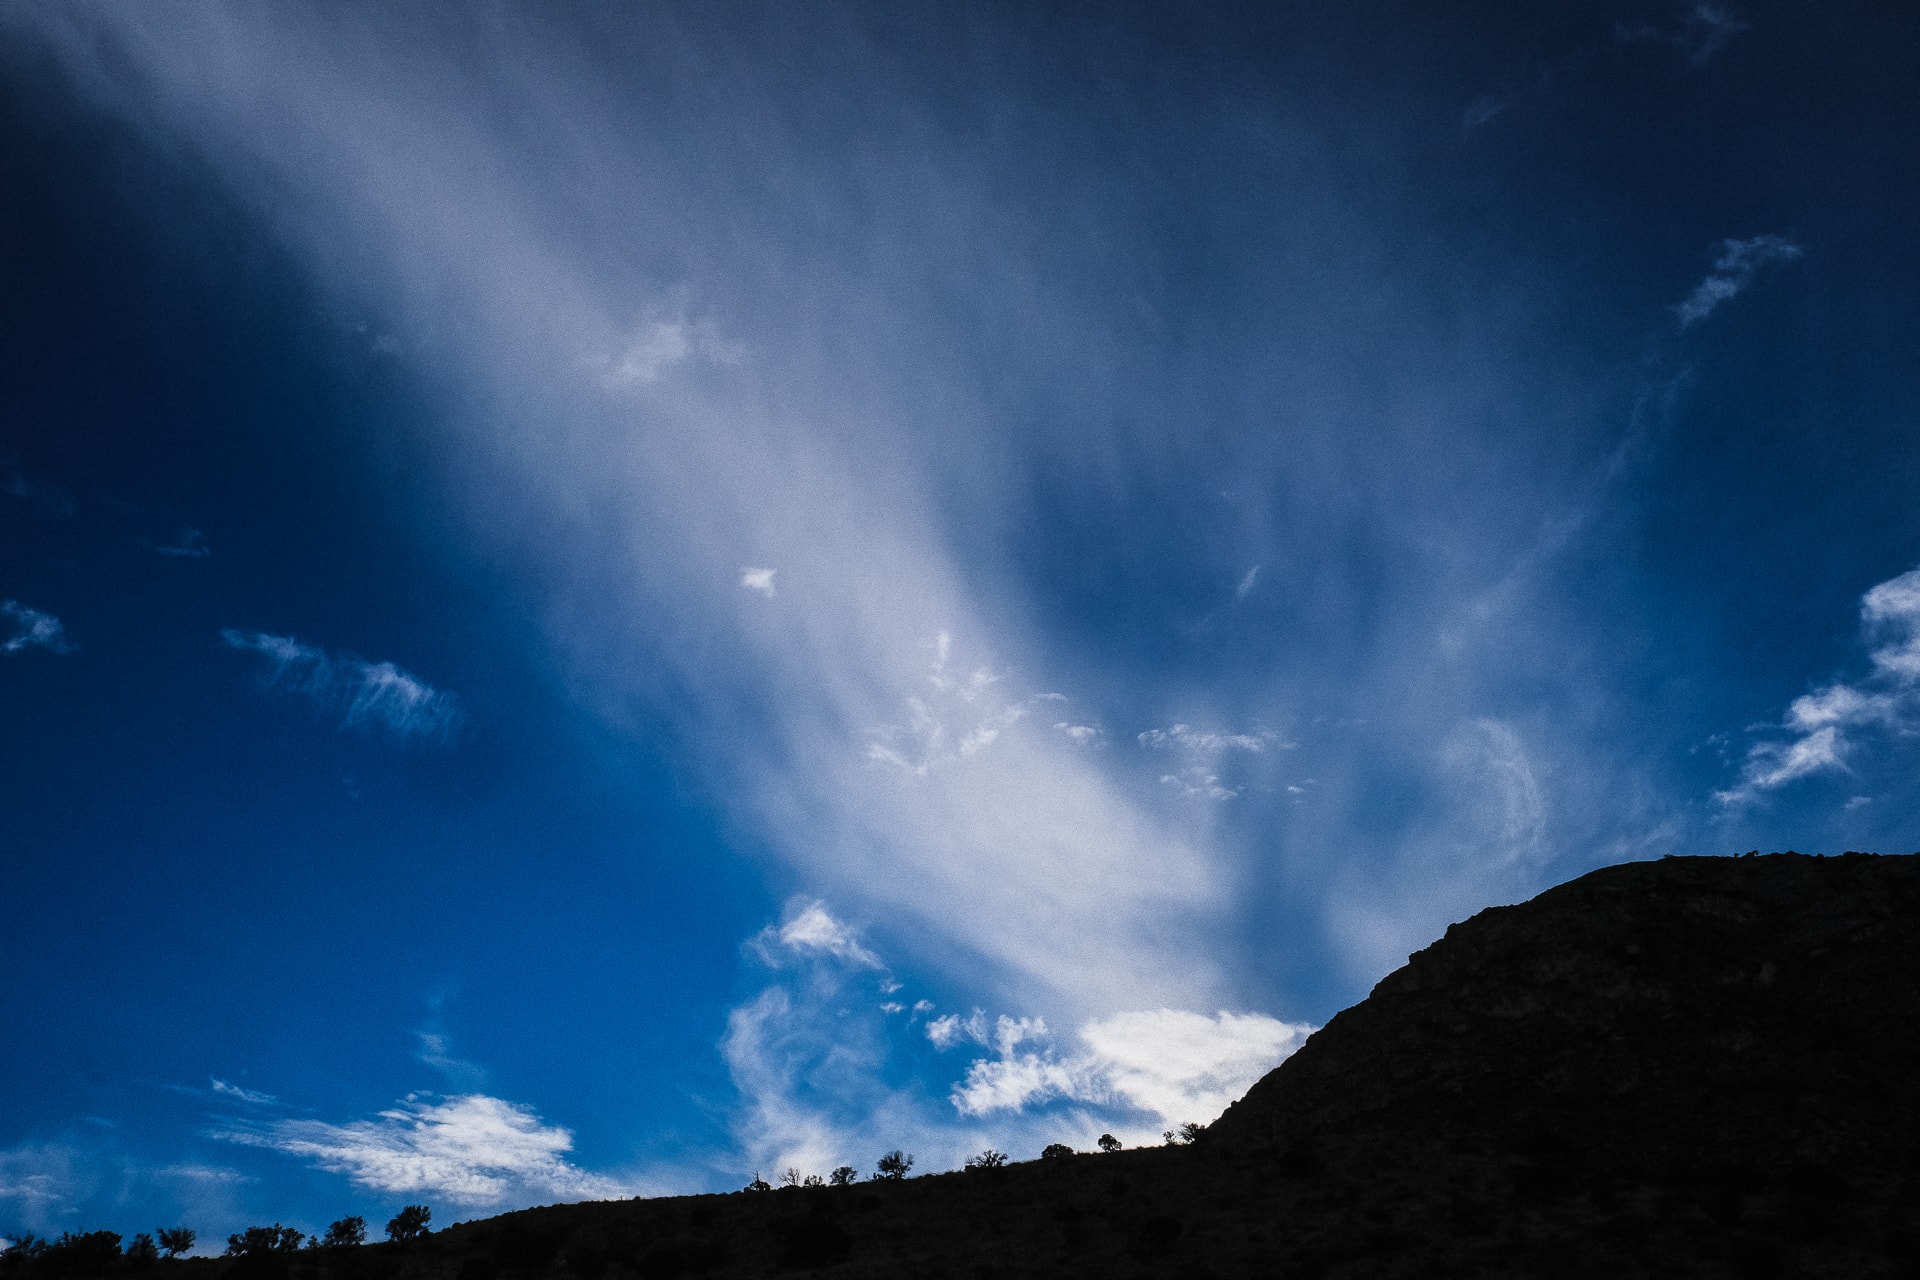
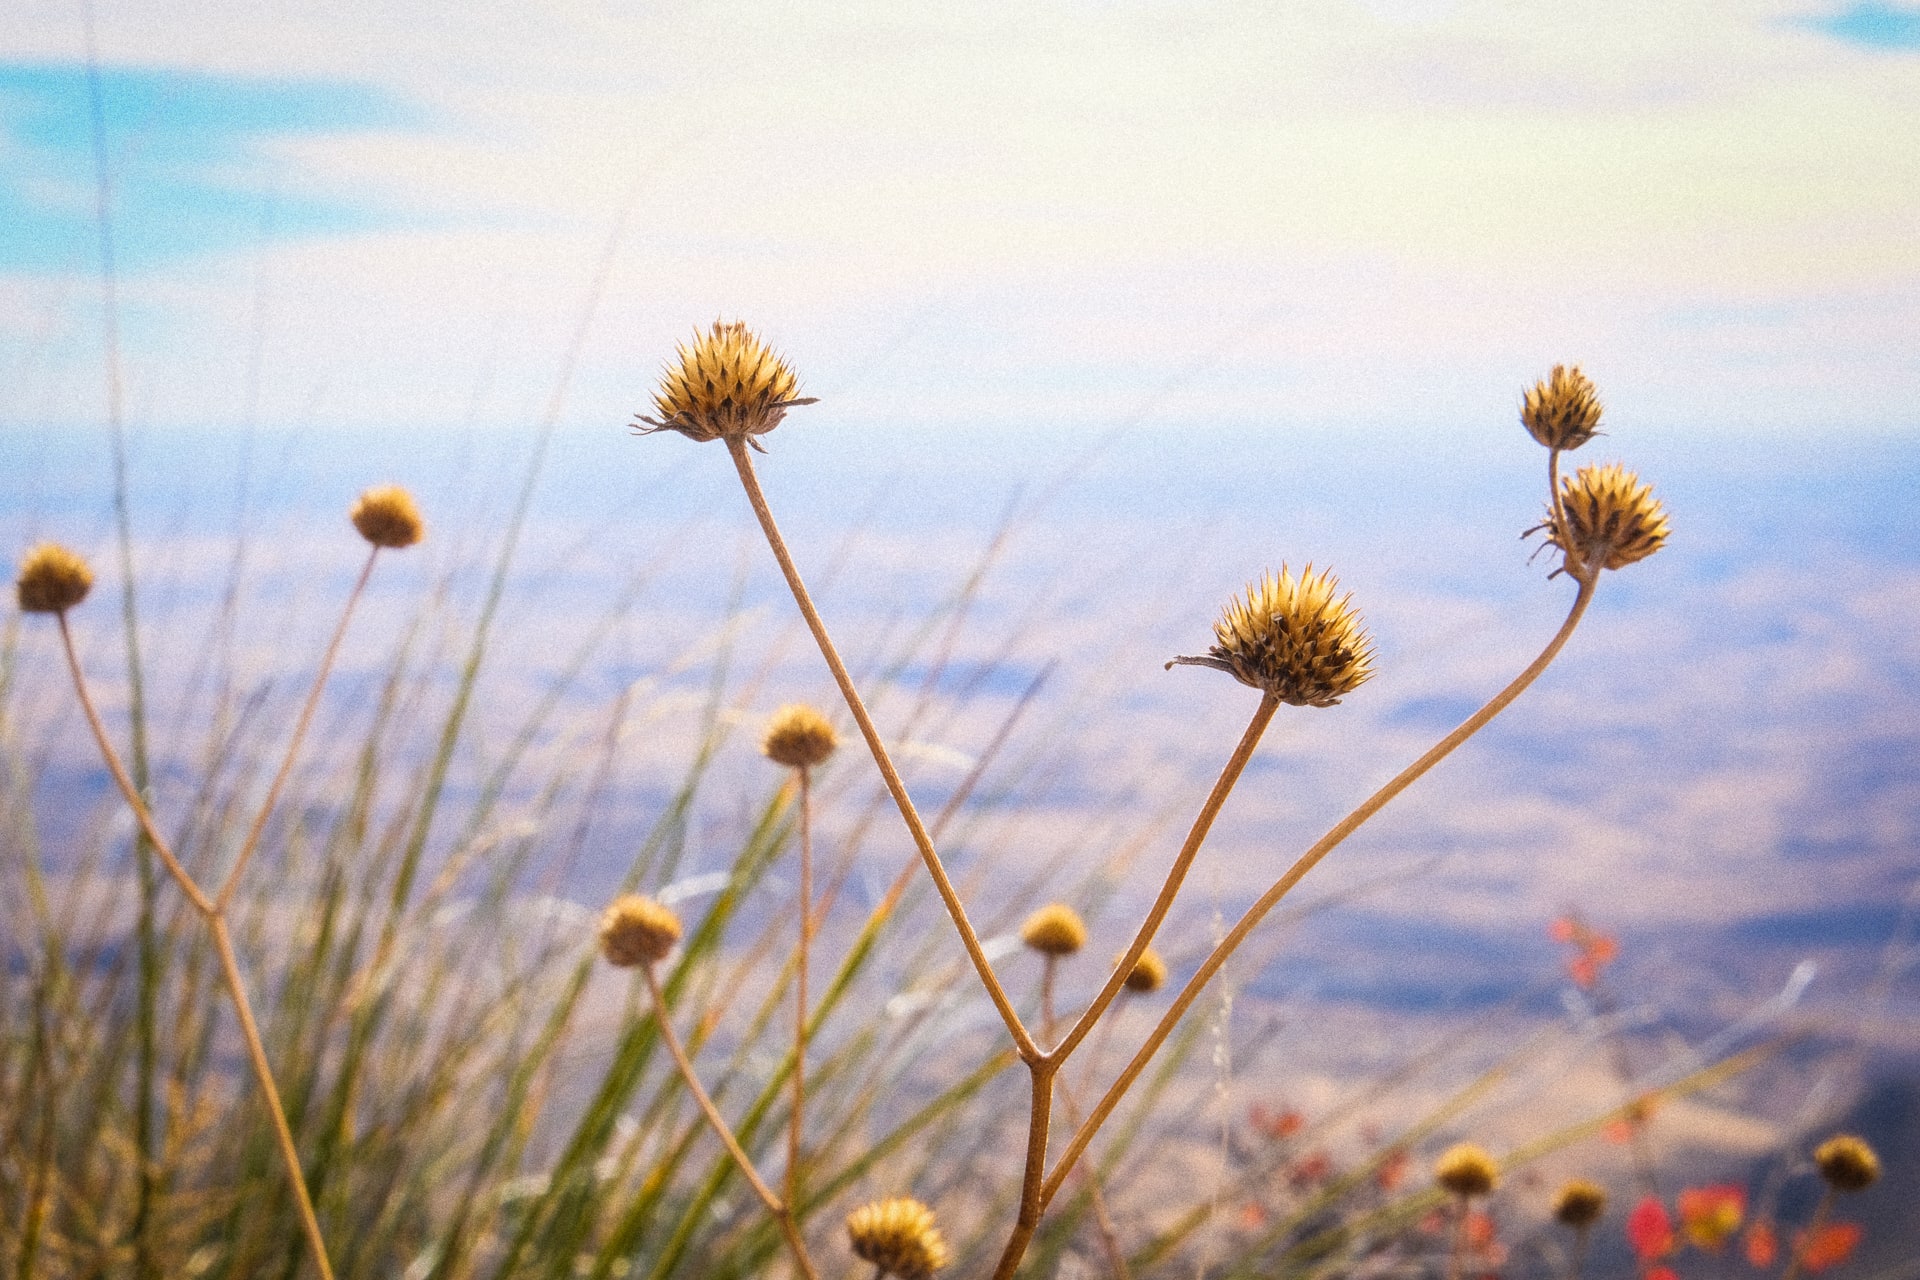
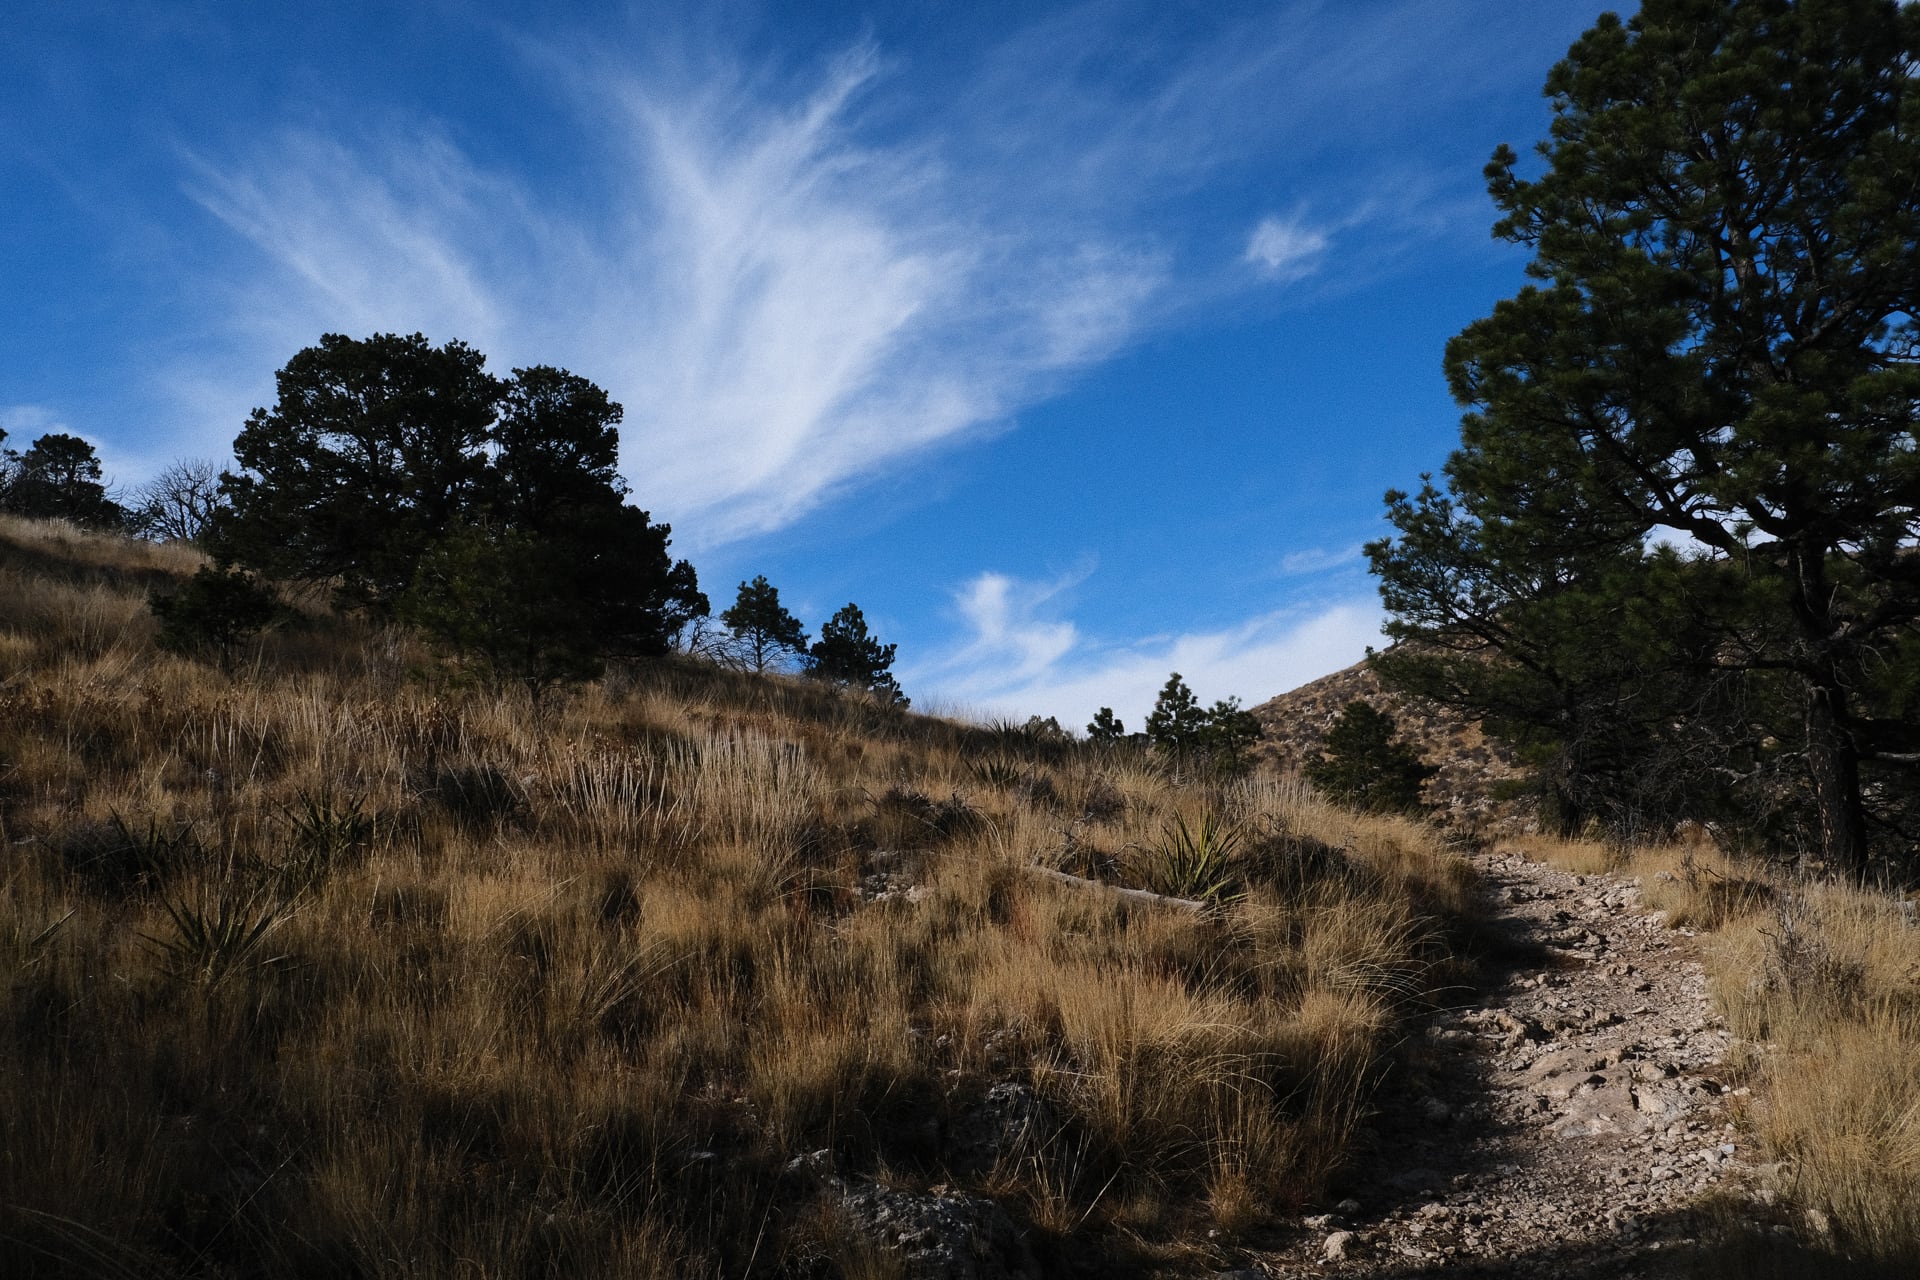
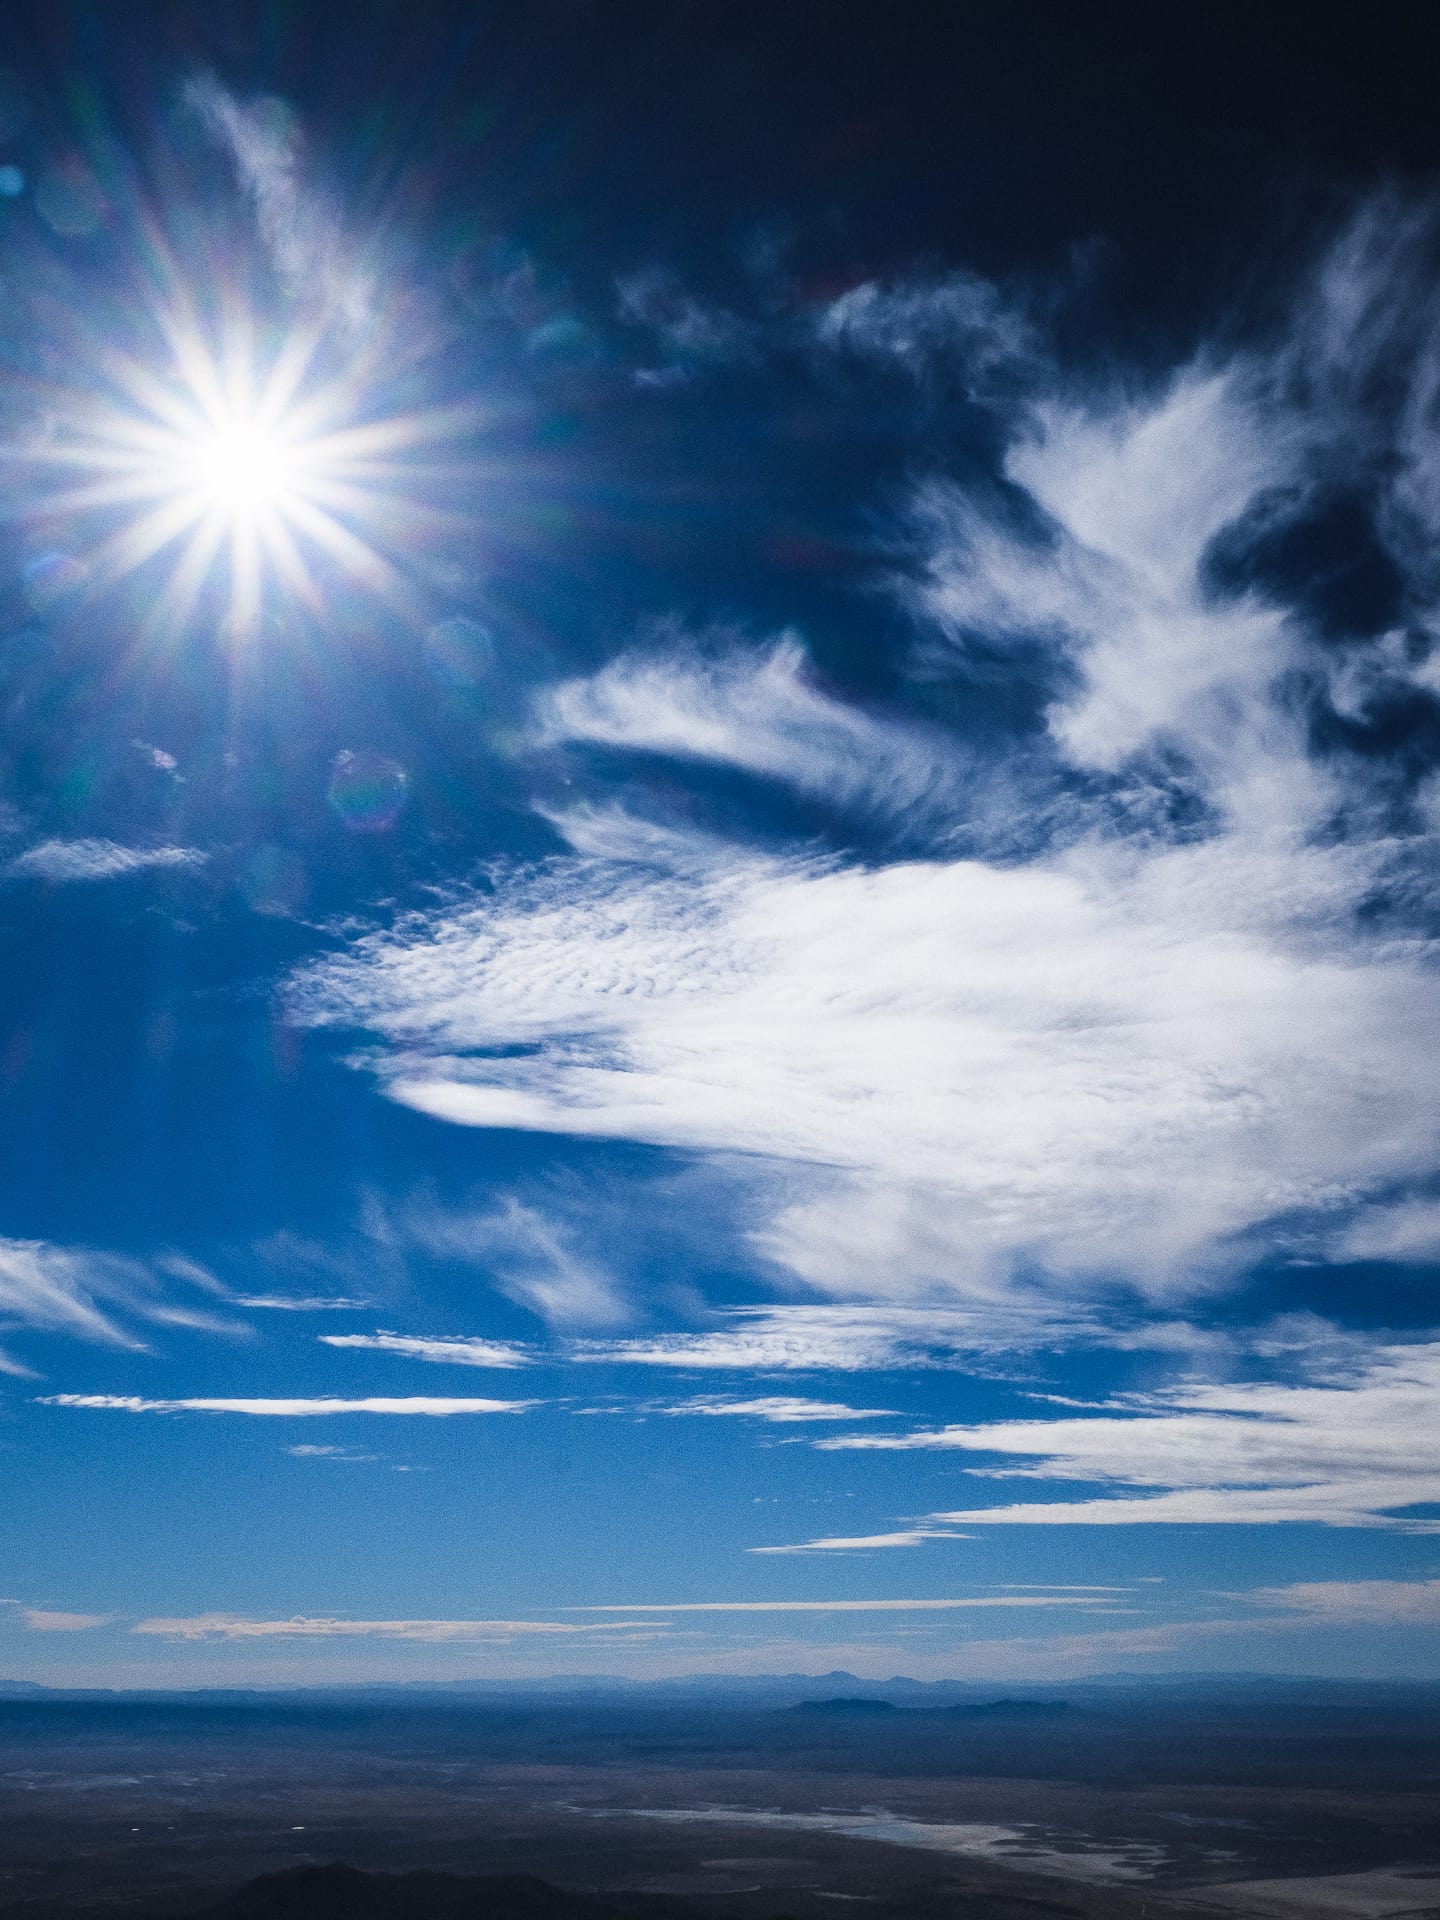
We started on the trail first thing in the morning and reached the peak after about 4.5 hours of leisurely hiking, with plenty of stops for picture-taking and video. It was really nice to take in the incredible views. And the views from the top were stunning. Once again, we were fortunate to have perfect weather, with cool temperatures, light winds, plenty of visibility, and wispy clouds. It was awesome!
After we finished the hike, we enjoyed another nice meal at camp, but unfortunately, the clouds rolled in and the stars weren’t as clearly visible as the previous night. That was fine because we were pretty tired from the hike and climbing into our tents early was just fine. 😀
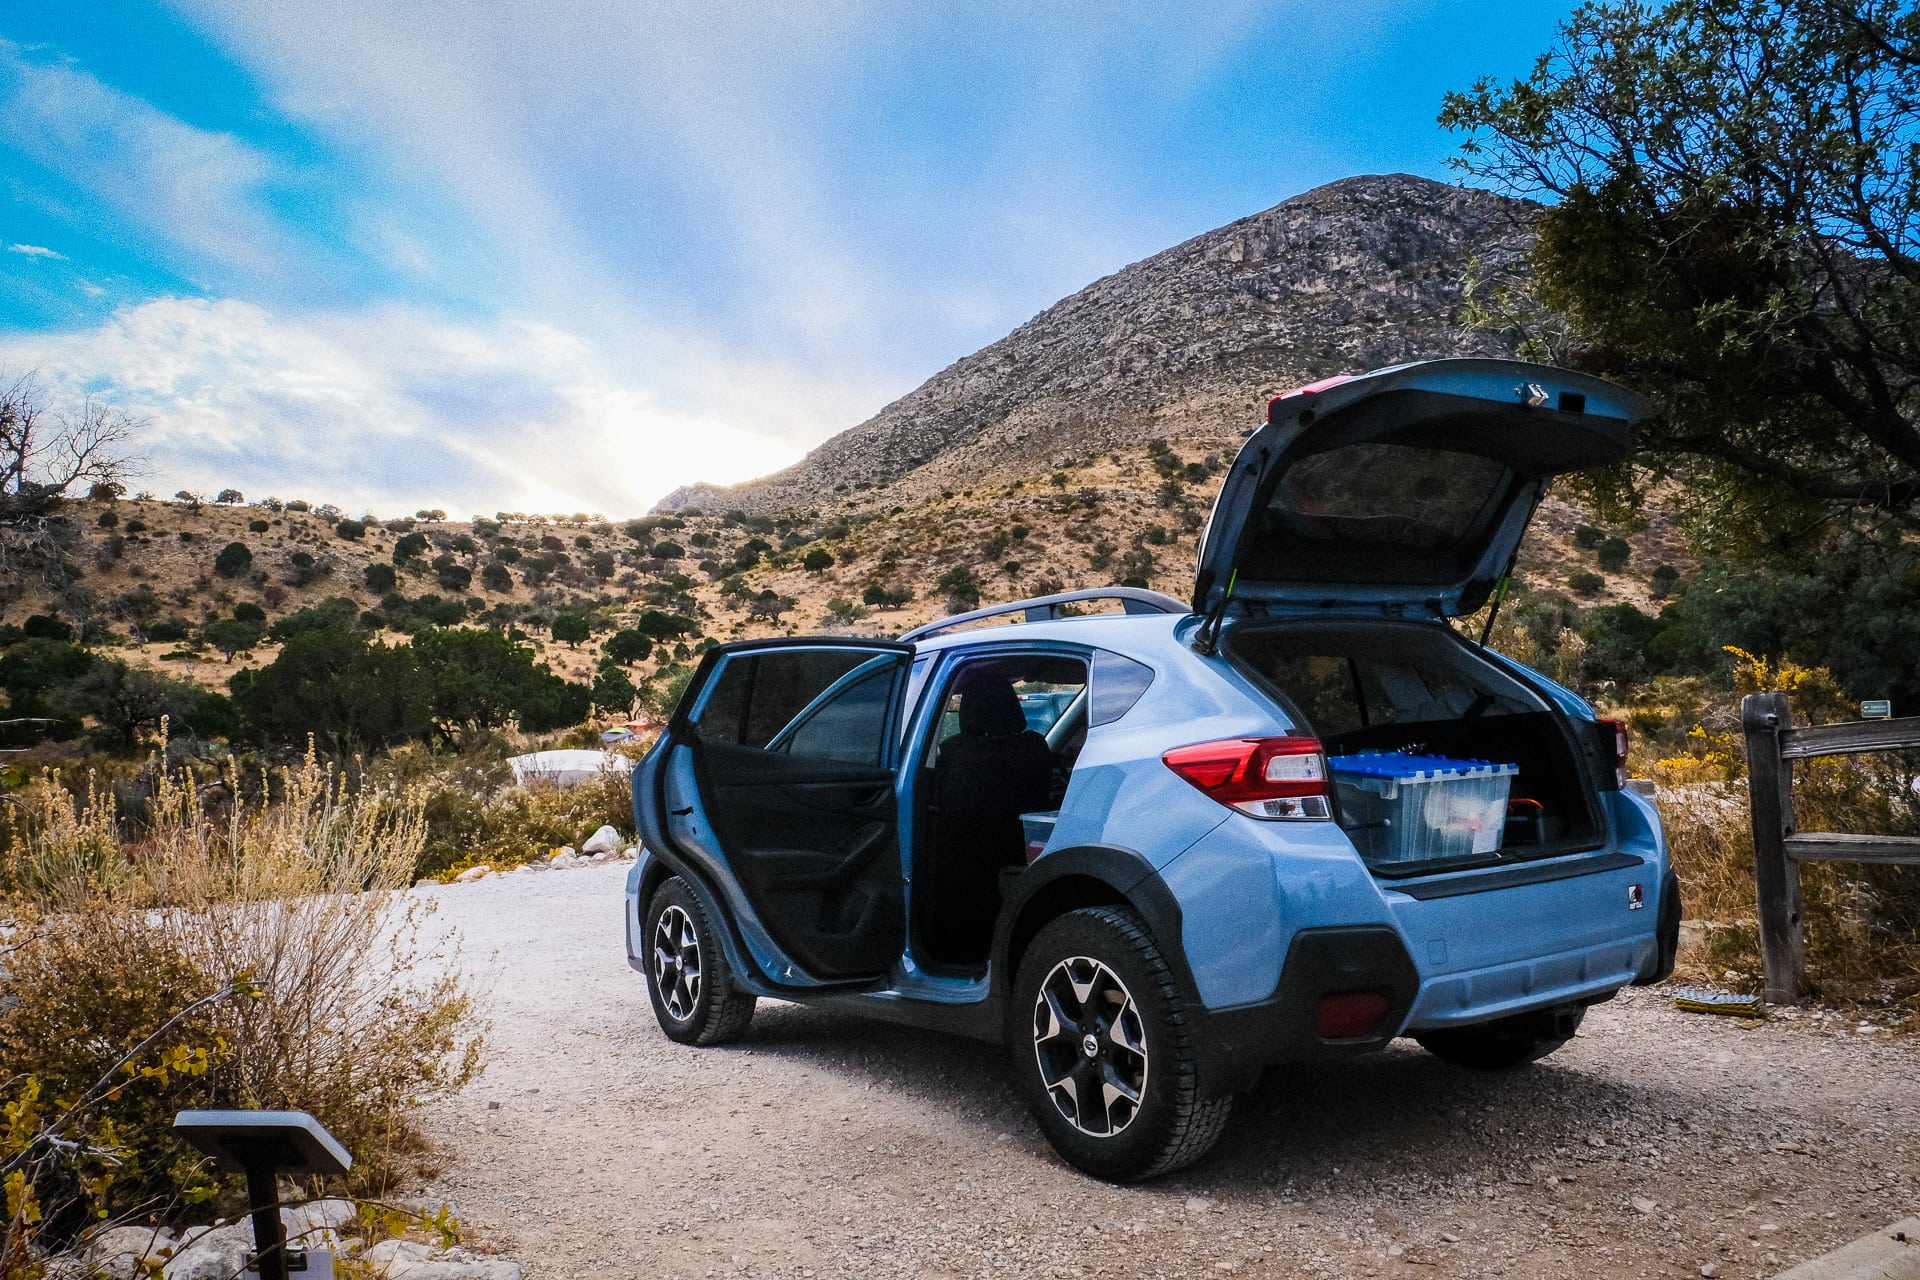
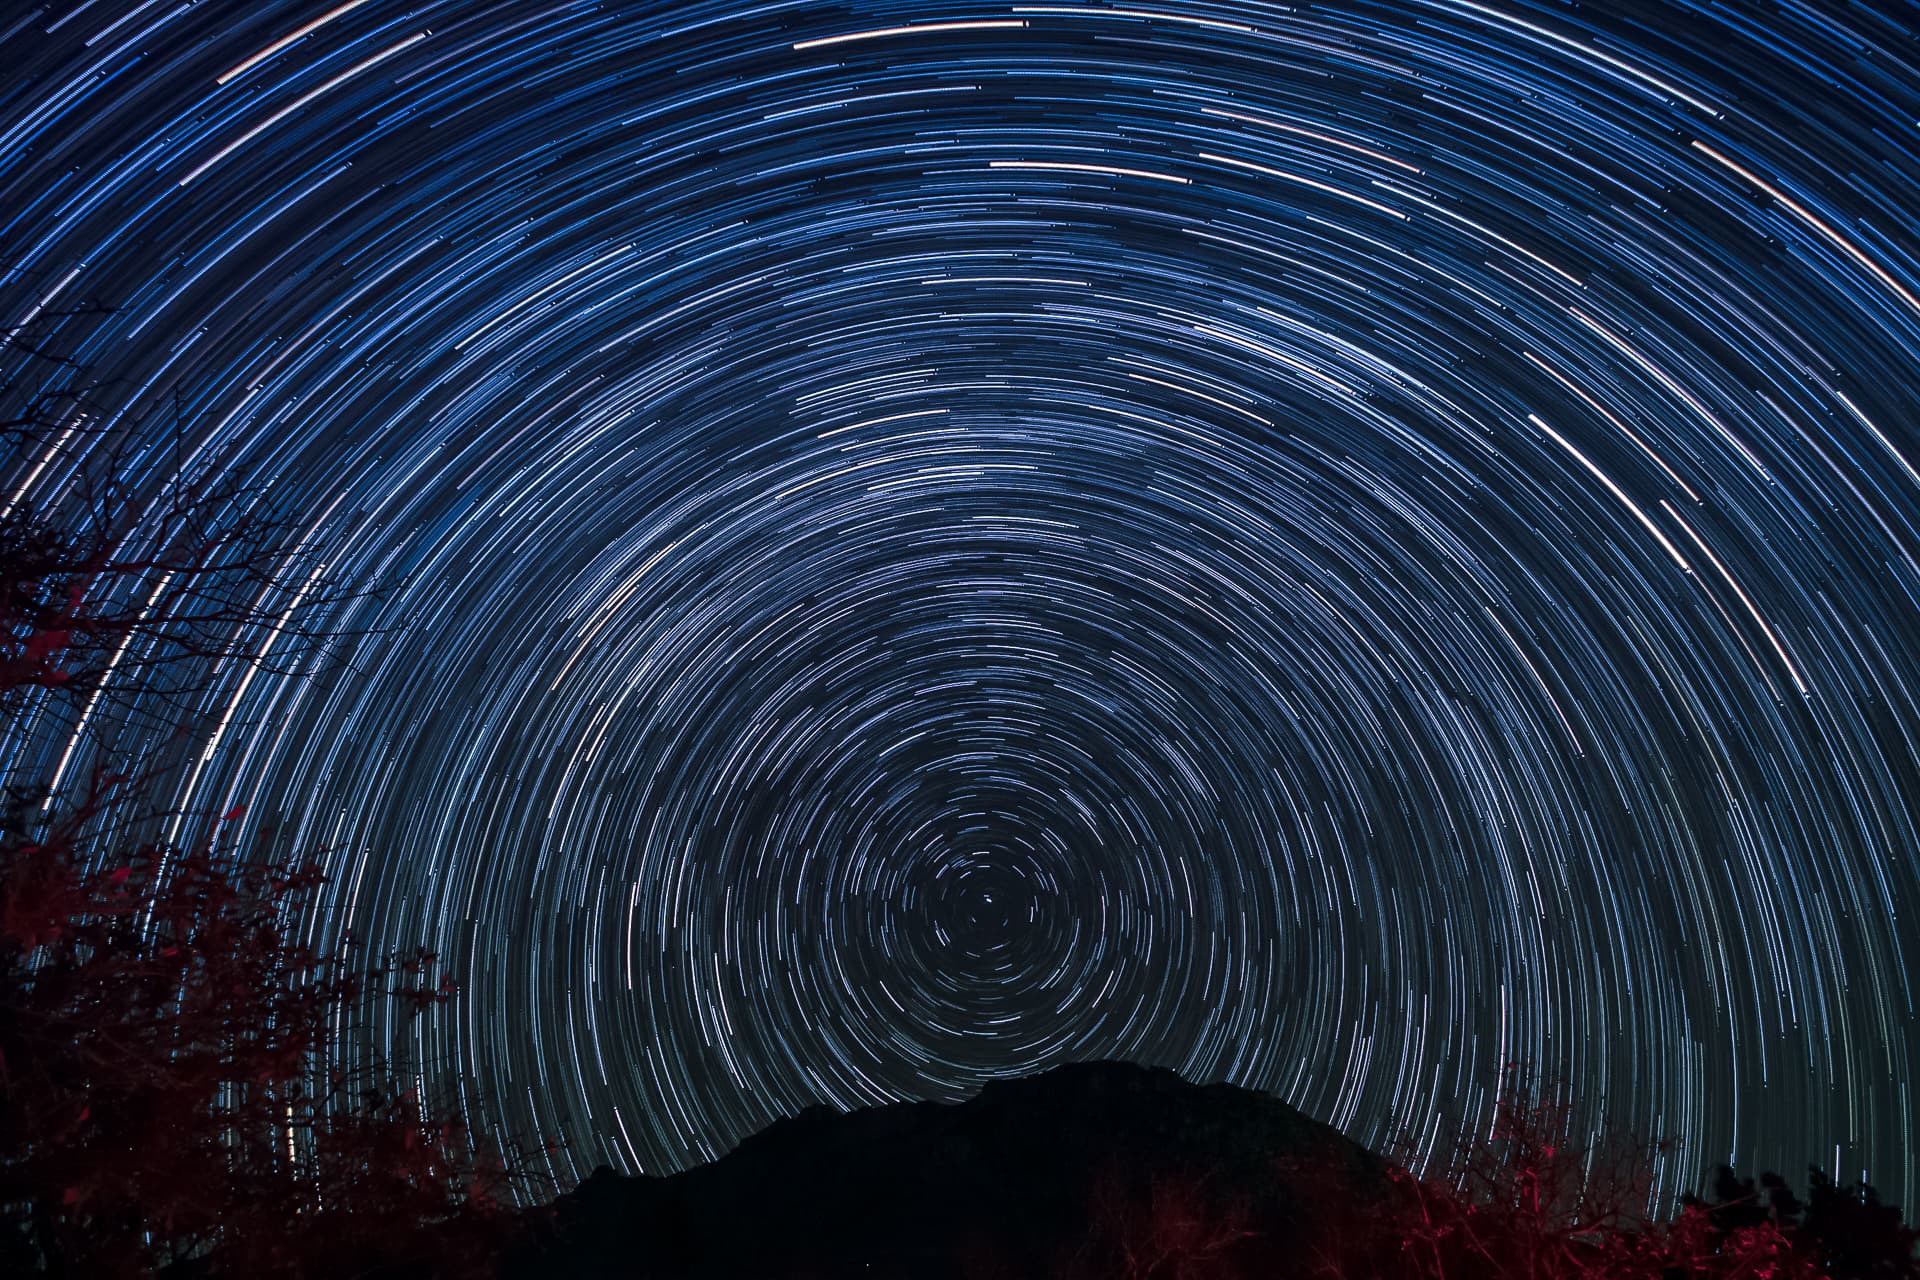
Today my friend and I drove out to Guadalupe Mountains National Park to begin a long weekend of camping and hiking. It was the first time to the park for both of us so we were excited to explore the new park, and the ~8-hour journey seemed to go by quickly.
We reserved a campsite at the Pine Springs Campground online and when we arrived we immediately set up our tents and got the site in order with our camp kitchen, lanterns, and food. The sun goes down quickly these days! By the way, I highly recommend site #18. It’s set back a ways from the road and has some nice views of the mountains and is great for watching the sunrise.
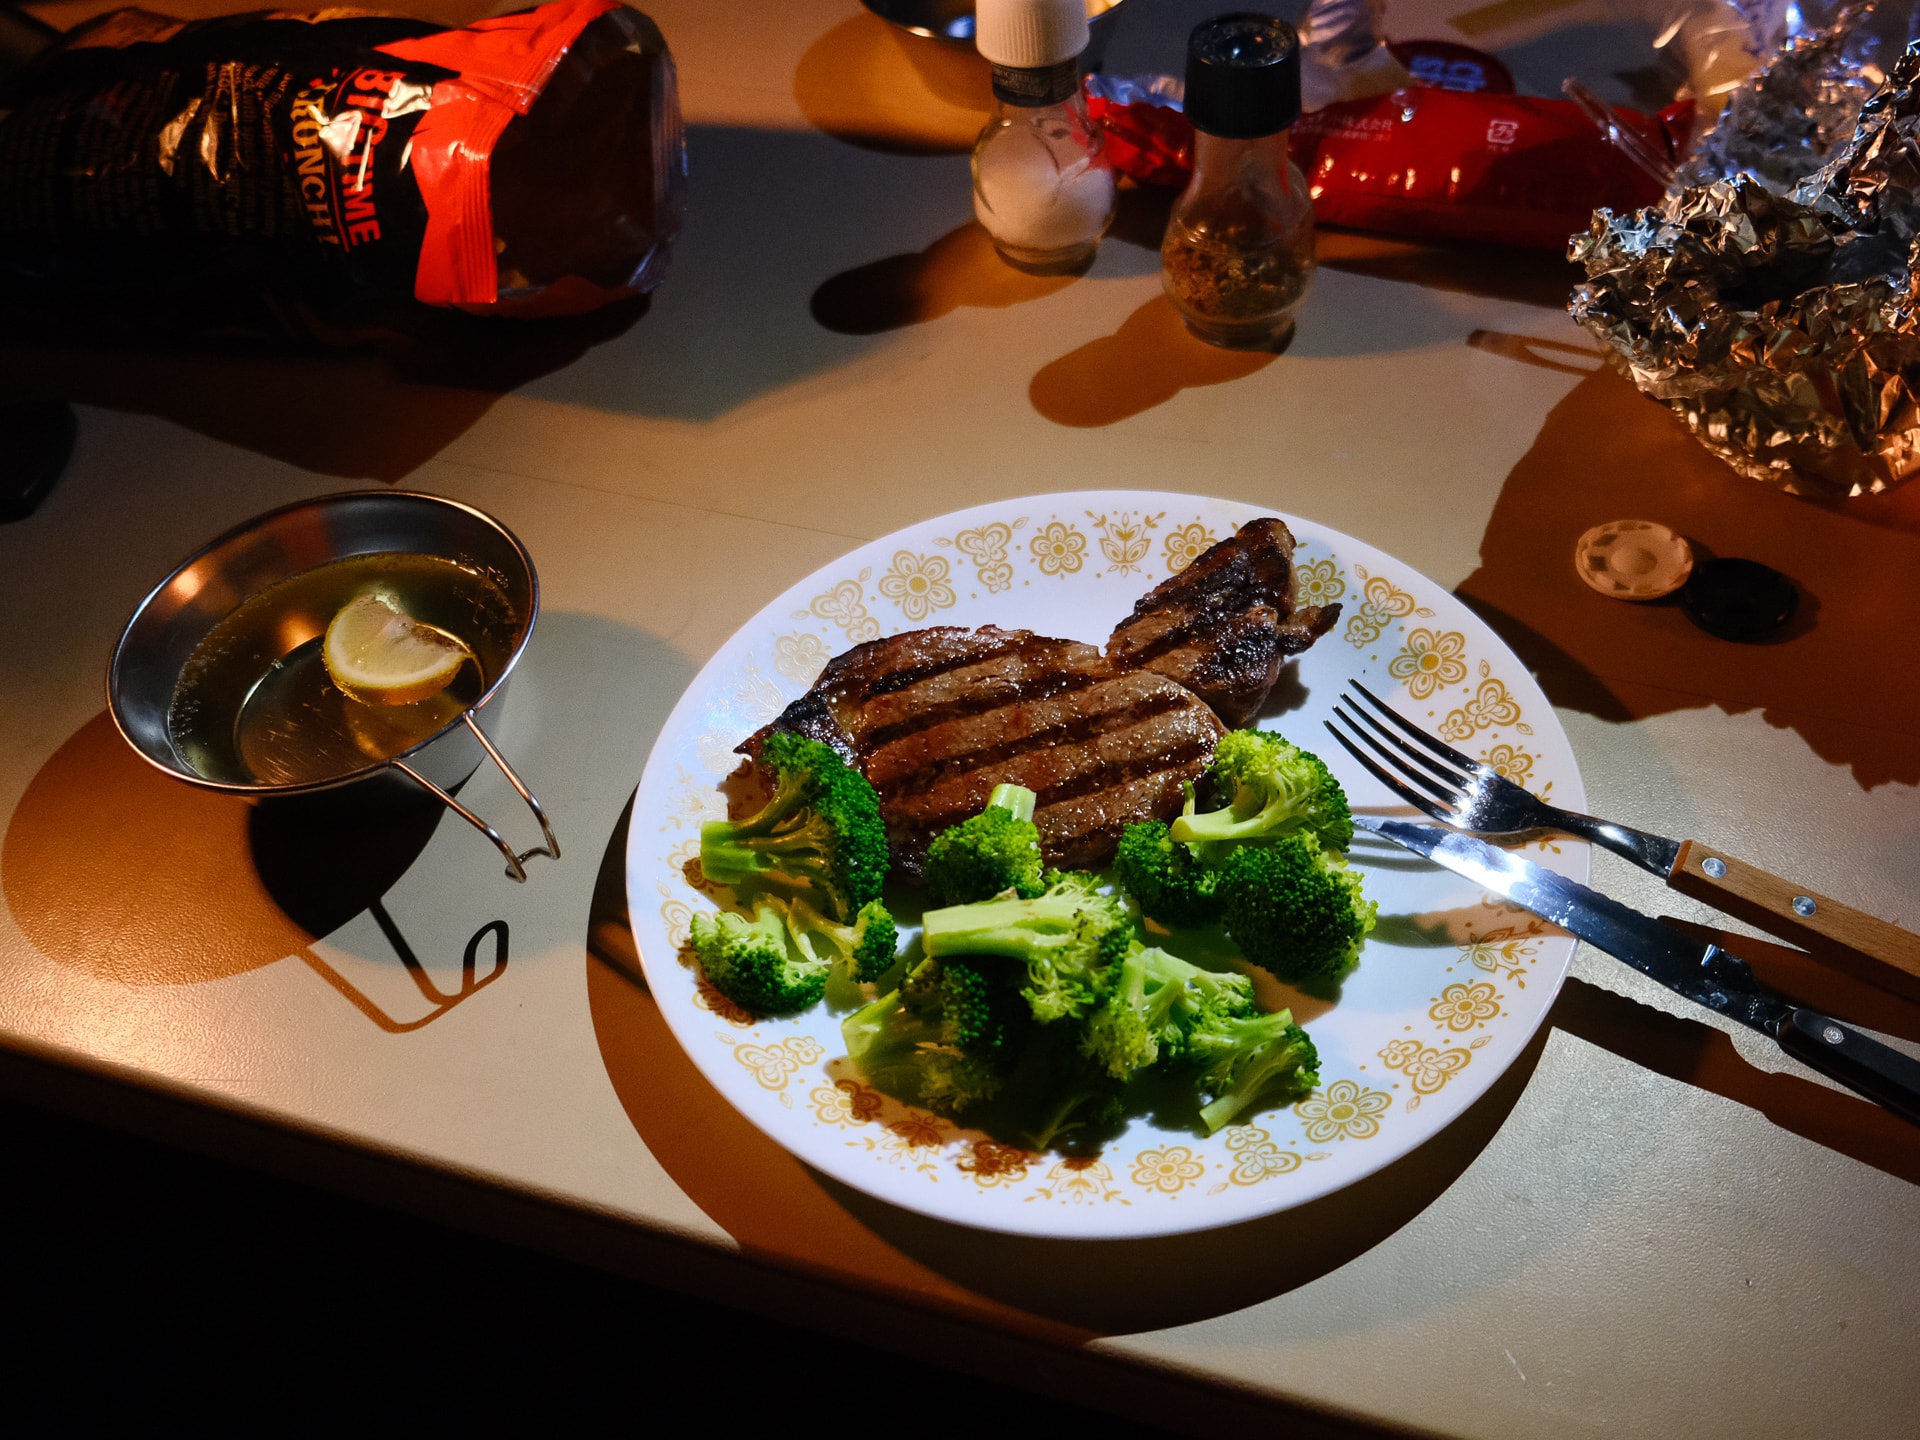
For dinner we splurged with some Japanese Miyazaki steaks which were amazing on the grill, and cold beer and refreshing whiskey sodas made for some tasty beverages!
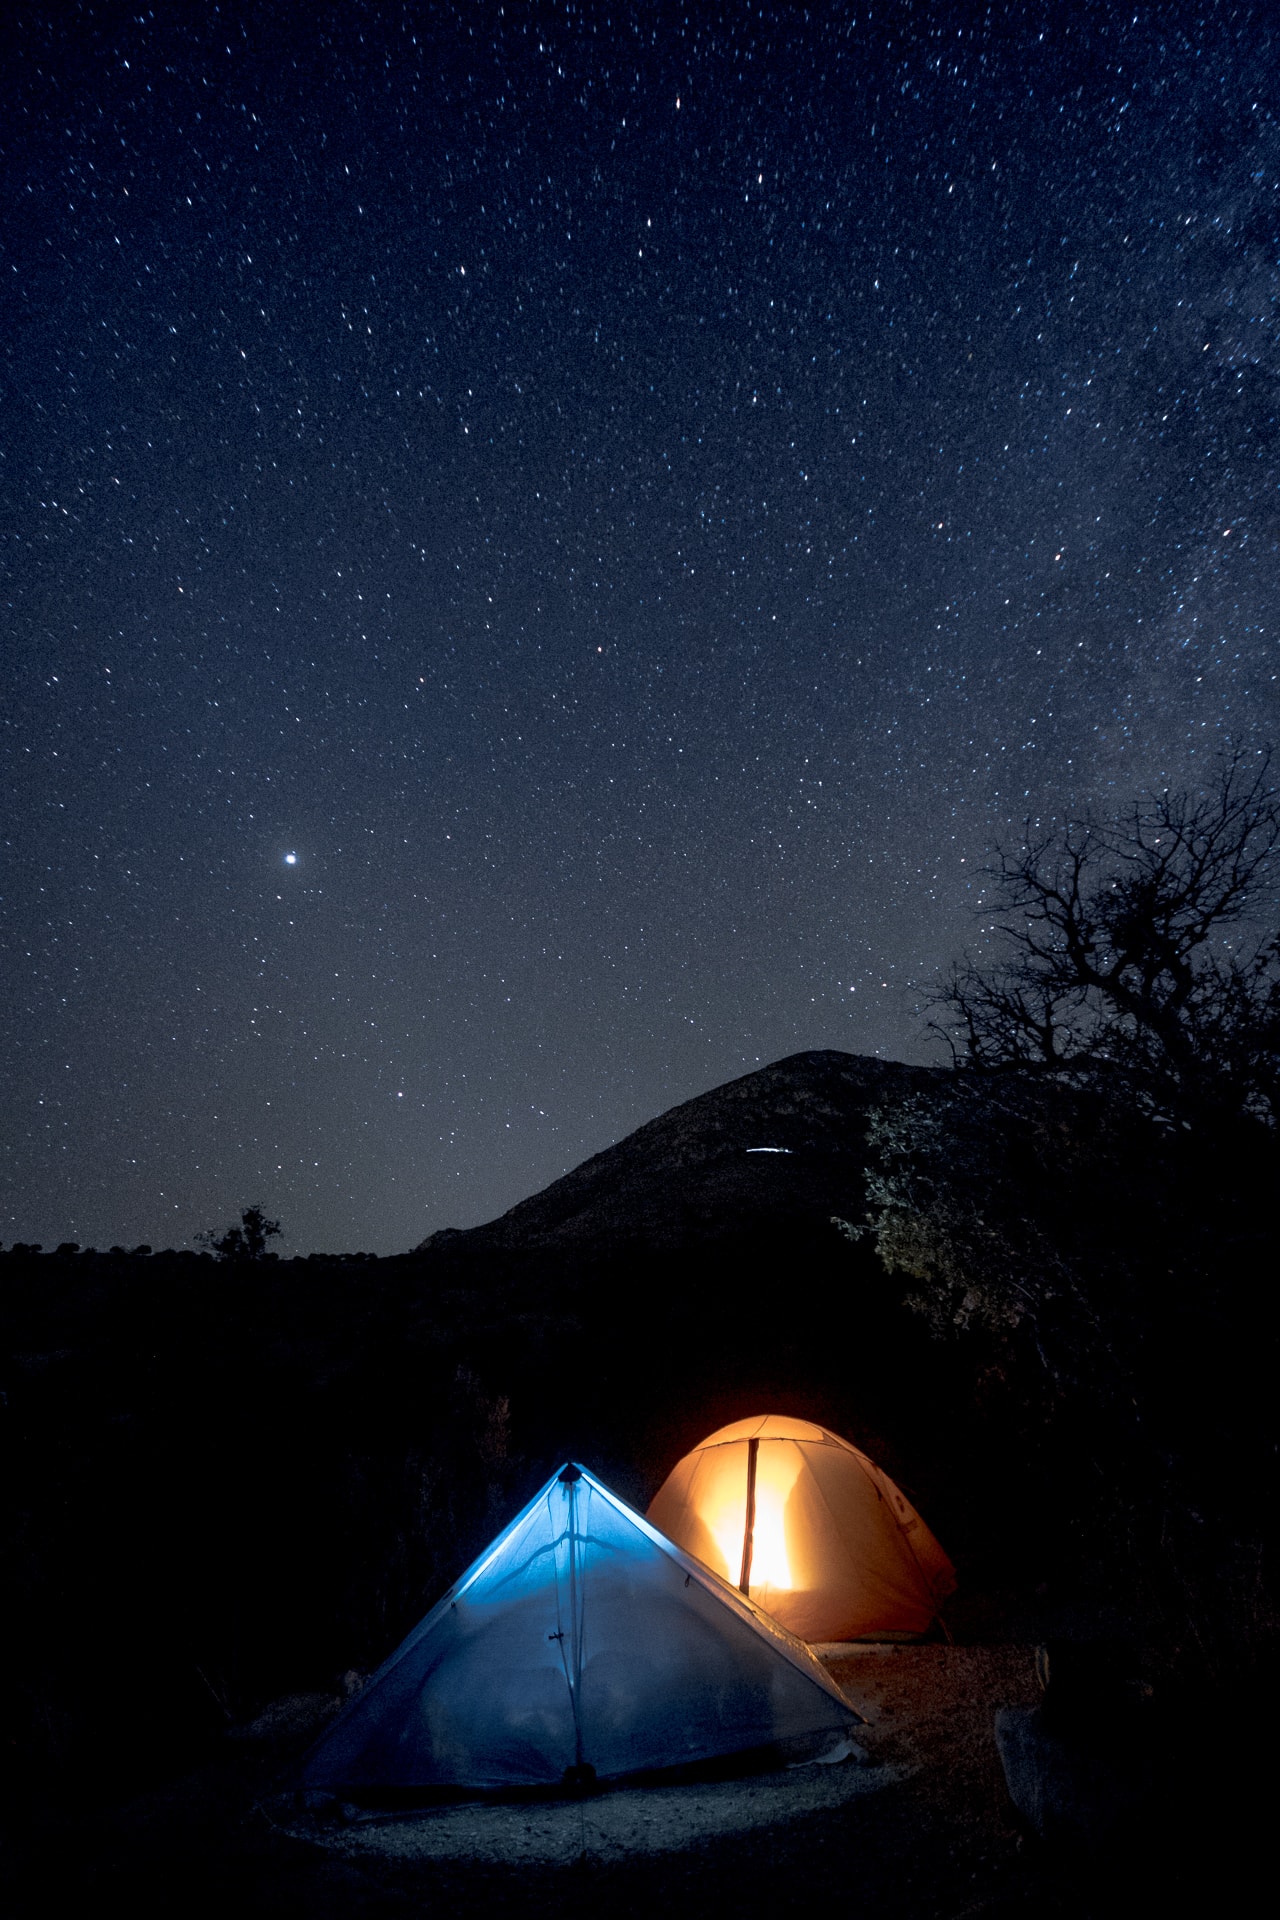
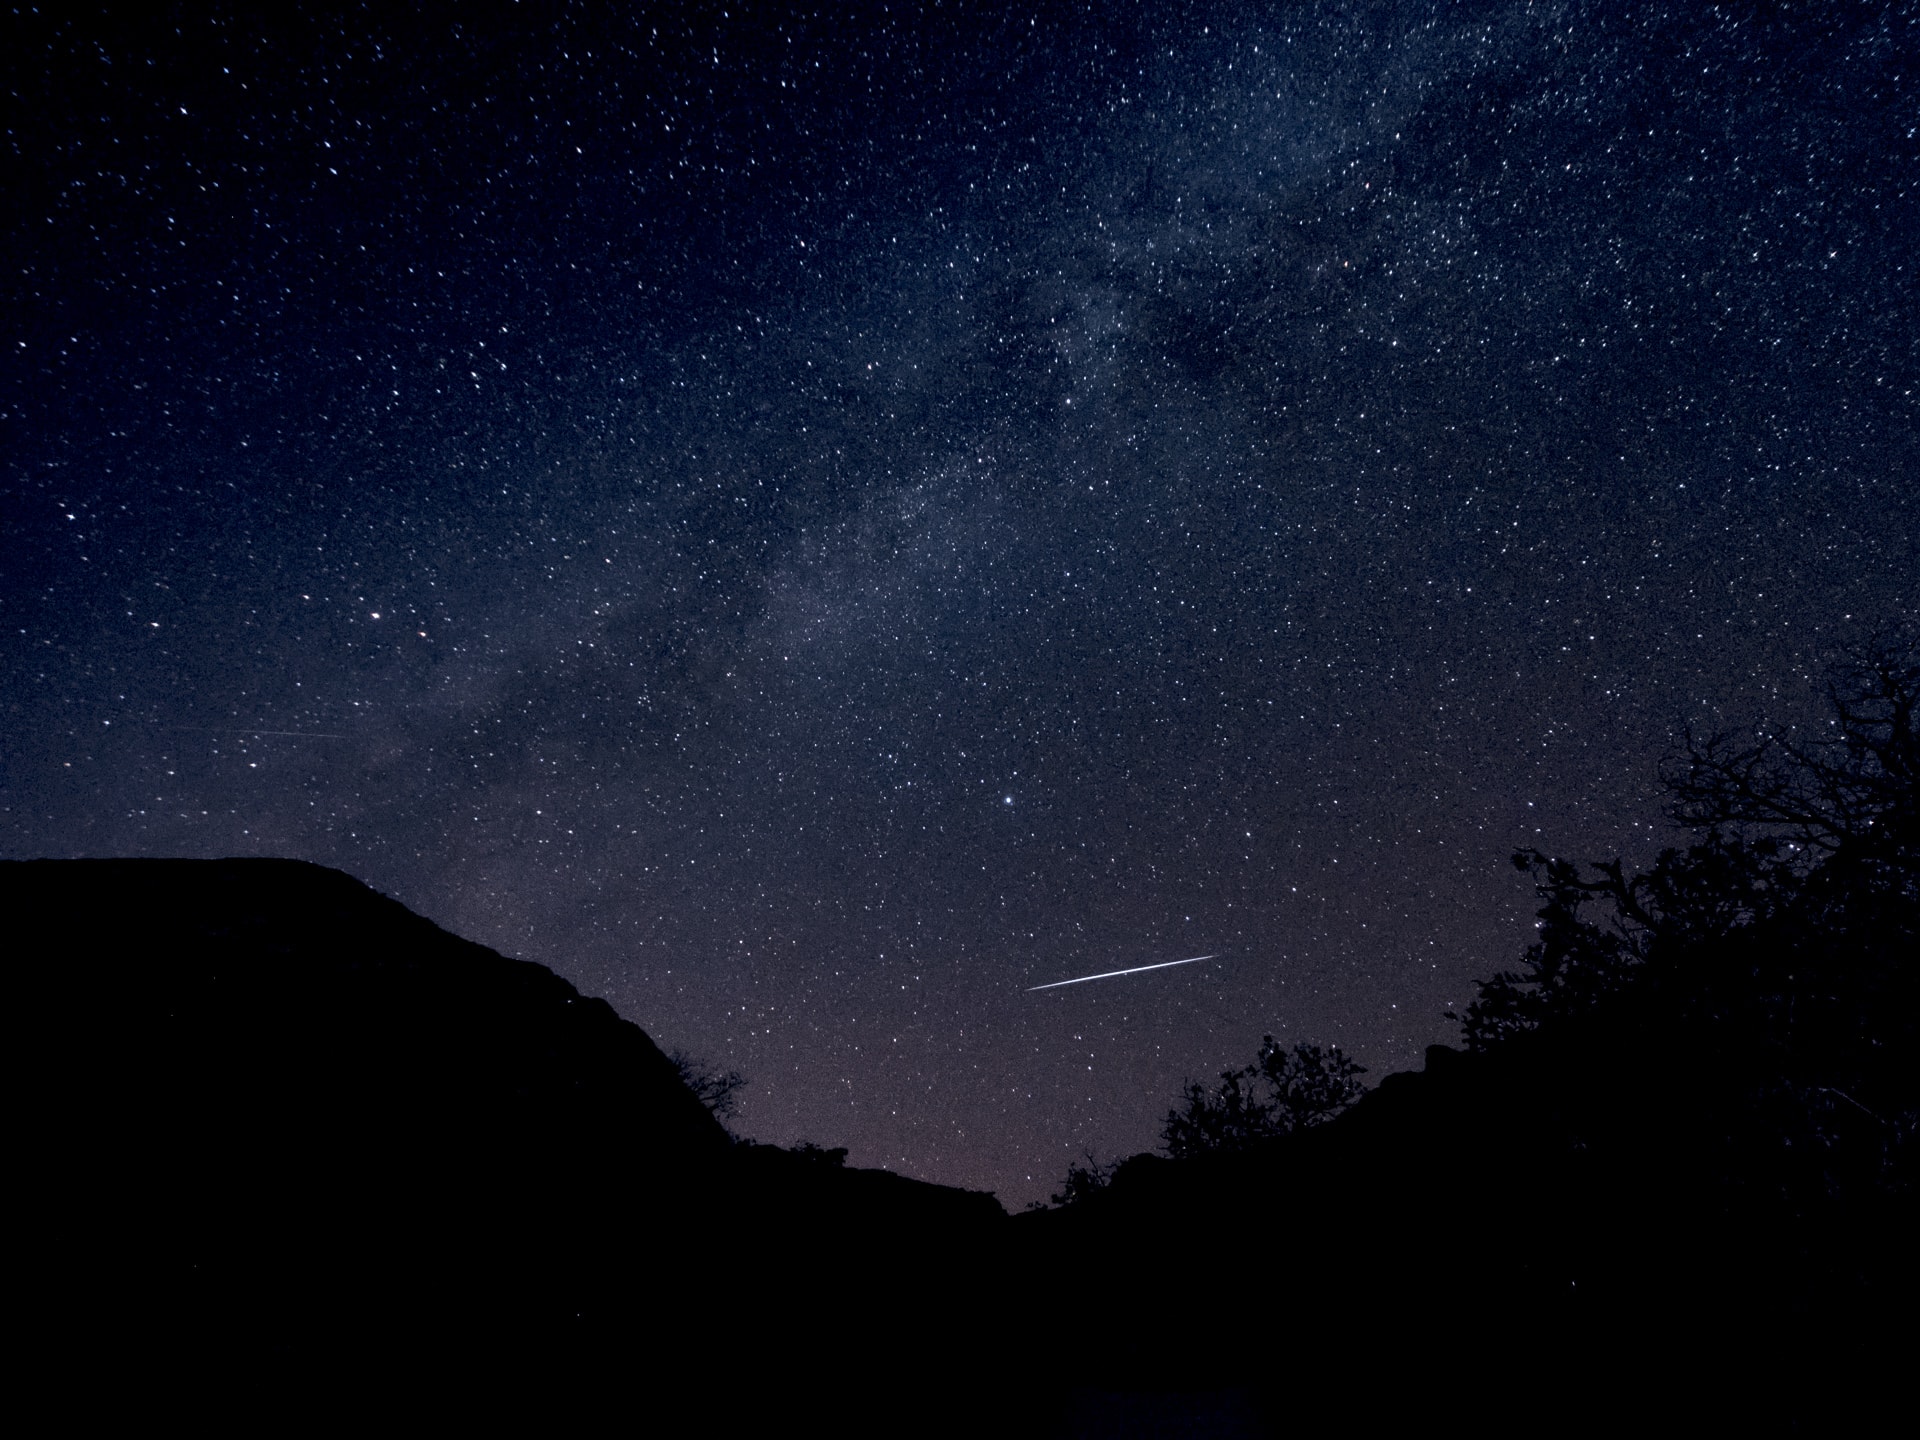
After cleaning up, we set up our tripods and camera gear to capture the amazing night skies. We got lucky with the weather as the skies were clear and our timing was nice because of the new moon and as a bonus, the Geminid Meteor Shower was just beginning. The coolest thing I saw was a line of light moving across the sky. While it was dark on the ground, a plane’s contrail up at 30,000 feet was lit up, but disappeared only a short distance behind it. The effect looked like a train moving across the sky, or even like a white dragon. One of the neatest things I have ever seen! I don’t have video of it, but in the photo below, just imagine that line moving slowly across the sky from left to right, with the line not changing size. Incredible!