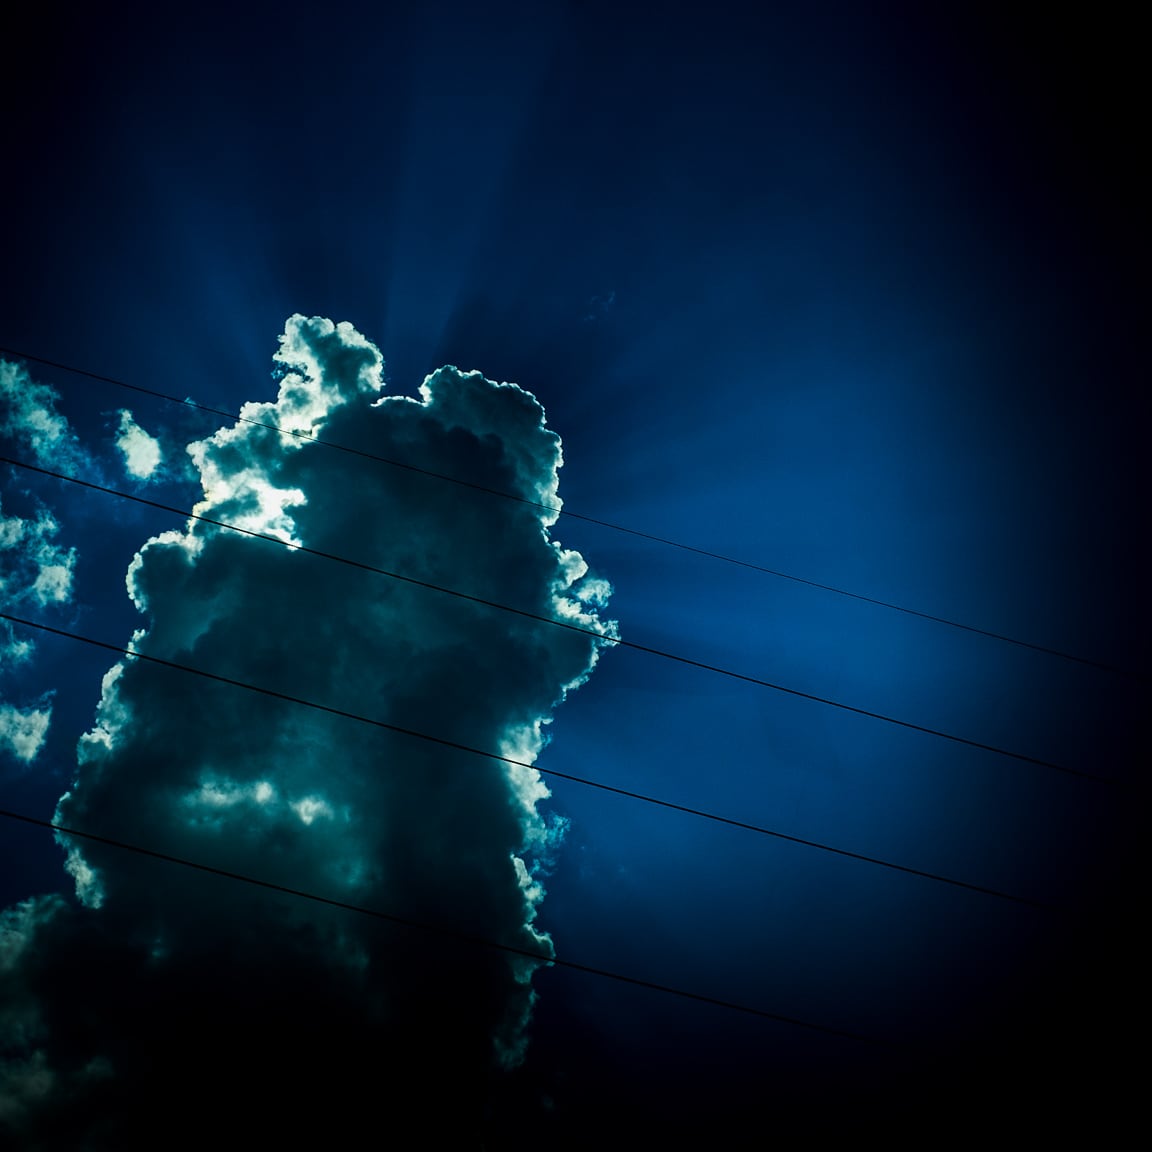
“Cloud” Austin, 2016
こんばんは!
For the past week or so, we’ve been fortunate to have some amazing-looking clouds in the skies here above Austin. ☁️☁️☁️ And of course, I’ve been taking many pictures of them!
The photo above was taken from my car while I was on my way home from work. (Don’t worry, I was stopped at the light) The sky was very bright, with the sun behind the cloud, but the camera was able to capture most of the details. I keep the exposure compensation dial set to underexpose by 1/3 to 2/3 of a stop because I would rather keep my highlights intact and don’t worry about clipping the shadows. In fact, during post-processing, I will often let the left-side of the histogram go full black. I guess I like that high-contrast, richness on the darker side.
As you can see, the image is not very realistic, but I am not really going for capturing reality. I love that there is so much detail in the center of the clouds which you really cannot see with the naked eye. Why not bring it out in the photo? Of course the photo started off as a picture of a real cloud, but I’ve edited it into a version of the cloud as I would like to see it.
There is has been a lot of discussion in the photo blogosphere about Steve McCurry photoshopping his images, with some people feeling betrayed or tricked because of the edits. But I am not bothered by the photo manipulation. If you are creating art, then go for it! If you are documenting real-life, then don’t edit. That’s fine too. But be honest and don’t deceive people. If someone asks me if my photo has been edited, I’m more than happy to explain exactly what I edited. That’s part of the process.
Even as I take photos of everyday life, I will do some amount of editing. That happens before I even press the shutter button since I have already chosen my film simulation and highlight, shadow, and sharpness settings.
For my post-processing in Lightroom (version 5x), here are the steps I typically follow:
- Level and/or “upright” – I will use the level tool in the cropping area to make sure horizons are level, and for architectural photos, I’ll use the Upright tool in the Lens Correction section. I didn’t do this step for the cloud photo, however.
- Crop – My preferred aspect ratio these days is 4×5, but this photo was taken square in-camera.
- Remove dust, distracting smudges, or dirt – Spot removal tool. I didn’t need to for this photo.
- Adjust white balance – Using the eyedropper as a start. Typically only needed for indoor shots.
- Adjust tone-curve – I have saved a preset, a gentle S-curve, which adds contrast.
- Tweak the exposure – Exposure, highlights, shadows, whites, and blacks sliders.
- Adjust color – Vibrance, saturation, HSL. For this image, I brought the saturation down a bit.
- Add grain and/or a vignette – Just a vignette for this image, albeit a strong one. I used a combination of Vignette in the Effects section, and then a few graduated filters with lower exposure.
- Export – Resizing and saving for blog, Flickr, and Instagram.
Nine steps looks like a lot, but I can usually get through them in less than 3 minutes. I try to spend as little time in Lightroom as possible!
Well, this blog post kind of grew, didn’t it? 😝
I hope you had a nice Wednesday, and let’s have a great Thursday!
おやすみなさい! – B ![]()