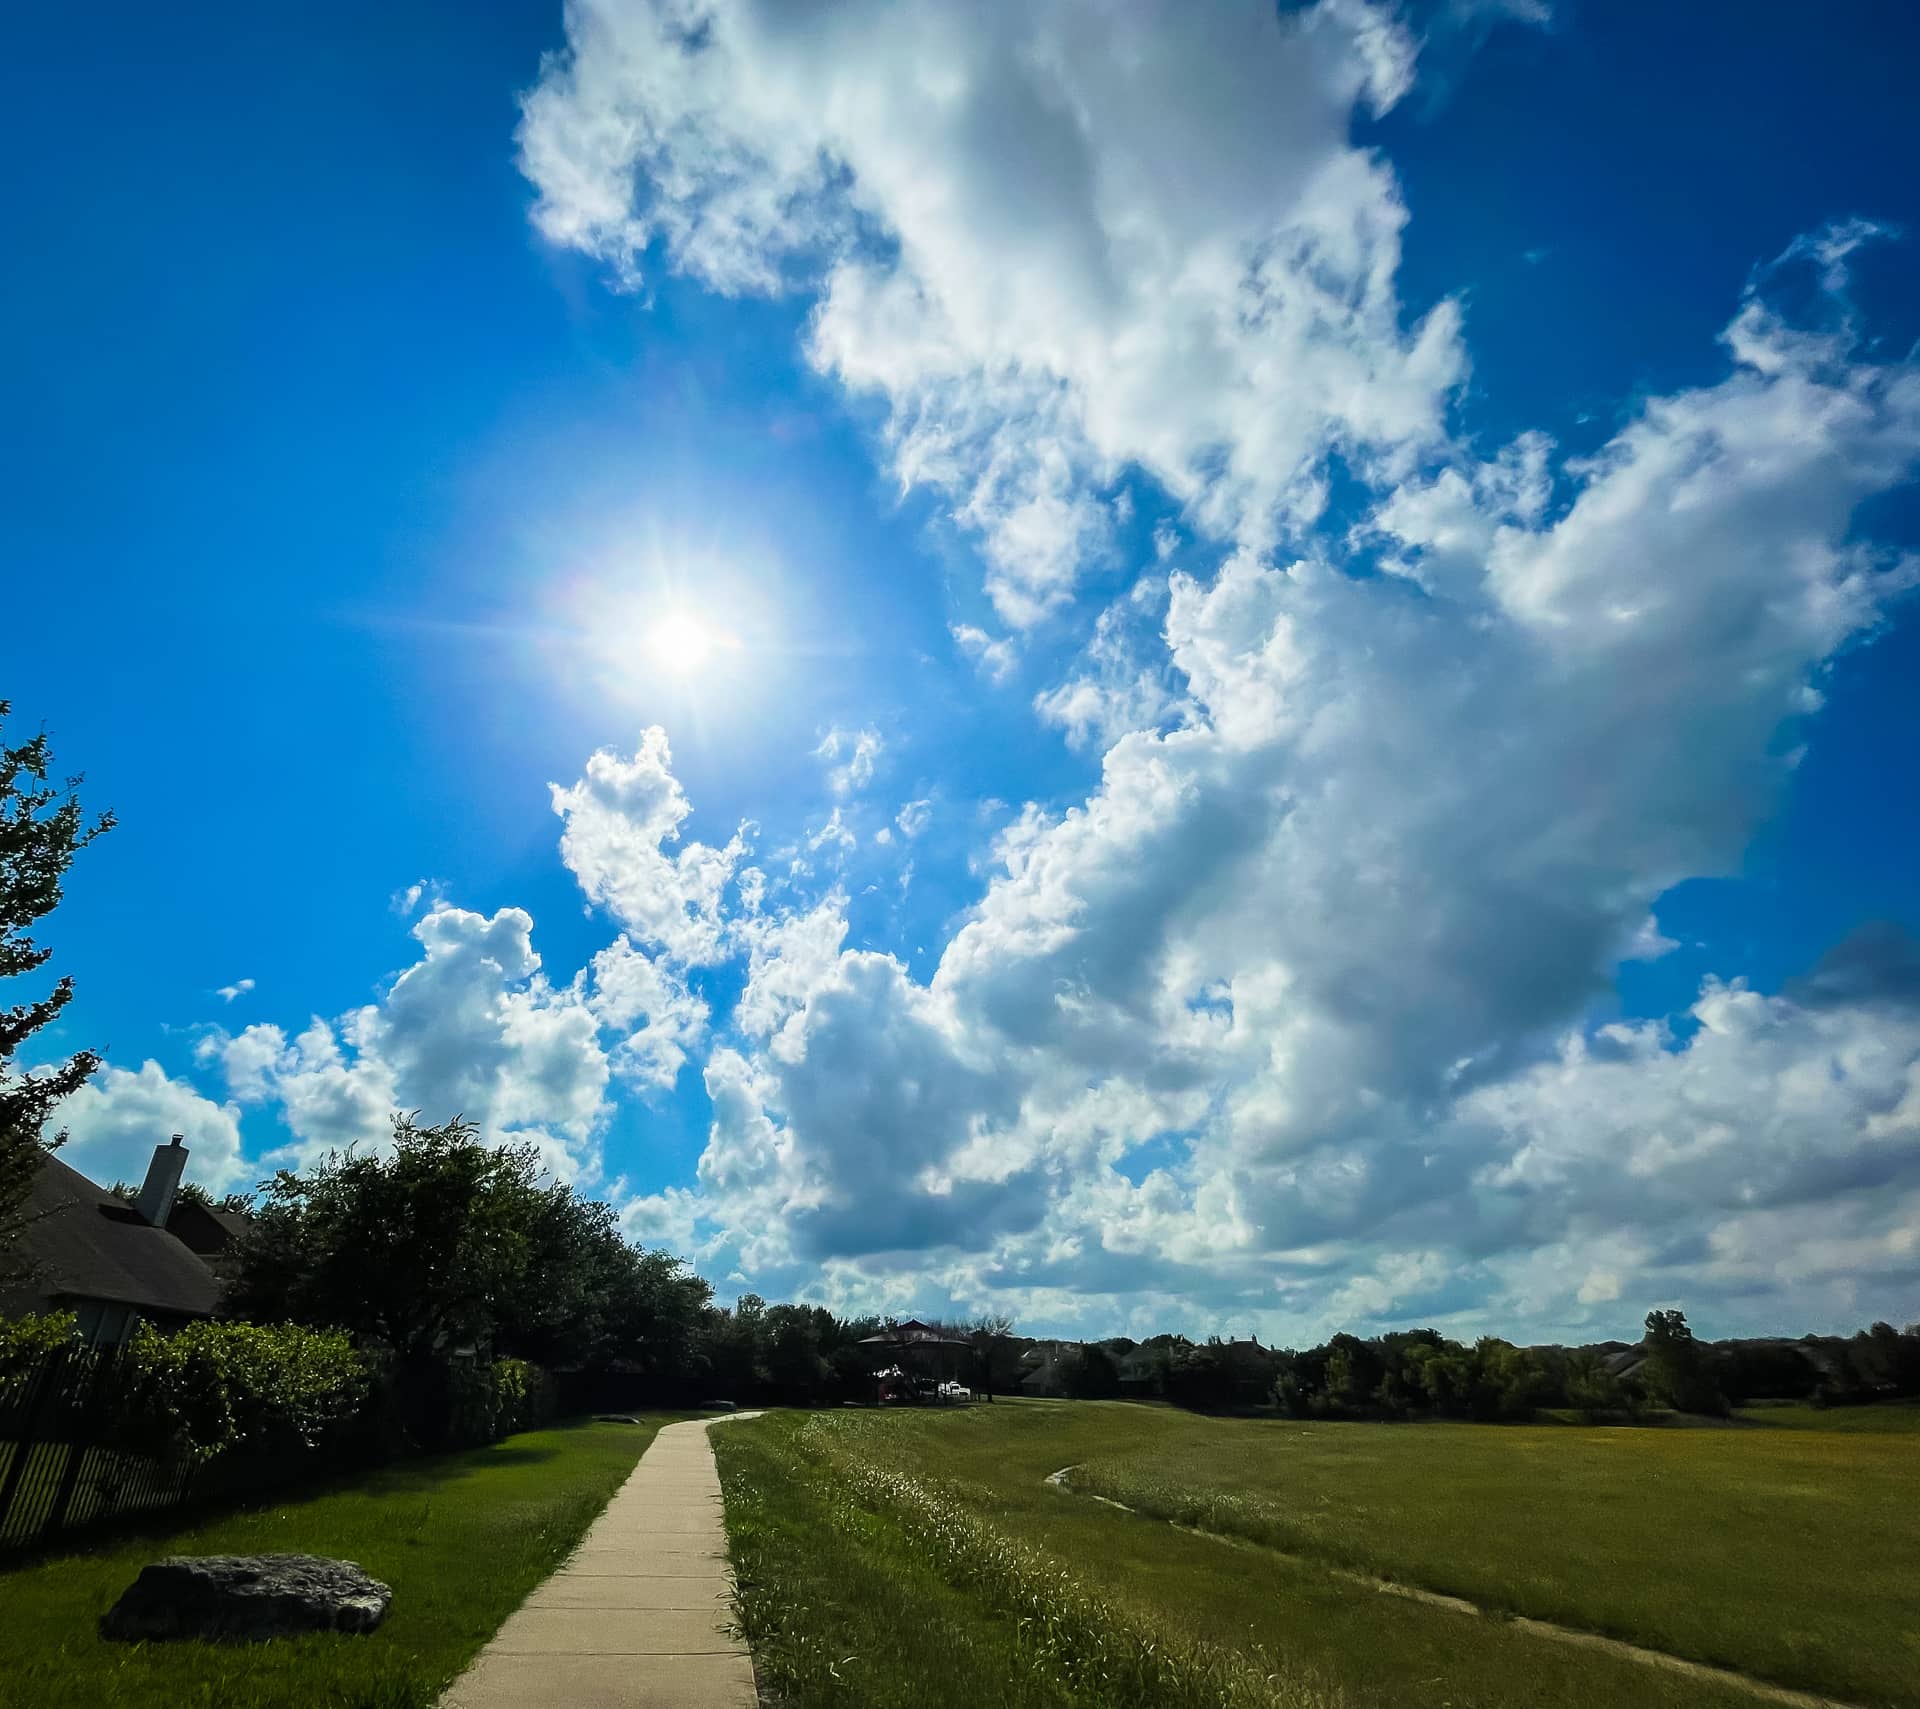
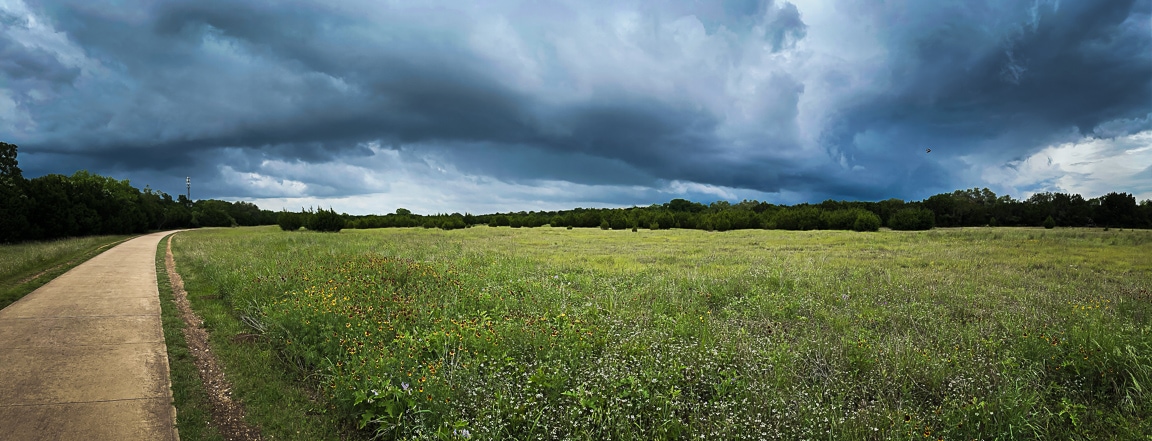
Photo info: Apple iPhone 12 mini, 1.55mm, f/2.4, 1/16000 sec, ISO40 “Sunny Day” Cedar Park, 2021
The sun reappeared at full strength today after a few days of rain. I took advantage of the great weather to go for a run after work, and then later I even went for a short bicycle ride. I love the longer days… and I love the beautiful clouds in the skies. 😊
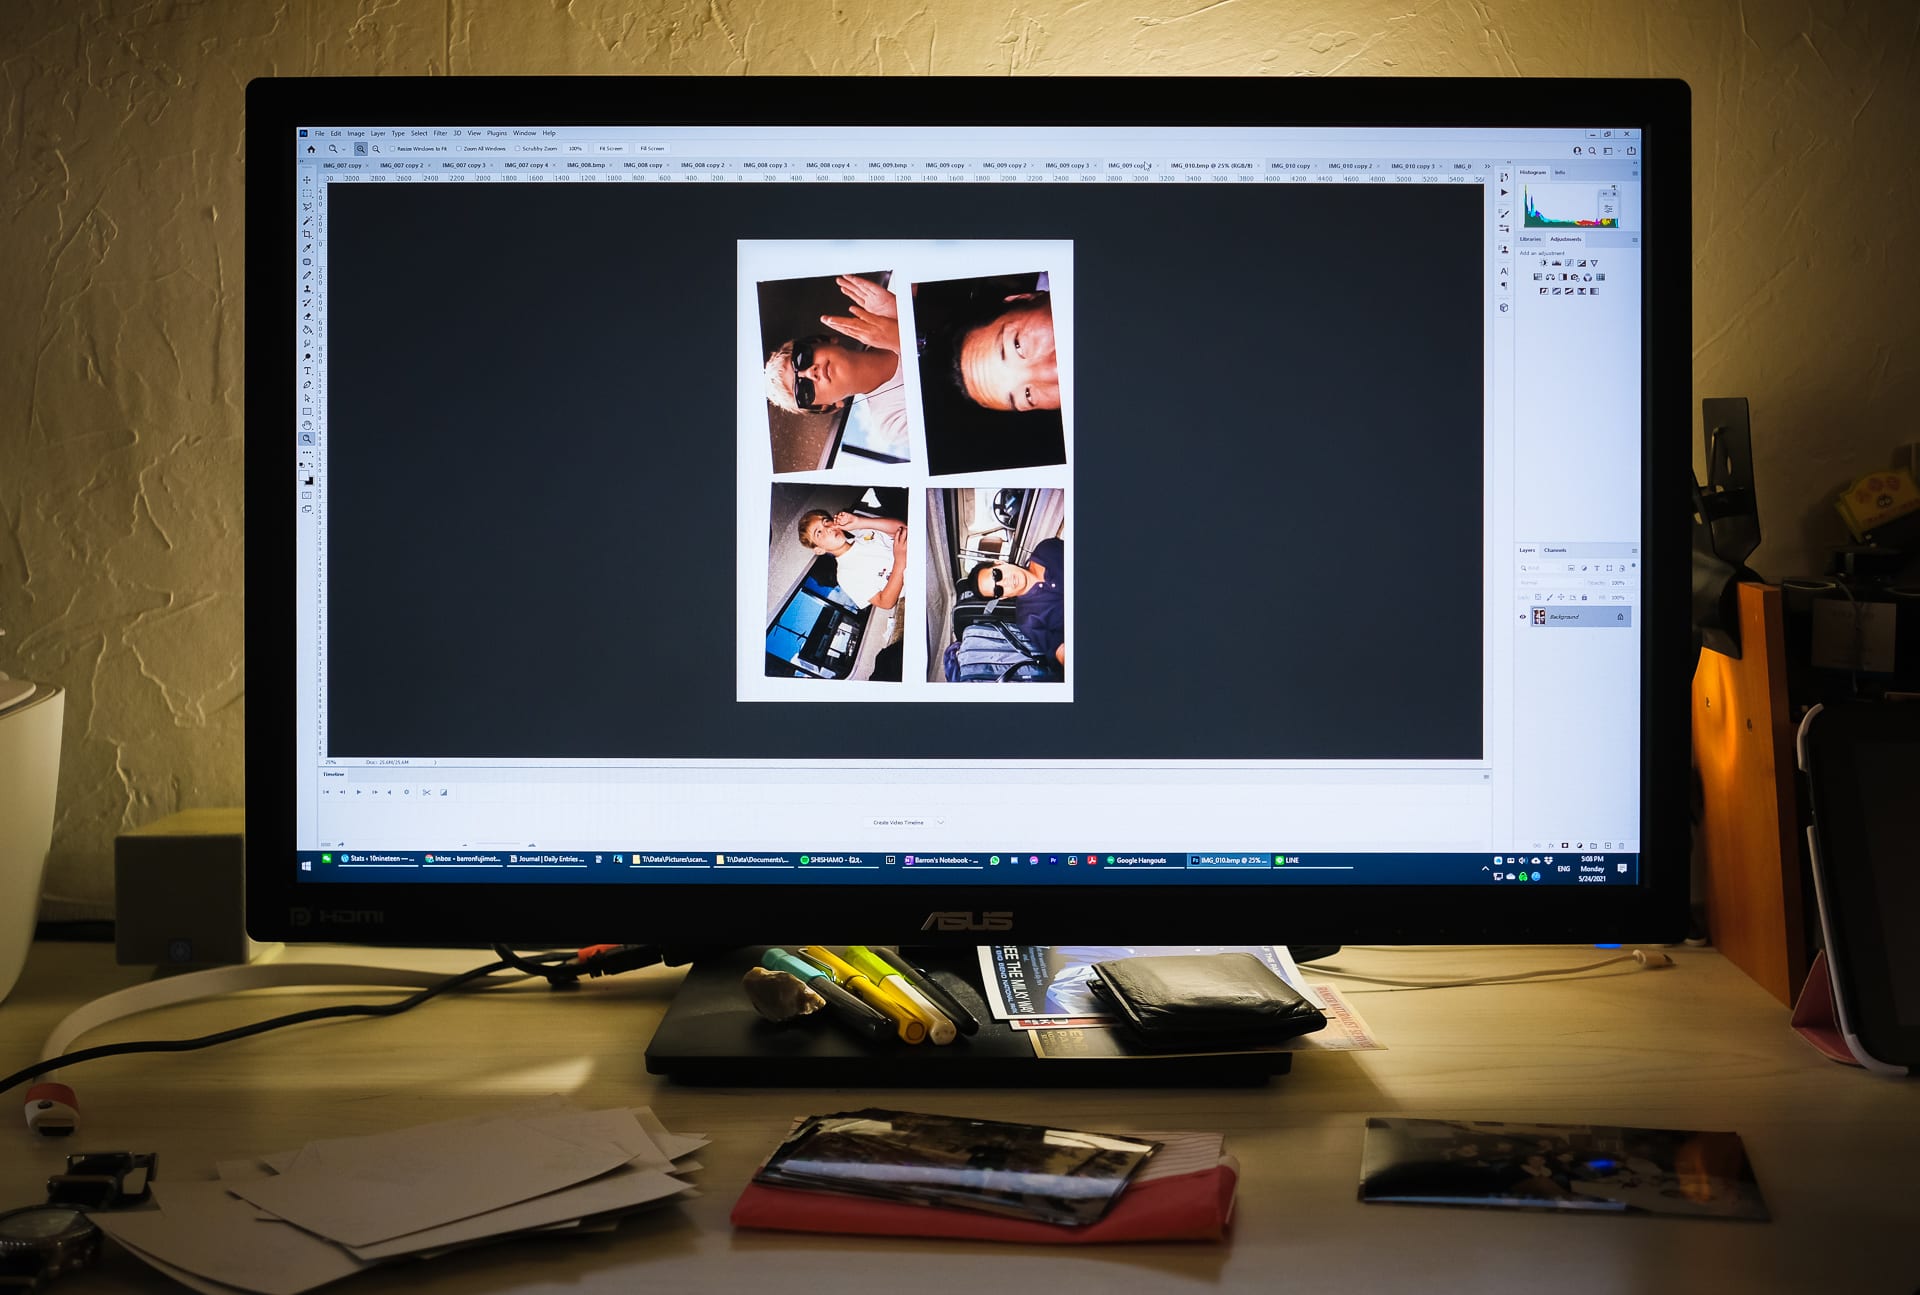
Photo info: FUJIFILM X-E4, 27mm, f/2.8, 1/100 sec, ISO800 “Scanning Snapshots” Cedar Park, 2021
I’ve started scanning in old print photos in an effort to declutter the home office and make it easier to browse. I find it much more convenient to look at photos on the computer or iPad than opening a box of snapshots. However, I never started on the large scanning project until now.
It took a bit of tweaking the workflow, but I think I have optimized and automated it as best as I could using my Epson 4490 Scanner and Adobe Photoshop. The basic steps are:
Place multiple photos on the scanner bed. I can fit four 3×5″ or two 4×6″ photos per scan. I find it best to offset/skew the photos a bit so that they DO NOT line up. This will help out later.
In Photoshop, choose File > Import > WIA Support… Select a destination folder and check “Open Acquired…”, then Enter. Next select the scanner and Enter. For my particular scanner, I have the option to scan at a custom DPI, and I chose 300 DPI. I have the scan area set to the entire scanner bed, and I do not use Preview. Just Scan. I mapped the F9 key to launch WIA Support, so I can just type F9, Enter, Enter, C (to select custom), and Enter. The scanner will do it’s thing, and the BMP will open in Photoshop. The destination folder is where Photoshop will save the BMP files, which I will delete later.
Choose File > Automate > Crop and Straighten Photos. This will create separate images for each photo in the BMP file (see the photo above). I’ve set this command to be my F10 key. If the photos are too close together or lined up too well on the scanner bed, Photoshop might think they are a single photo, which is why it’s better to place them askew on the scanner bed. In my workflow, I CTRL+TAB to check the images and rotate any images that need it (I have F12 mapped to Rotate 90 degrees clockwise). At this point you can save each image if you’d like, but since I want to scan many more photos, I remove the photos from the scanner, and begin again.
After I have scanned several batches of photos (and Photoshop is filled with windows), it’s time to save the files. Because the cropped/straightened images are not actually saved as files, the Image Processor script I want to use in Step 5 will not work (yet). So, we need to temporarily save all the open images. The easiest way I’ve found is to type CTRL+ALT+W to close all images. In the dialog box, check Apply to All, then Yes. In the next dialog box, select a folder where the individual BMP files will be saved. Then I just hit enter for each subsequent dialog box.
Next, I will save all the BMP files as JPGs. In Photoshop, choose File > Scripts > Image Processor… In the dialog box’s step 1 section, choose the folder where you saved the individual BMPs from Step 4. In the next section, I then to save the processed image into a new folder. Choose any other desired settings, then click Run. I mapped the F11 key to run the Image Processor. You will now have a folder full of JPG images!
Lastly, delete all the BMPs that were created in Step 4 (and step 2 if you wish) and you can start on the next batch.
That’s pretty much the process I have been using and it works well for me. What’s nice is that Photoshop will create new names for each file (and not overwrite). I definitely recommend mapping the keys for the Photoshop menu items. It makes it much quicker!
Here’s my process in a nutshell: Put the photos on the scanner, type F9, Enter, Enter, C, Enter. I wait for the scanner to finish, then hit F10. CTRL+TAB to check the photos and F12 any photos that need rotating. Then I start the next batch of scanning. After I have many open files, I hit CTRL+ALT+W to save and close the files. Then F11 to create the JPG files. Delete the BMP files and begin the next batch. Easy-peasy! I don’t even need to touch the mouse except to delete the BMPs in File Explorer.
I hope this helps out anyone who wants to scan a bunch of snapshots!
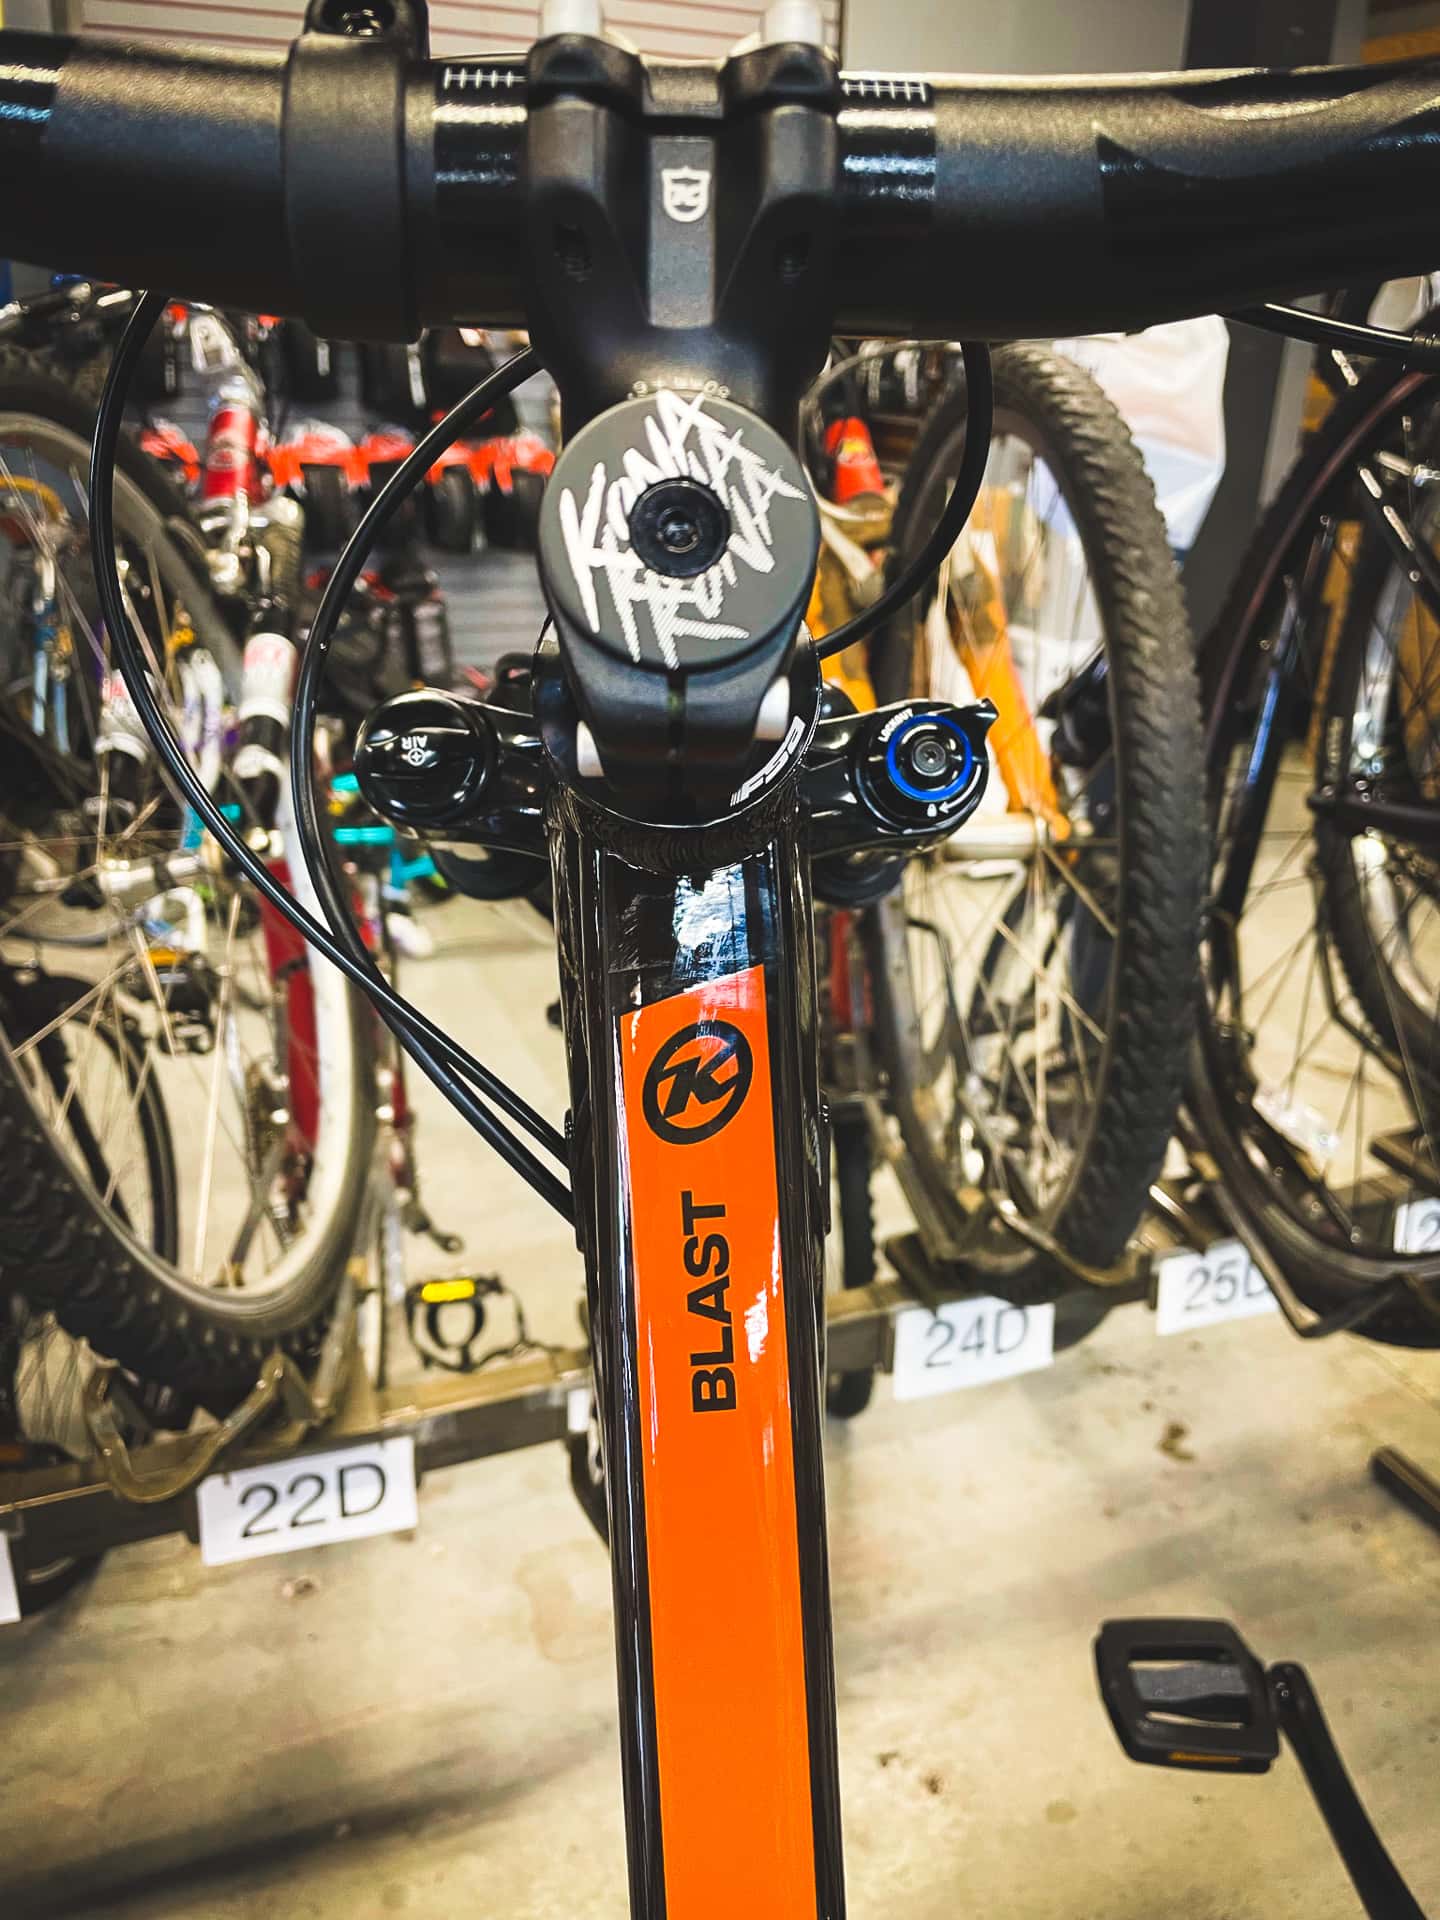
Photo info: Apple iPhone 12 mini, 4.2mm, f/1.6, 1/60 sec, ISO320 “Kona Blast” Cedar Park, 2021
At the bike store, I spotted the 2021 version of my year 2000 bicycle. The Blast has been in Kona’s lineup year-after-year as a mid-tier hardtail mountain bike, which I think is amazing. Even 21 years later, the Blast features the Shimano Deore drivetrain! And even the color scheme is similar… orange and black.
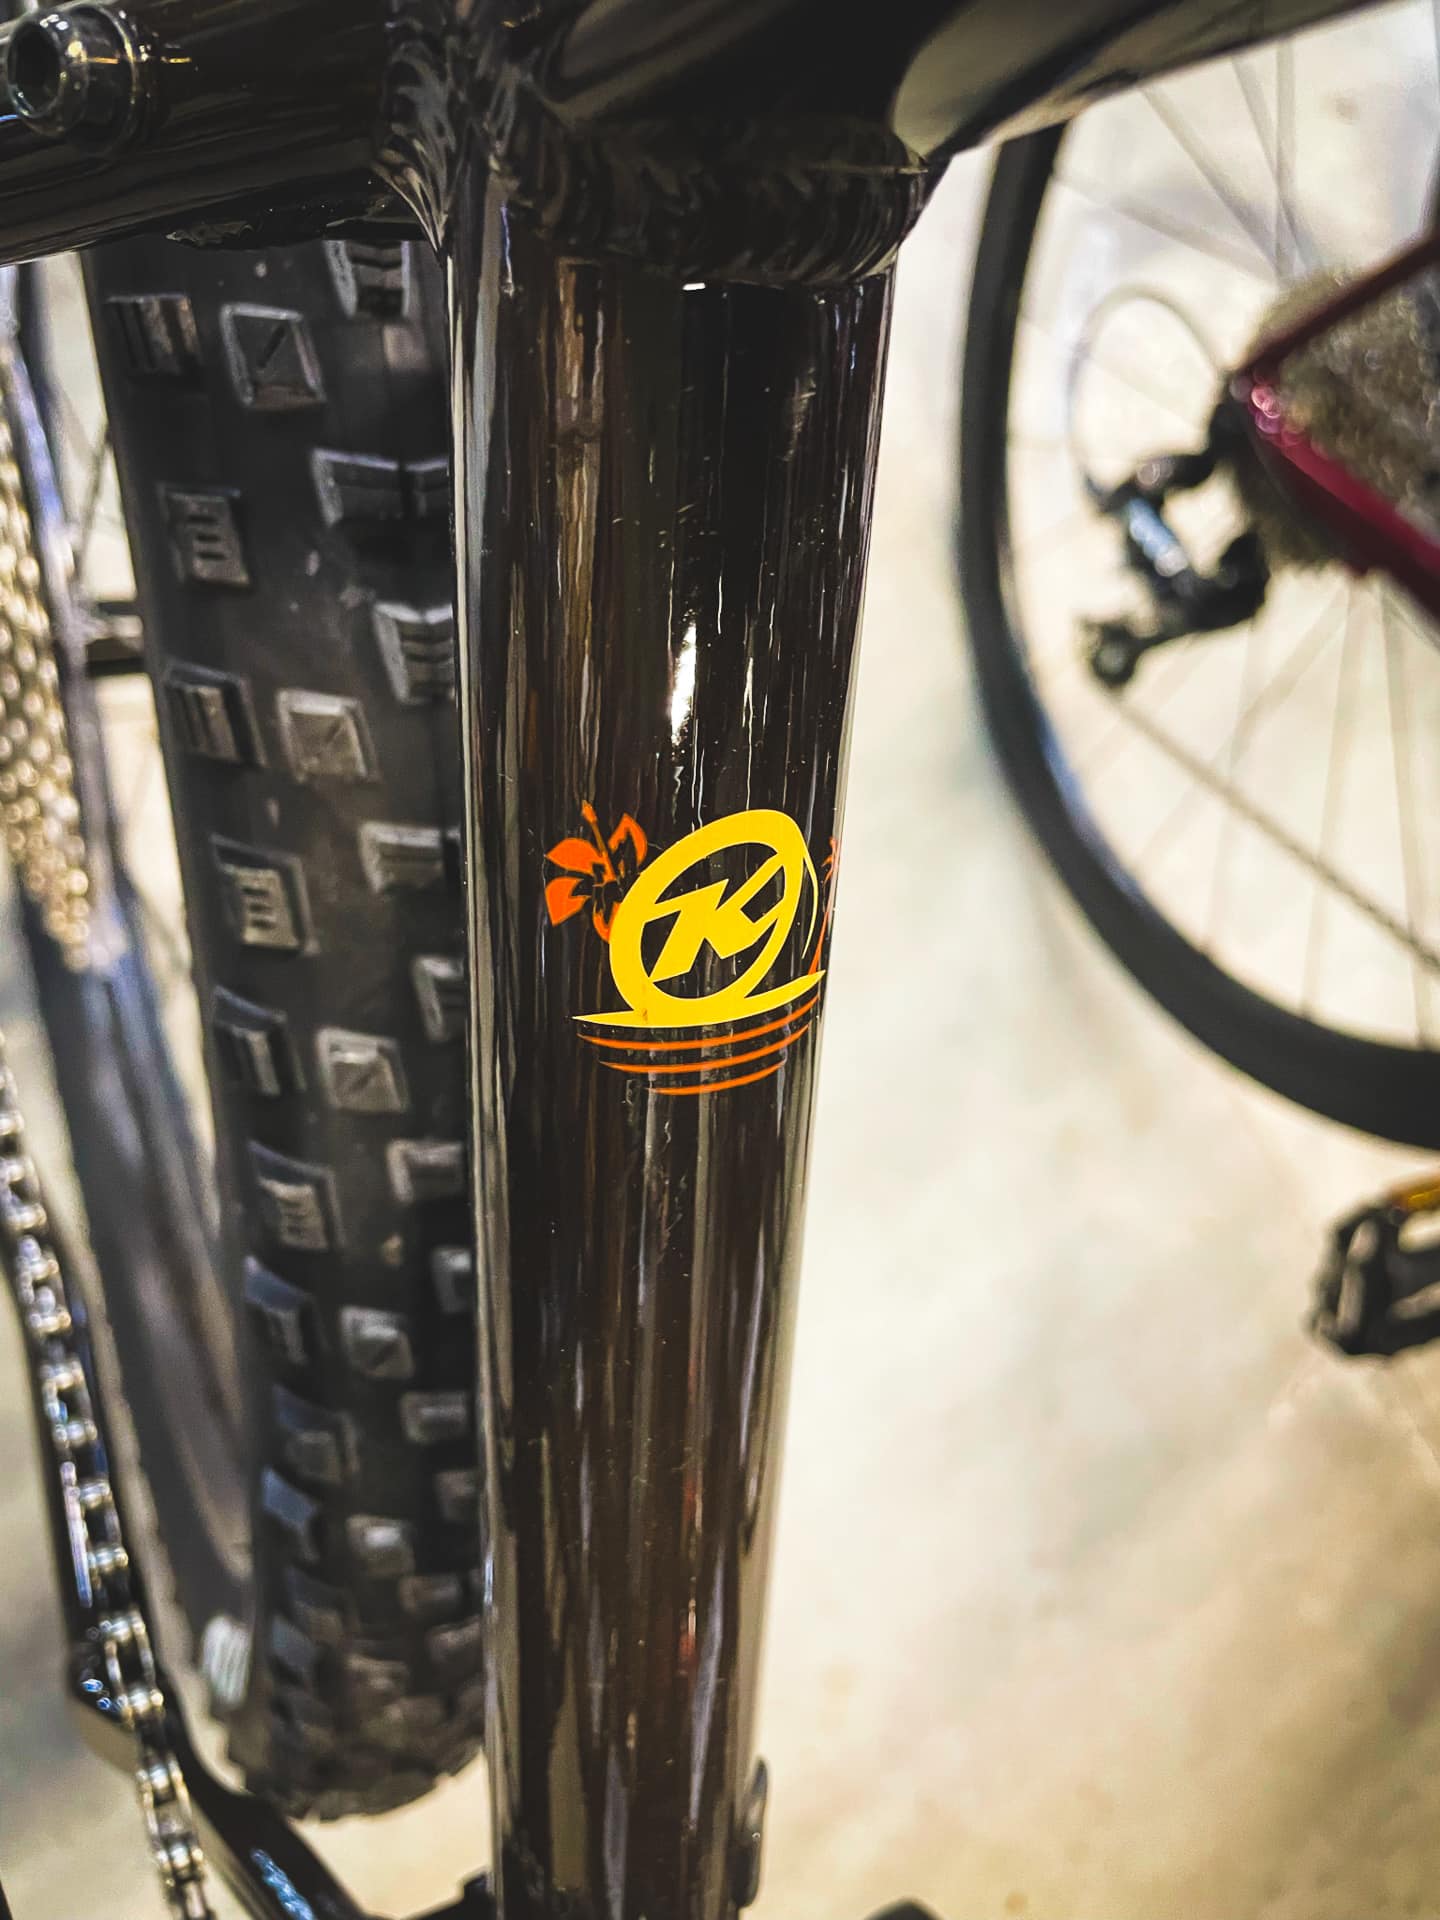
I’m not in the market for another bicycle, especially a modern mountain bike, so I wasn’t really tempted to purchase it, but it was cool to see the descendant of Mango!
Photo info: Apple iPhone 12 mini, 4.2mm, f/1.6, 1/60 sec, ISO400 “Kona” Cedar Park, 2021
Photo info: Apple iPhone 12 mini, 4.2mm, f/1.6, 1/2300 sec, ISO32 “Stormy Run” Cedar Park, 2021
Today I went for a 12-kilometer run at the nearby hike and bike trail. The weather has been stormy but there was a bit of a break in the clouds so I decided to head out for some exercise. I didn’t plan on running too far but I felt so good that I kept on going even though the clouds were threatening to unleash a downpour. Sure enough, at around the halfway point (where I turned around to head home), the heavens opened up and it started pouring.
The rain actually felt amazing! My body felt so strong and alive and I kind of felt invincible as I splashed through the puddles on the flooded path. I’ve never run in such a heavy downpour before, where I was completely drenched, and I could see it being very unpleasant if it were cold, but today was in the 70s so it was perfect.
My only concern was that my phone would get damaged, but when I pulled it out of my waist-belt at home, it was completely dry. My iPhone 12 Mini has a water-resistance rating of IP68, which means it can withstand being underwater at “maximum depth of 6 meters up to 30 minutes” so I shouldn’t have anything to worry about even if my waist-belt gets wet.
One observation I had is that if I wasn’t wearing my hat, the run wouldn’t have been as fun. The brim of my hat kept my glasses pretty dry and my vision clear. Without the hat, I would have been constantly wiping squinting and wiping the water from my face.
I never run without the waist-belt and sports cap these days. The belt holds my phone and ID, and I can quickly get my phone out to take photos, then put it back and be on my way. Of course the hat is great to keep the sun out of my eyes, but now I know that it’s useful for keeping the rain out as well. I really recommend getting a belt and a hat for running!
BTW, if you are on Strava, let’s connect so that we can cheer each other on!
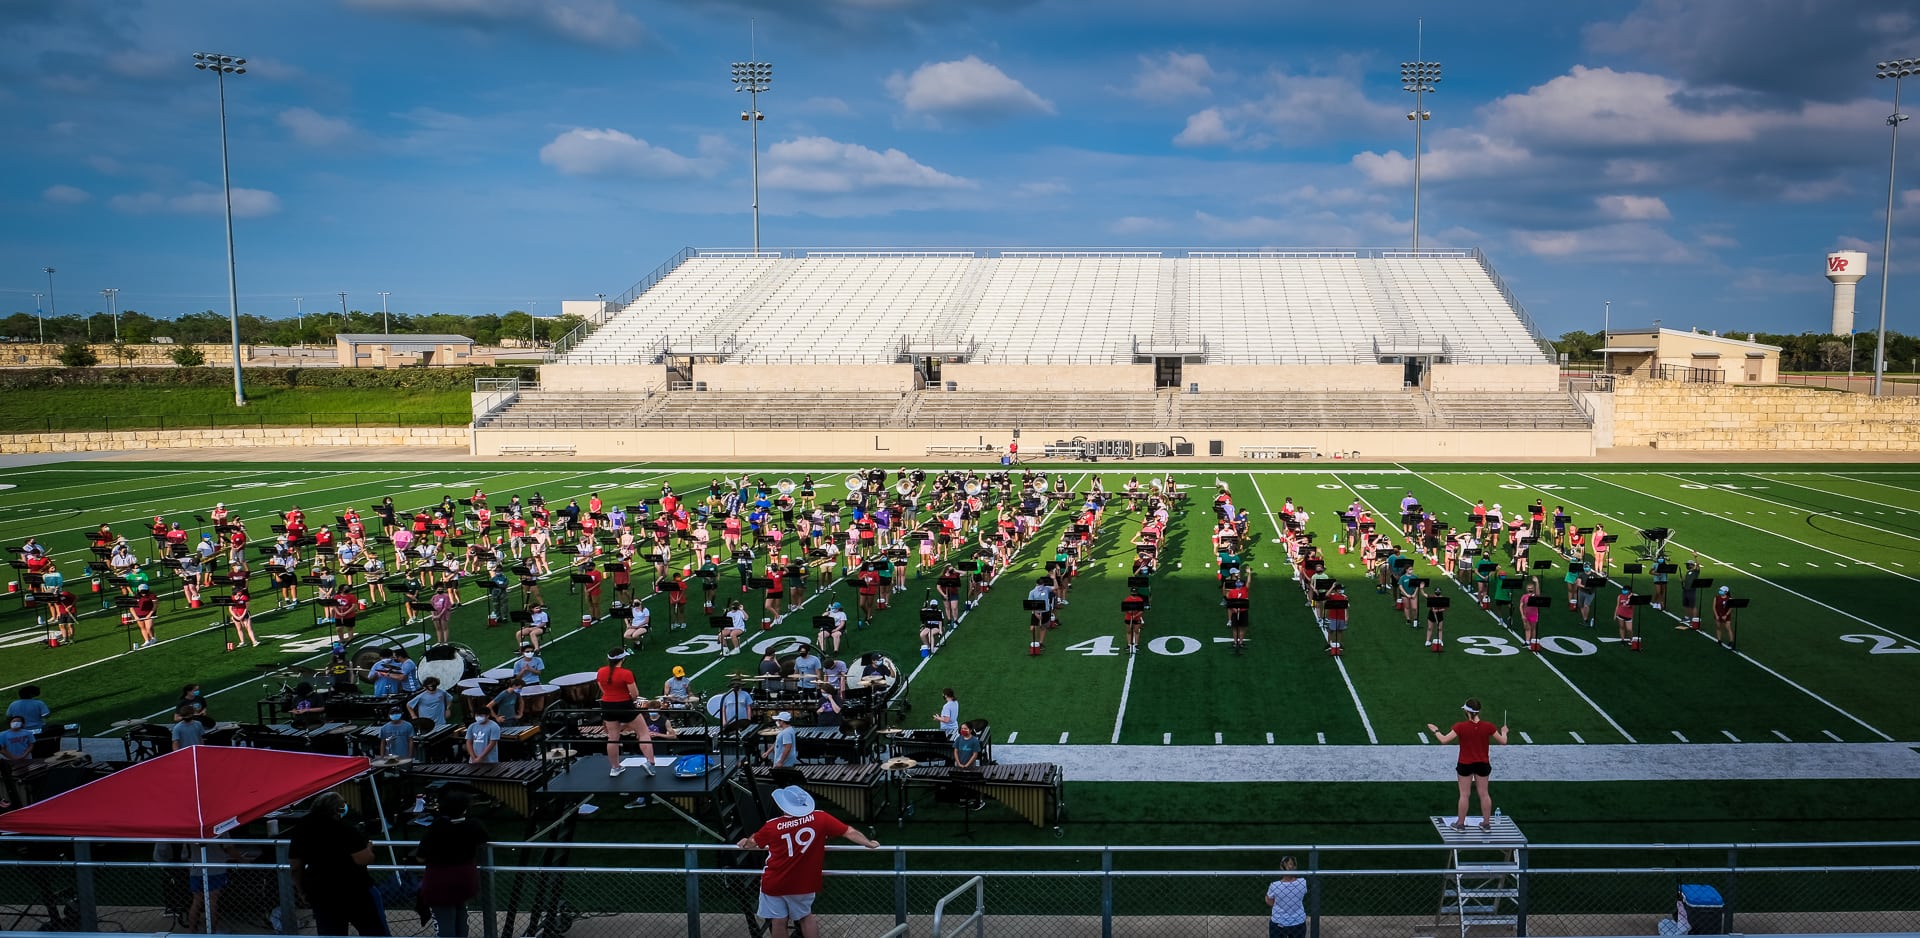
Photo info: FUJIFILM X-E4, 18mm, f/6.4, 1/1250 sec, ISO320 “VRHS Ranger Marching Band” Cedar Park, 2021
This evening we went to the neighborhood stadium to watch the high school band perform their upcoming show that they will be featuring next school year. It was a beautiful evening and so nice to be back outside doing something “normal”.
I’d say 80% of the audience was wearing masks, even though they band directors asked that everyone continue to mask up. 🙄 I’m not so worried since my family is vaccinated, but there’s still a chance that you could get sick so we had our masks on the whole time. The entire band wore masks (except when playing wind instruments) so it’s not such a big ask that the parents all mask up as well.
Anyway, it was a fun night and the band sounded great. I can’t wait to hear the music in a competition setting!
Like this:
LikeLoading...
My camera & photos
I use a Fujifilm X-series camera for most of the photos on this site and my Instagram. Why not pick one up for yourself?