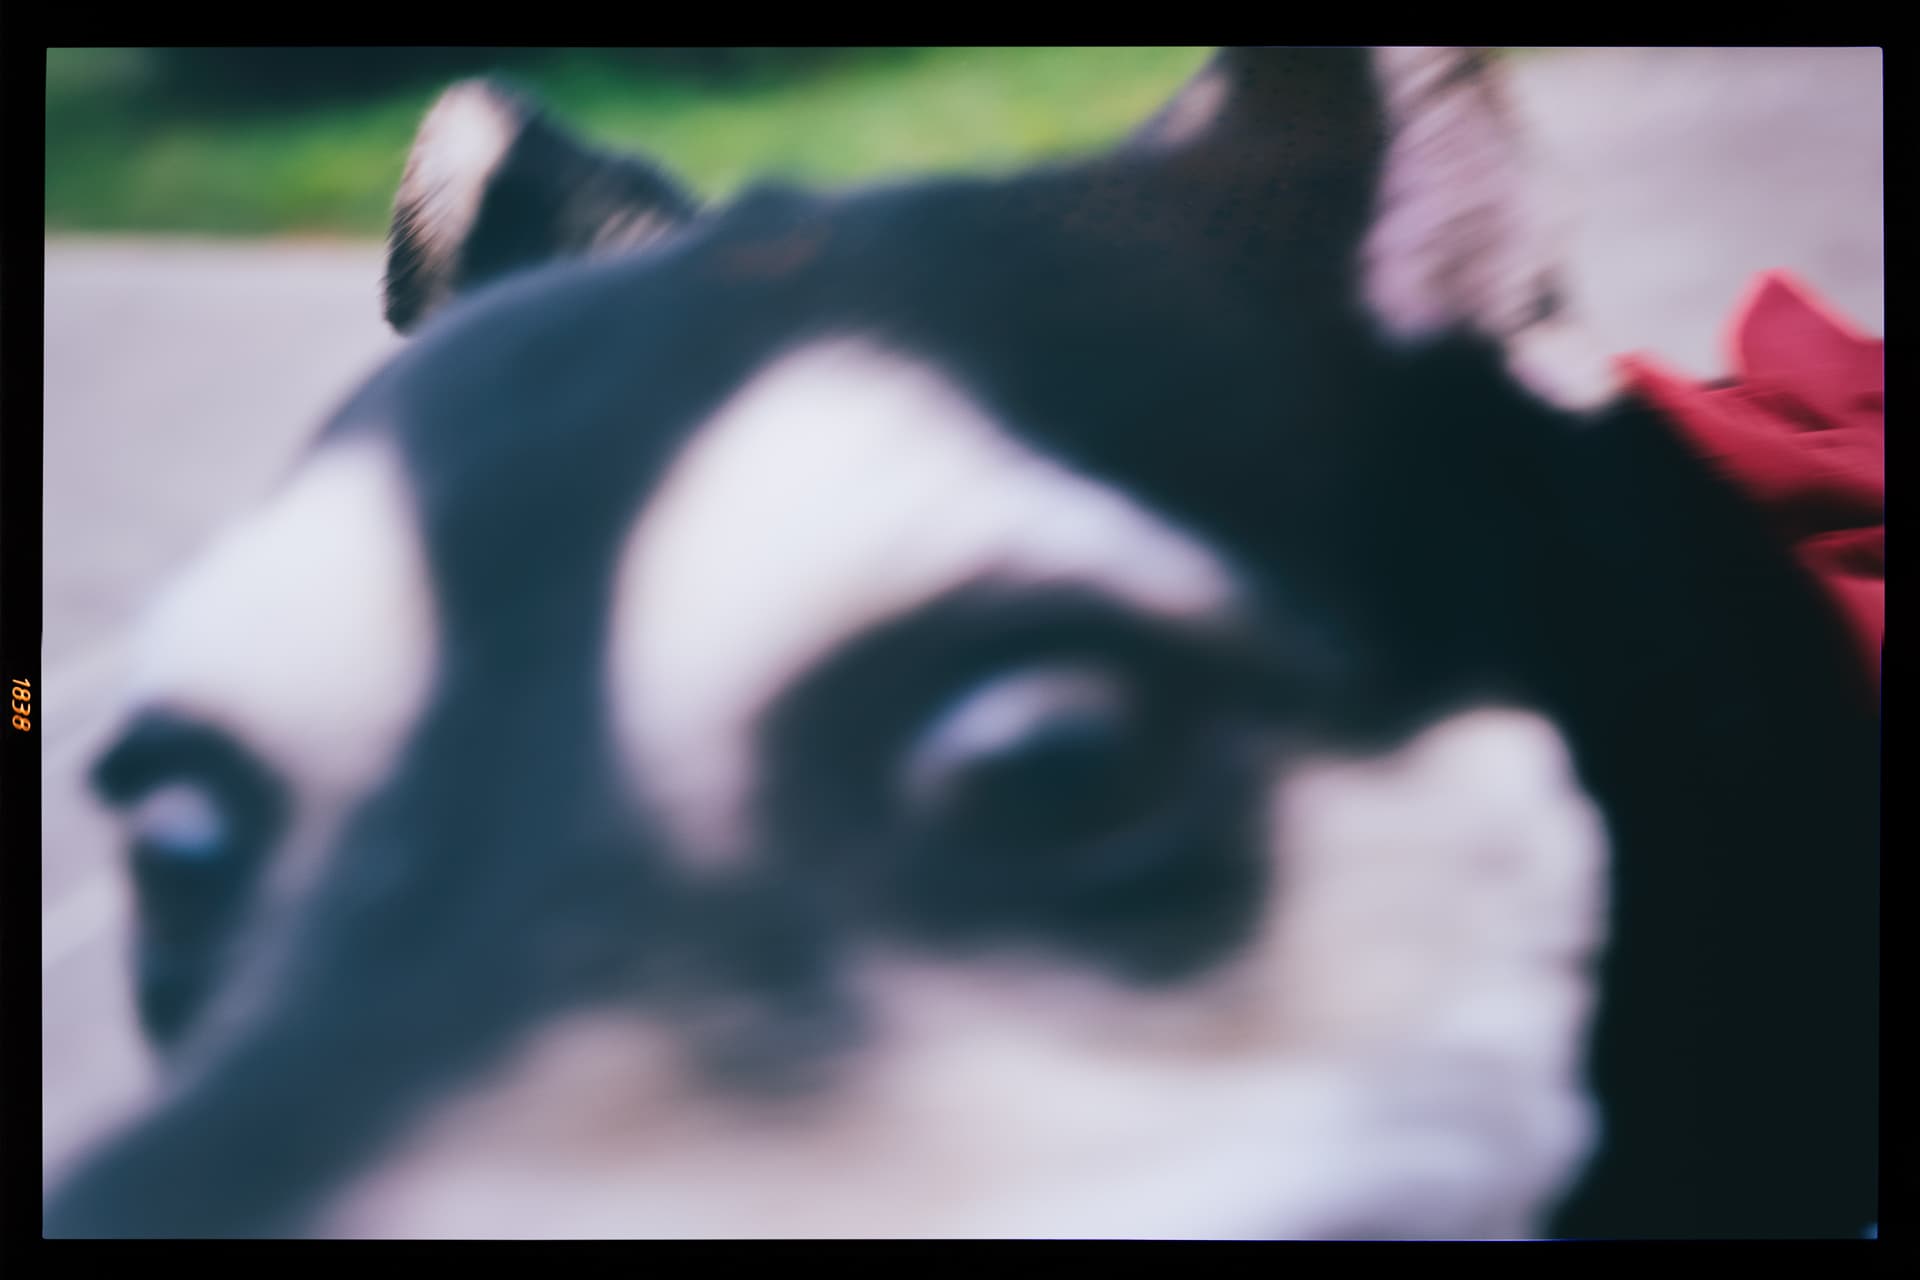
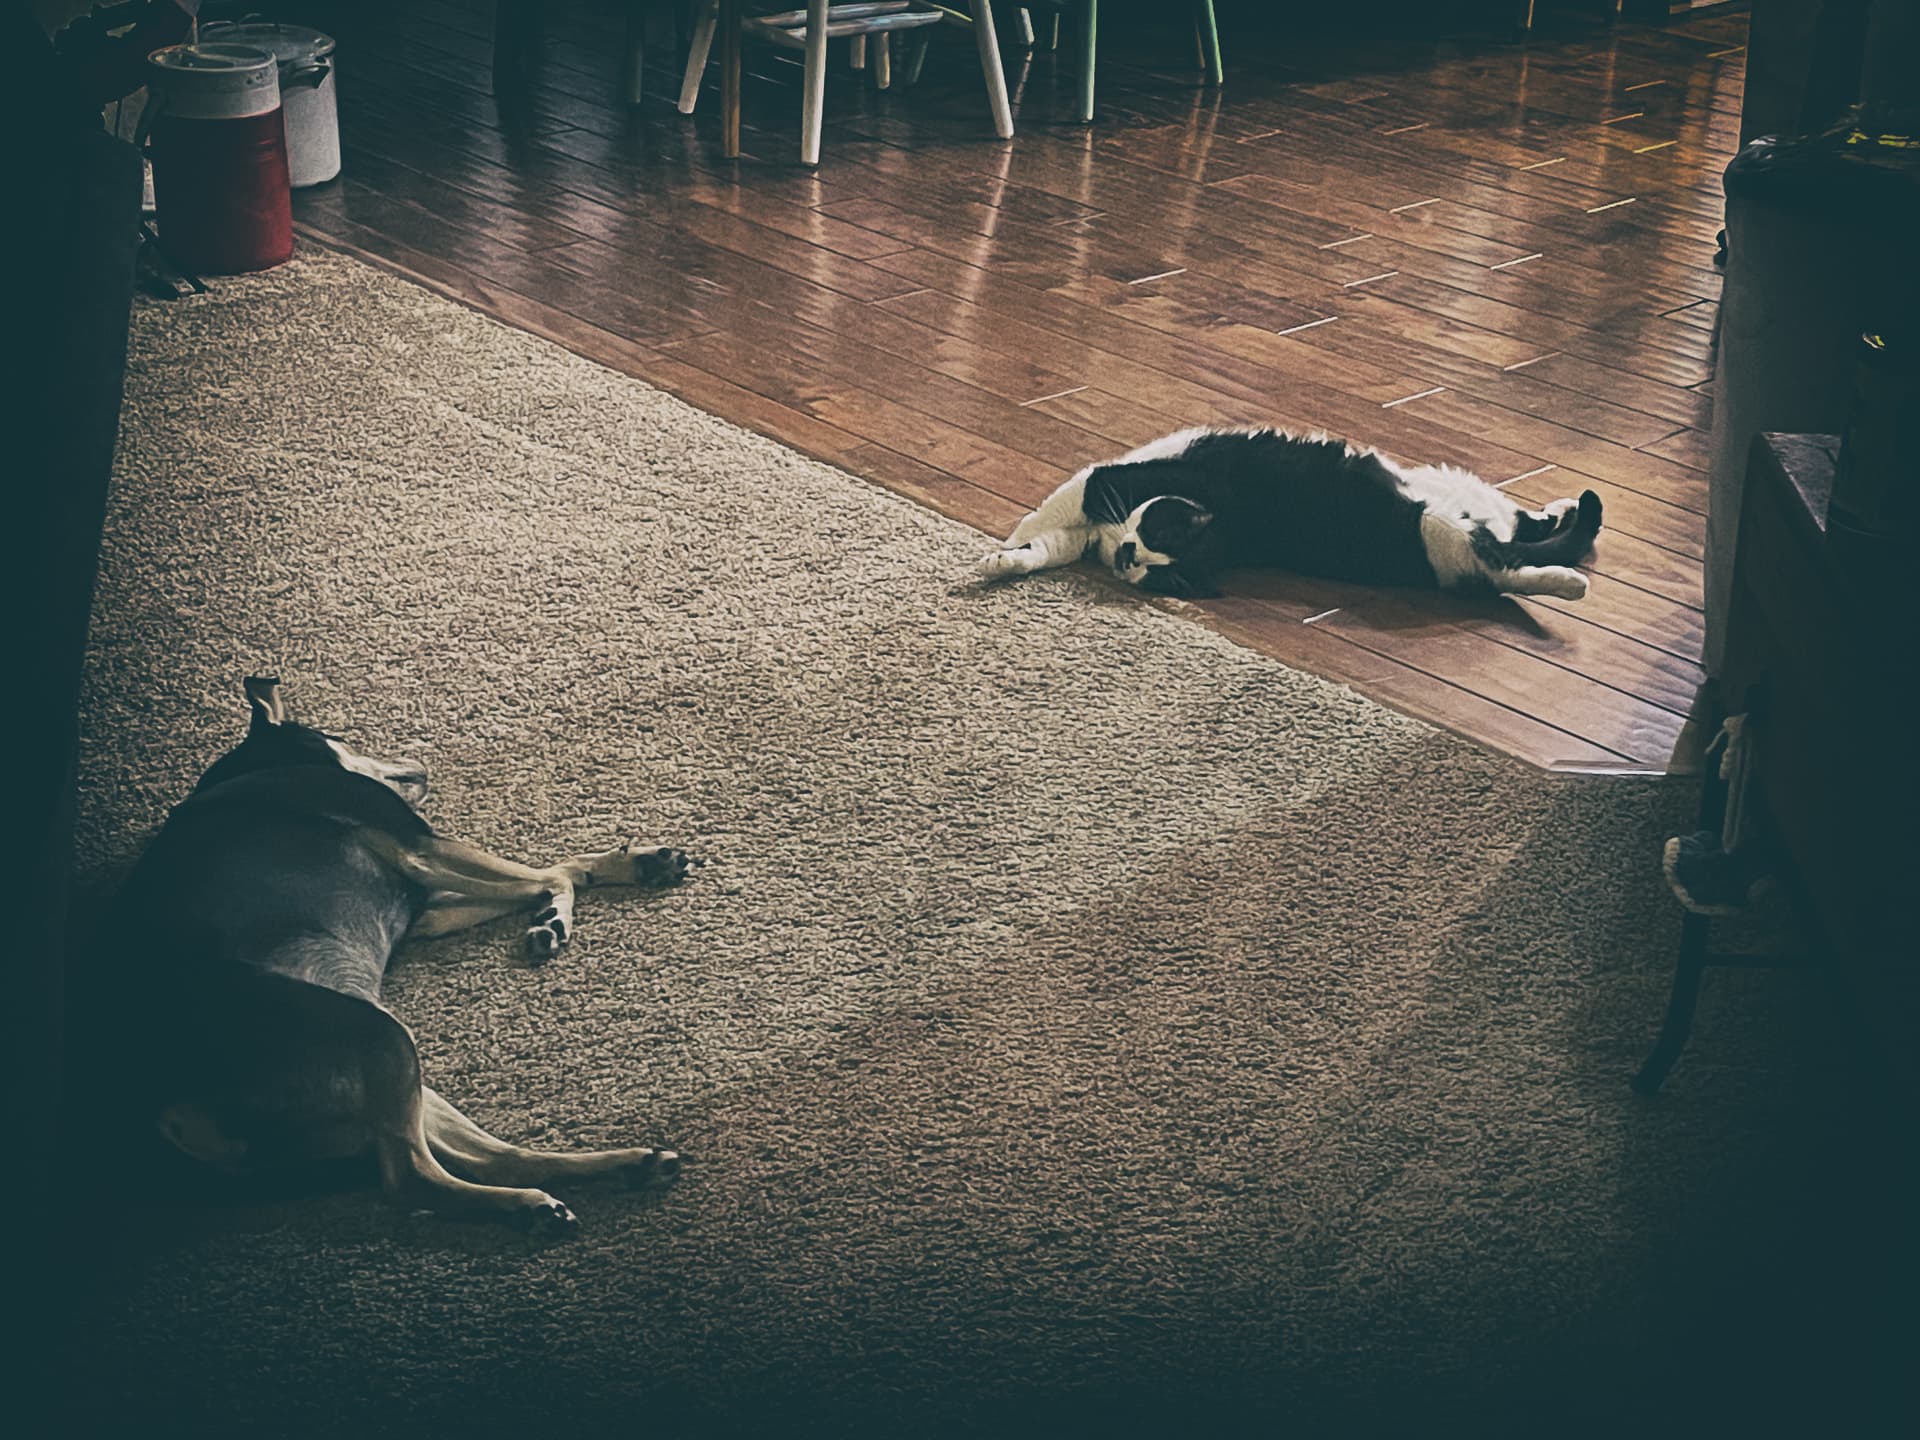
Photo info: FUJIFILM X-E4, 27mm, f/4, 1/100 sec, ISO400 “Close-Up Puppy” Cedar Park, 2021
We took Lani for a walk this evening, and I ran ahead to try and get some action photos of her approaching me as Mariko held the leash. That photo sequence didn’t turn out as I intended, but I thought this photo was fun. 😆
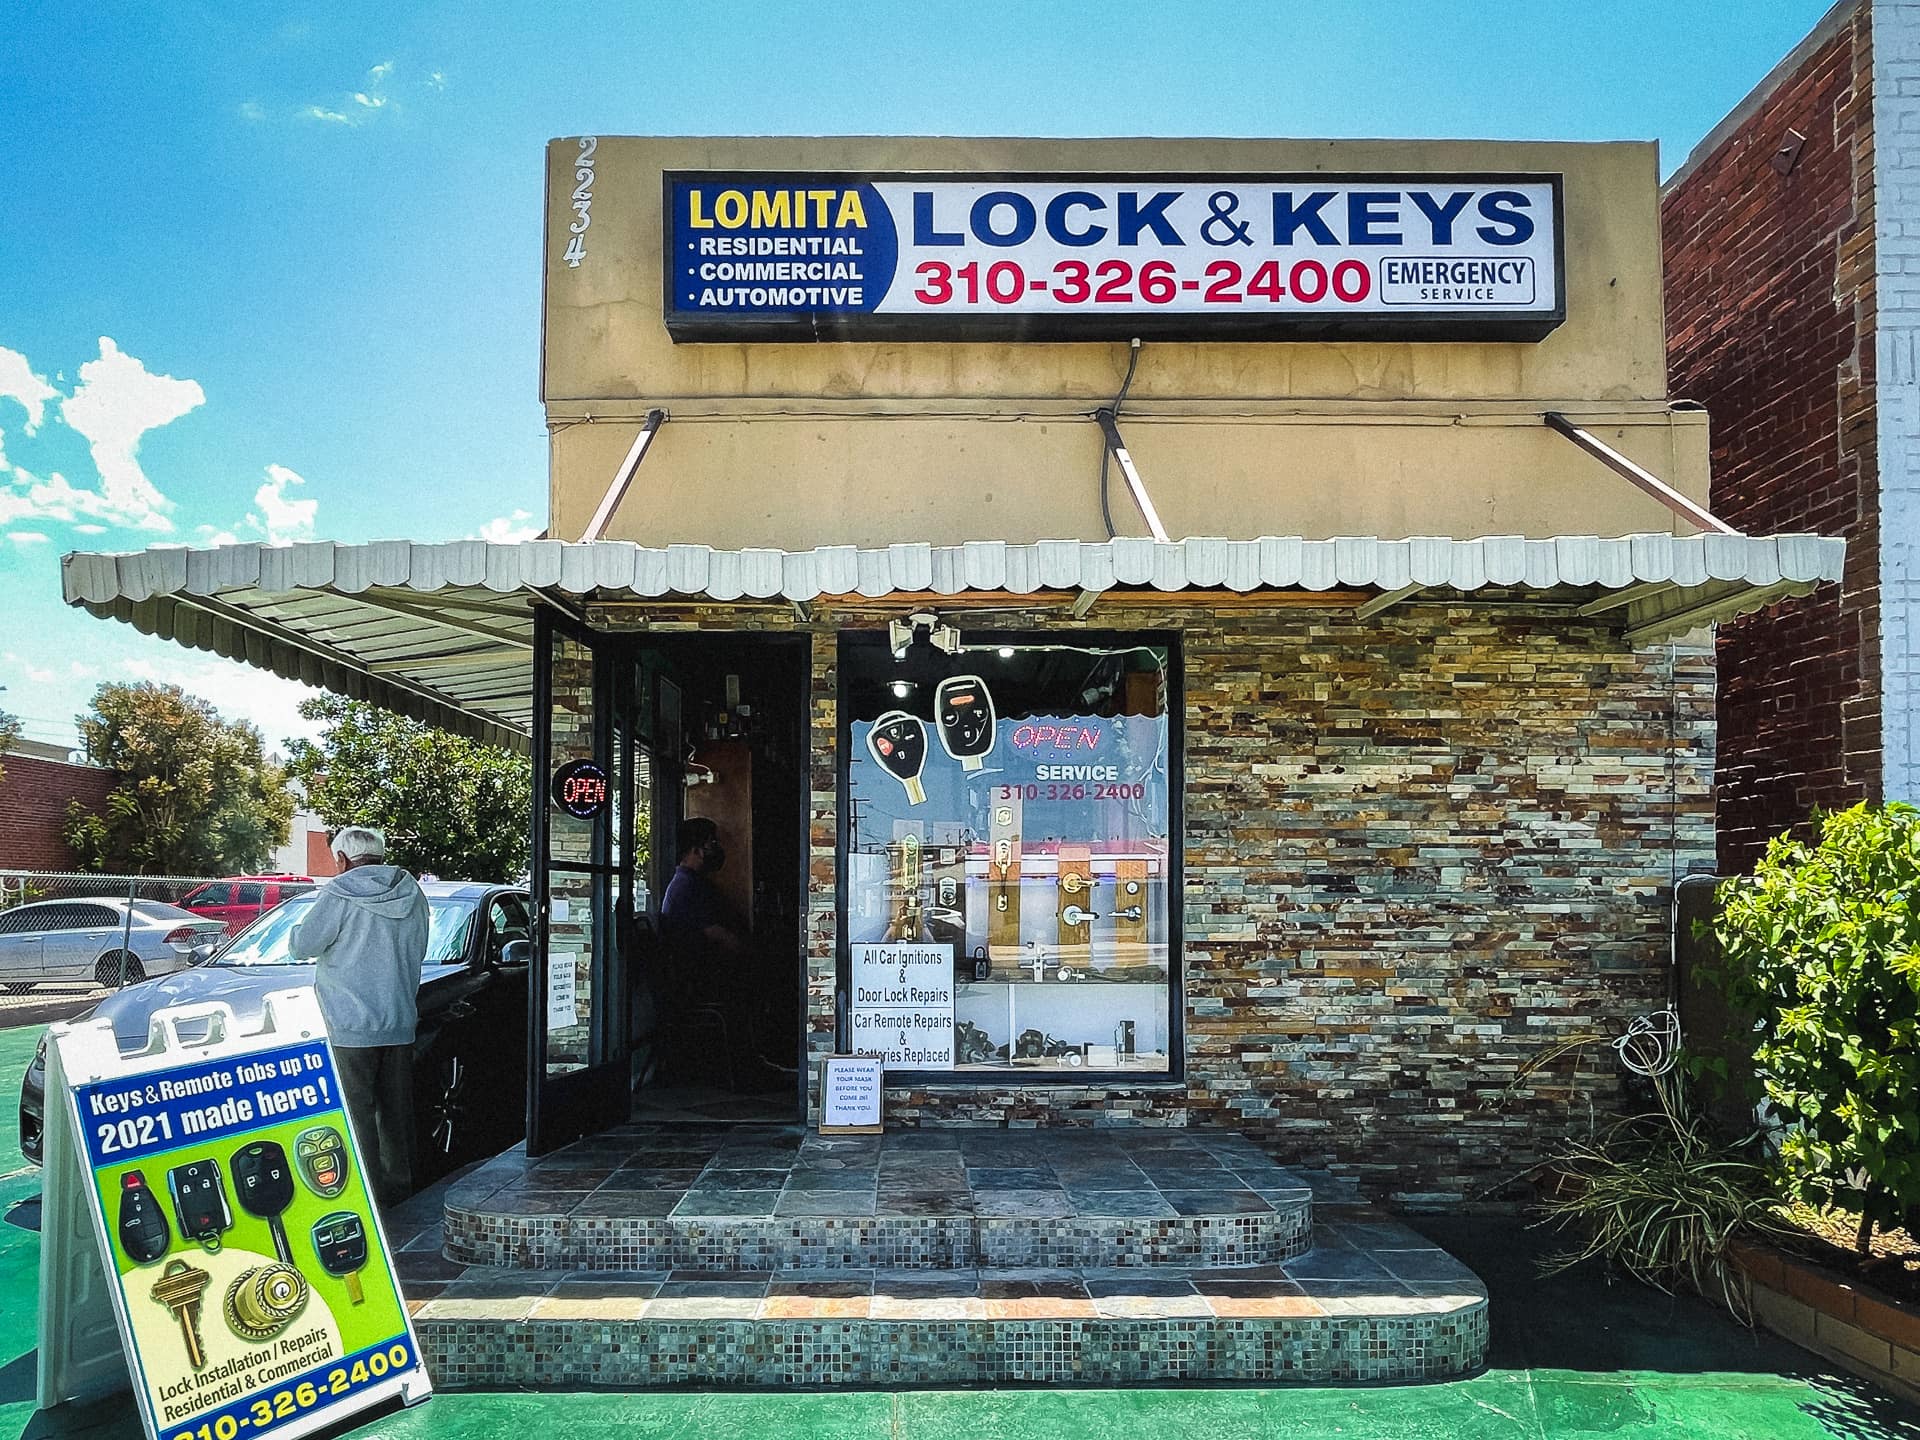
Let’s see… a trip to Costco, Nijiya Market, the Locksmith, Mitsuwa, and Barnes & Noble. Those count as errands, right? But they were fun because we’re on vacation and with my Mom. 😀
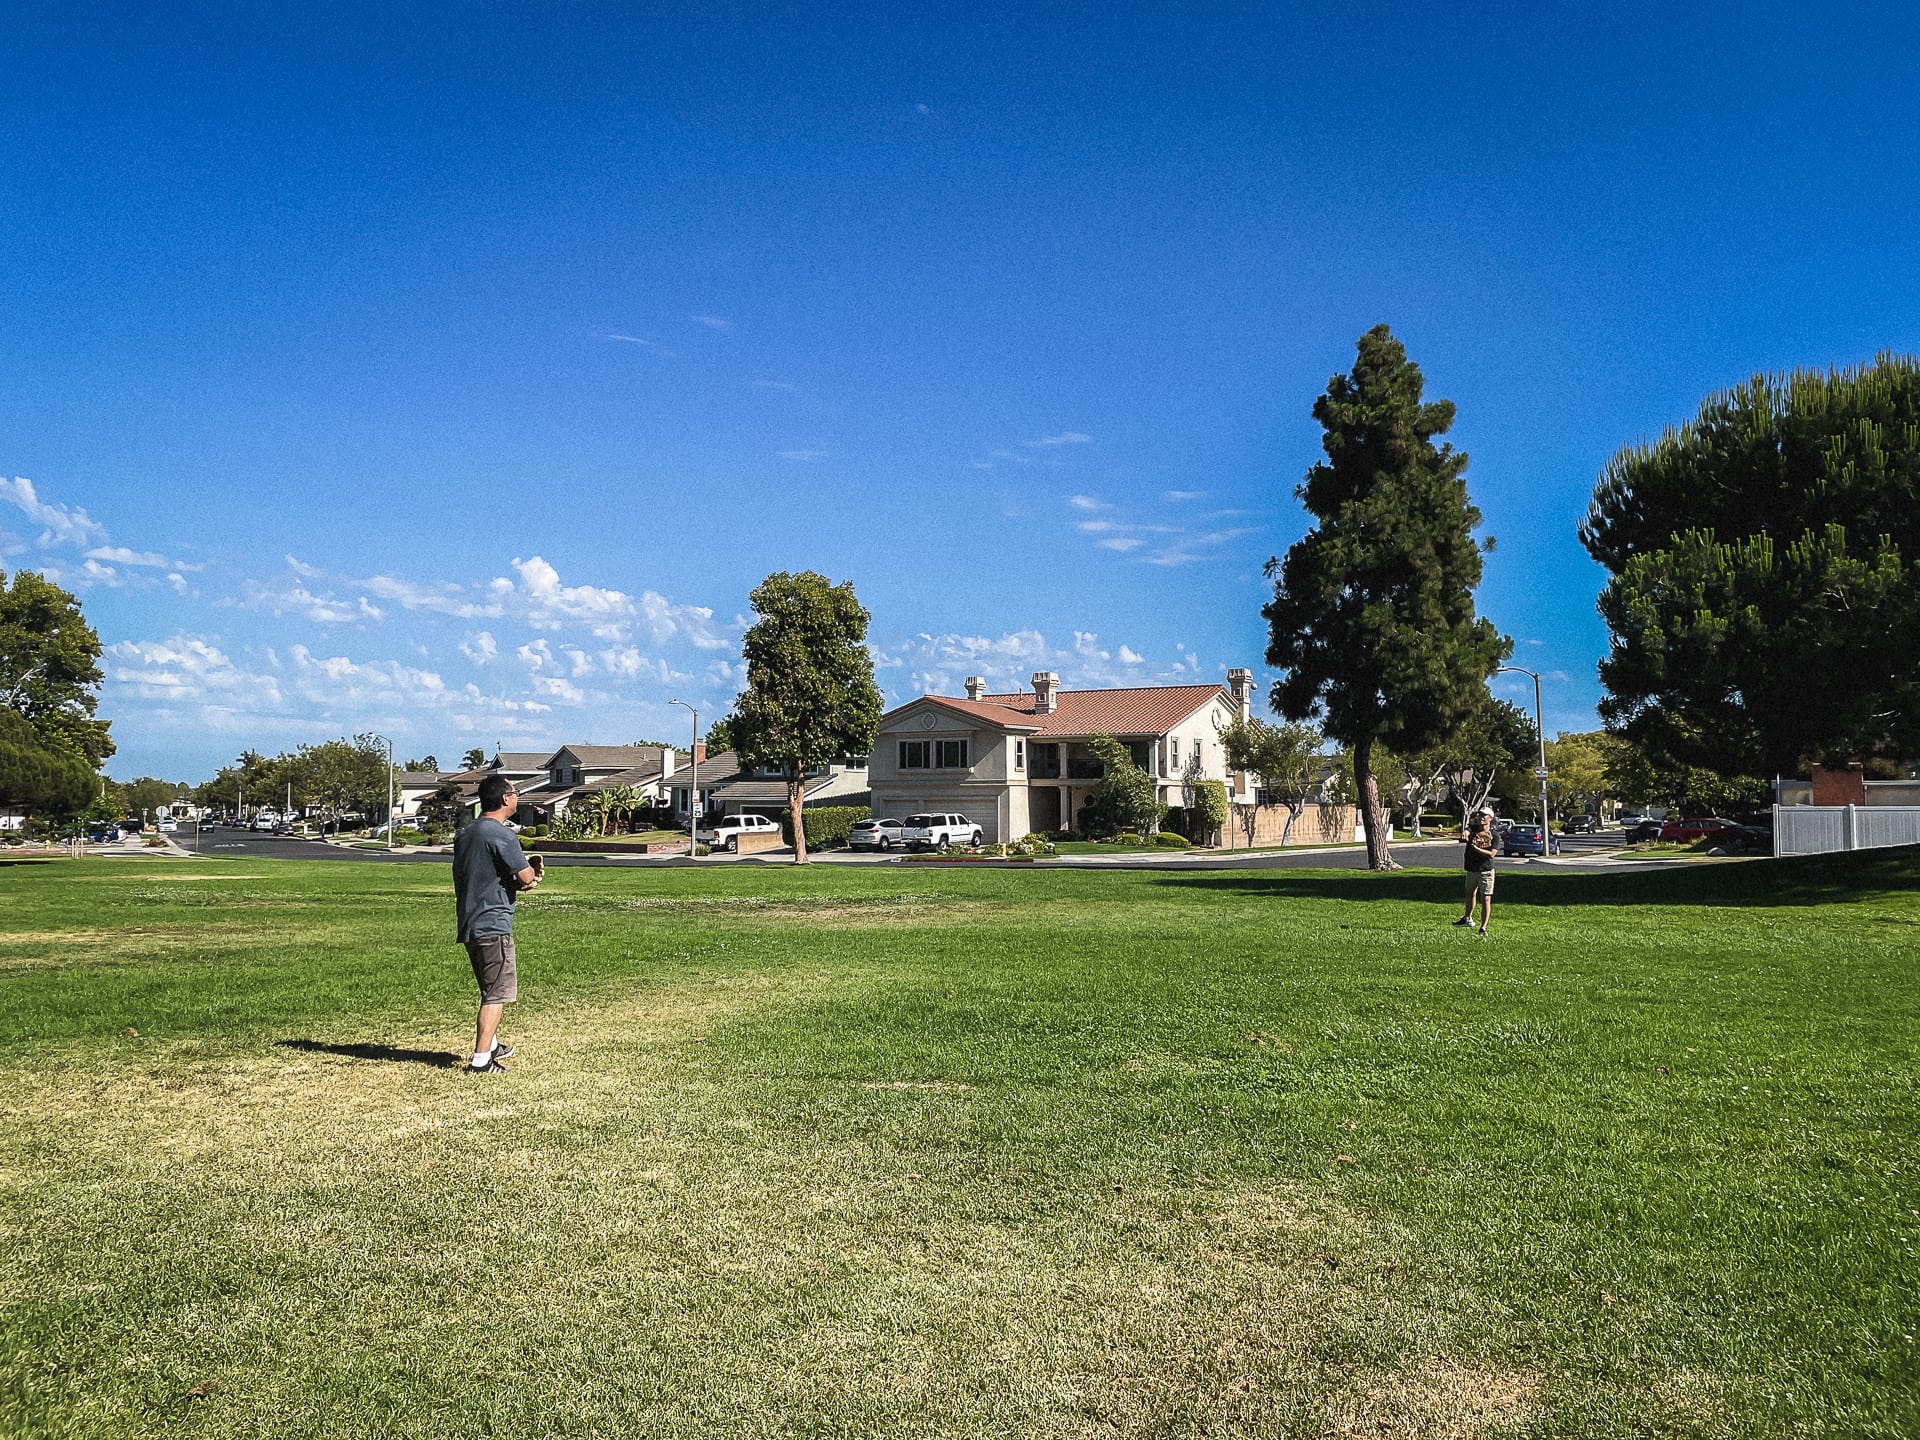
After a bit of lunch, my brother and his daughter came up for the afternoon to help with doing a bit of yardwork for our parents, and then we went to the park to throw the baseball. It’s so nostalgic to spend time in the same park where we played so much growing up. A good feeling!
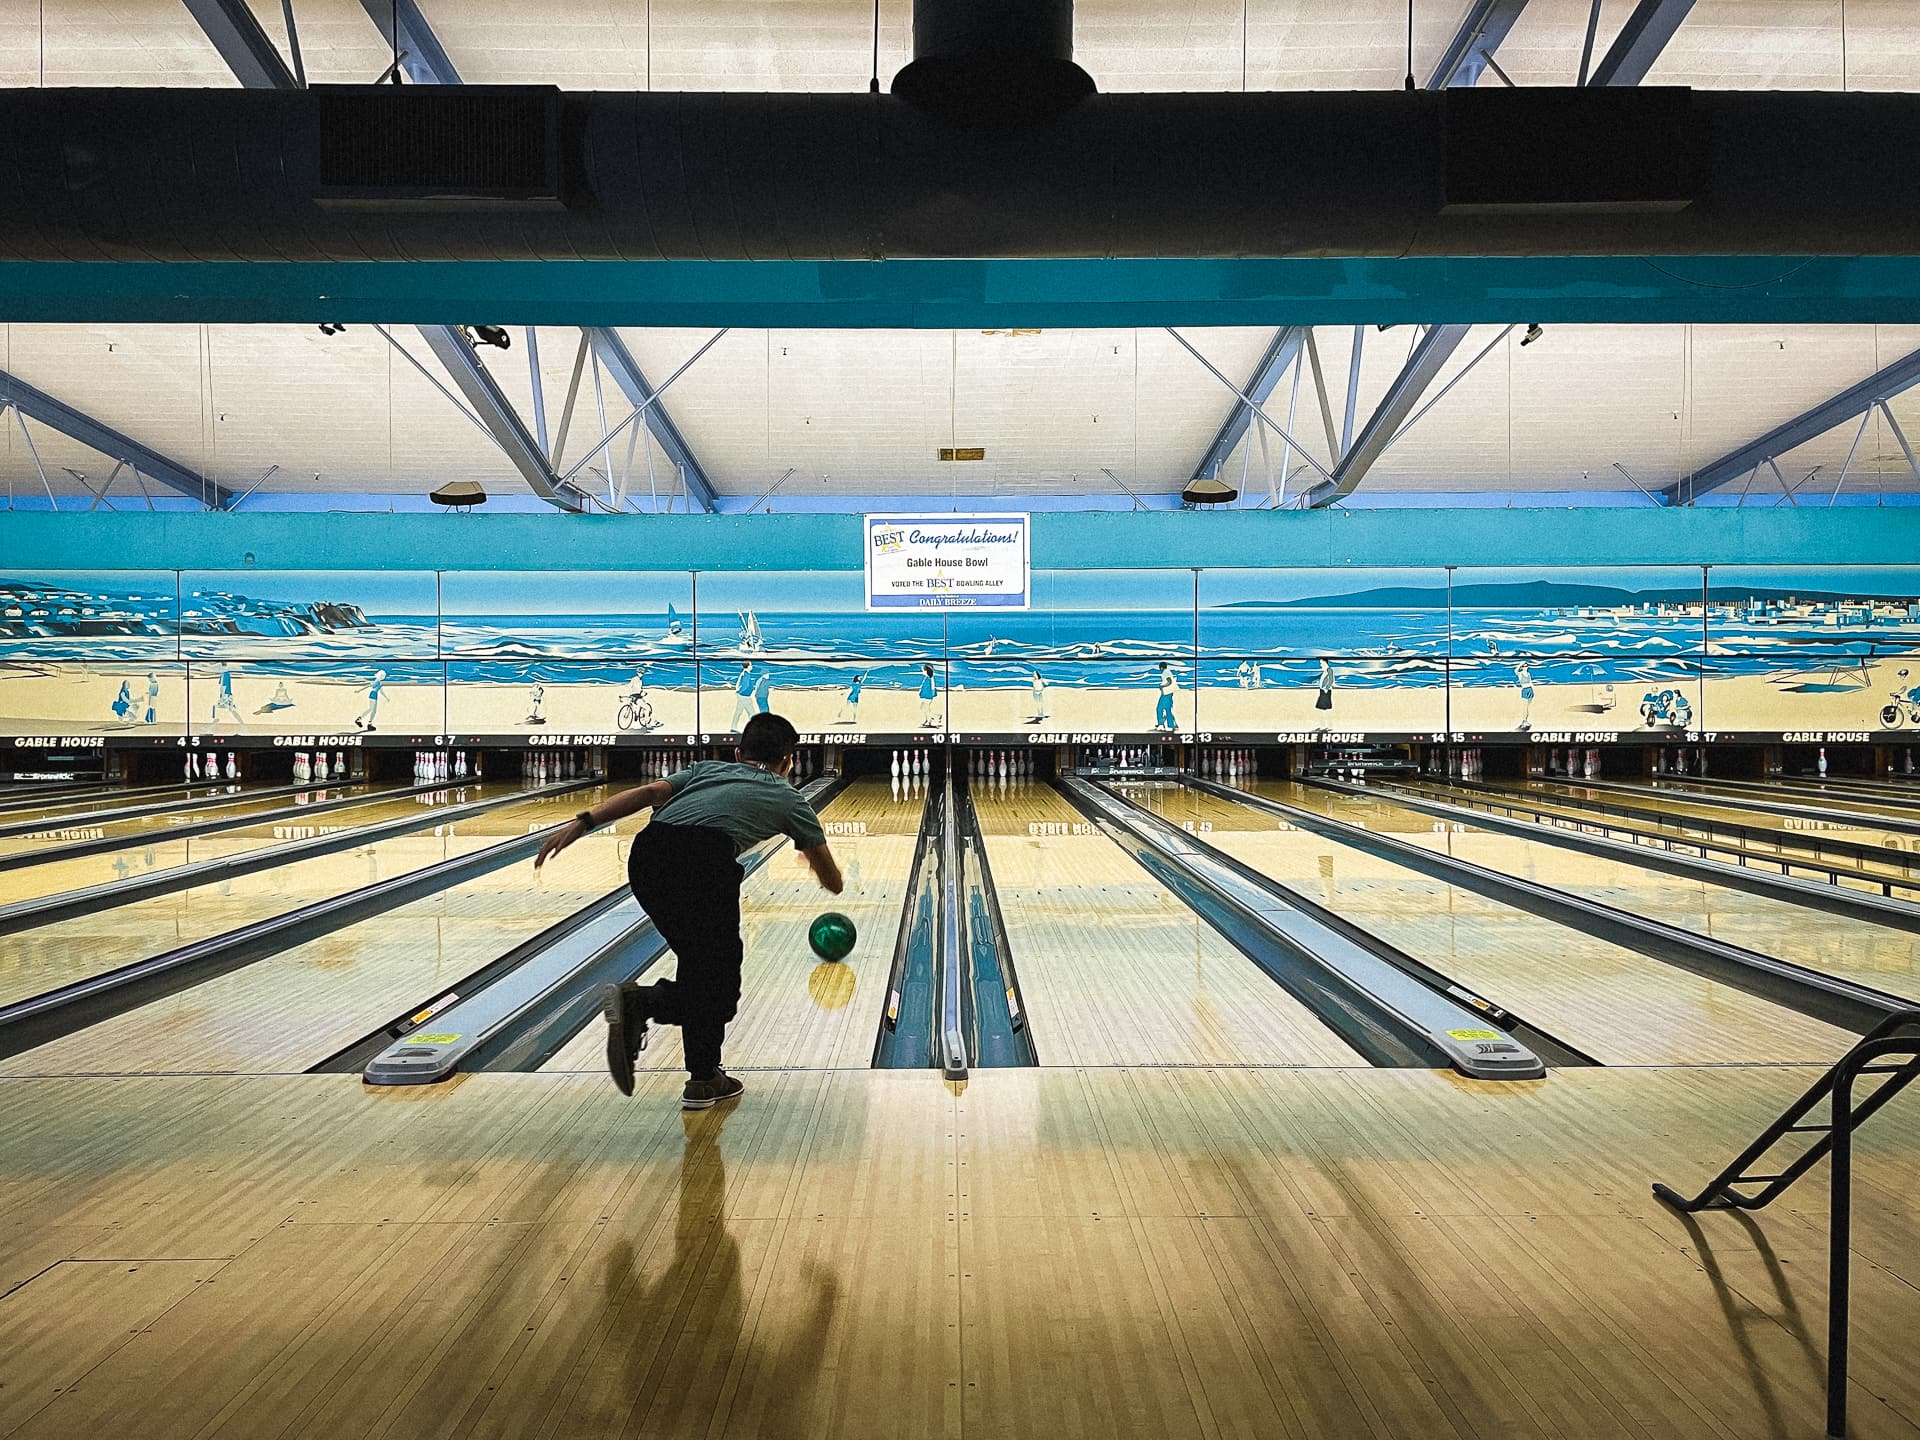
My oldest brother had the day off today so we spent it with him and my mom with the first stop being the bowling alley. It was great to have some laughs there, while staying socially distant from the other bowlers. I think they kept a couple lanes between the parties which was nice, and we noticed them wiping down the bowling balls and chairs when people left. Although it feels sometimes like we’re back to normal, the truth is that COVID-19 is still ever-present, with new variants making the rounds. 😐
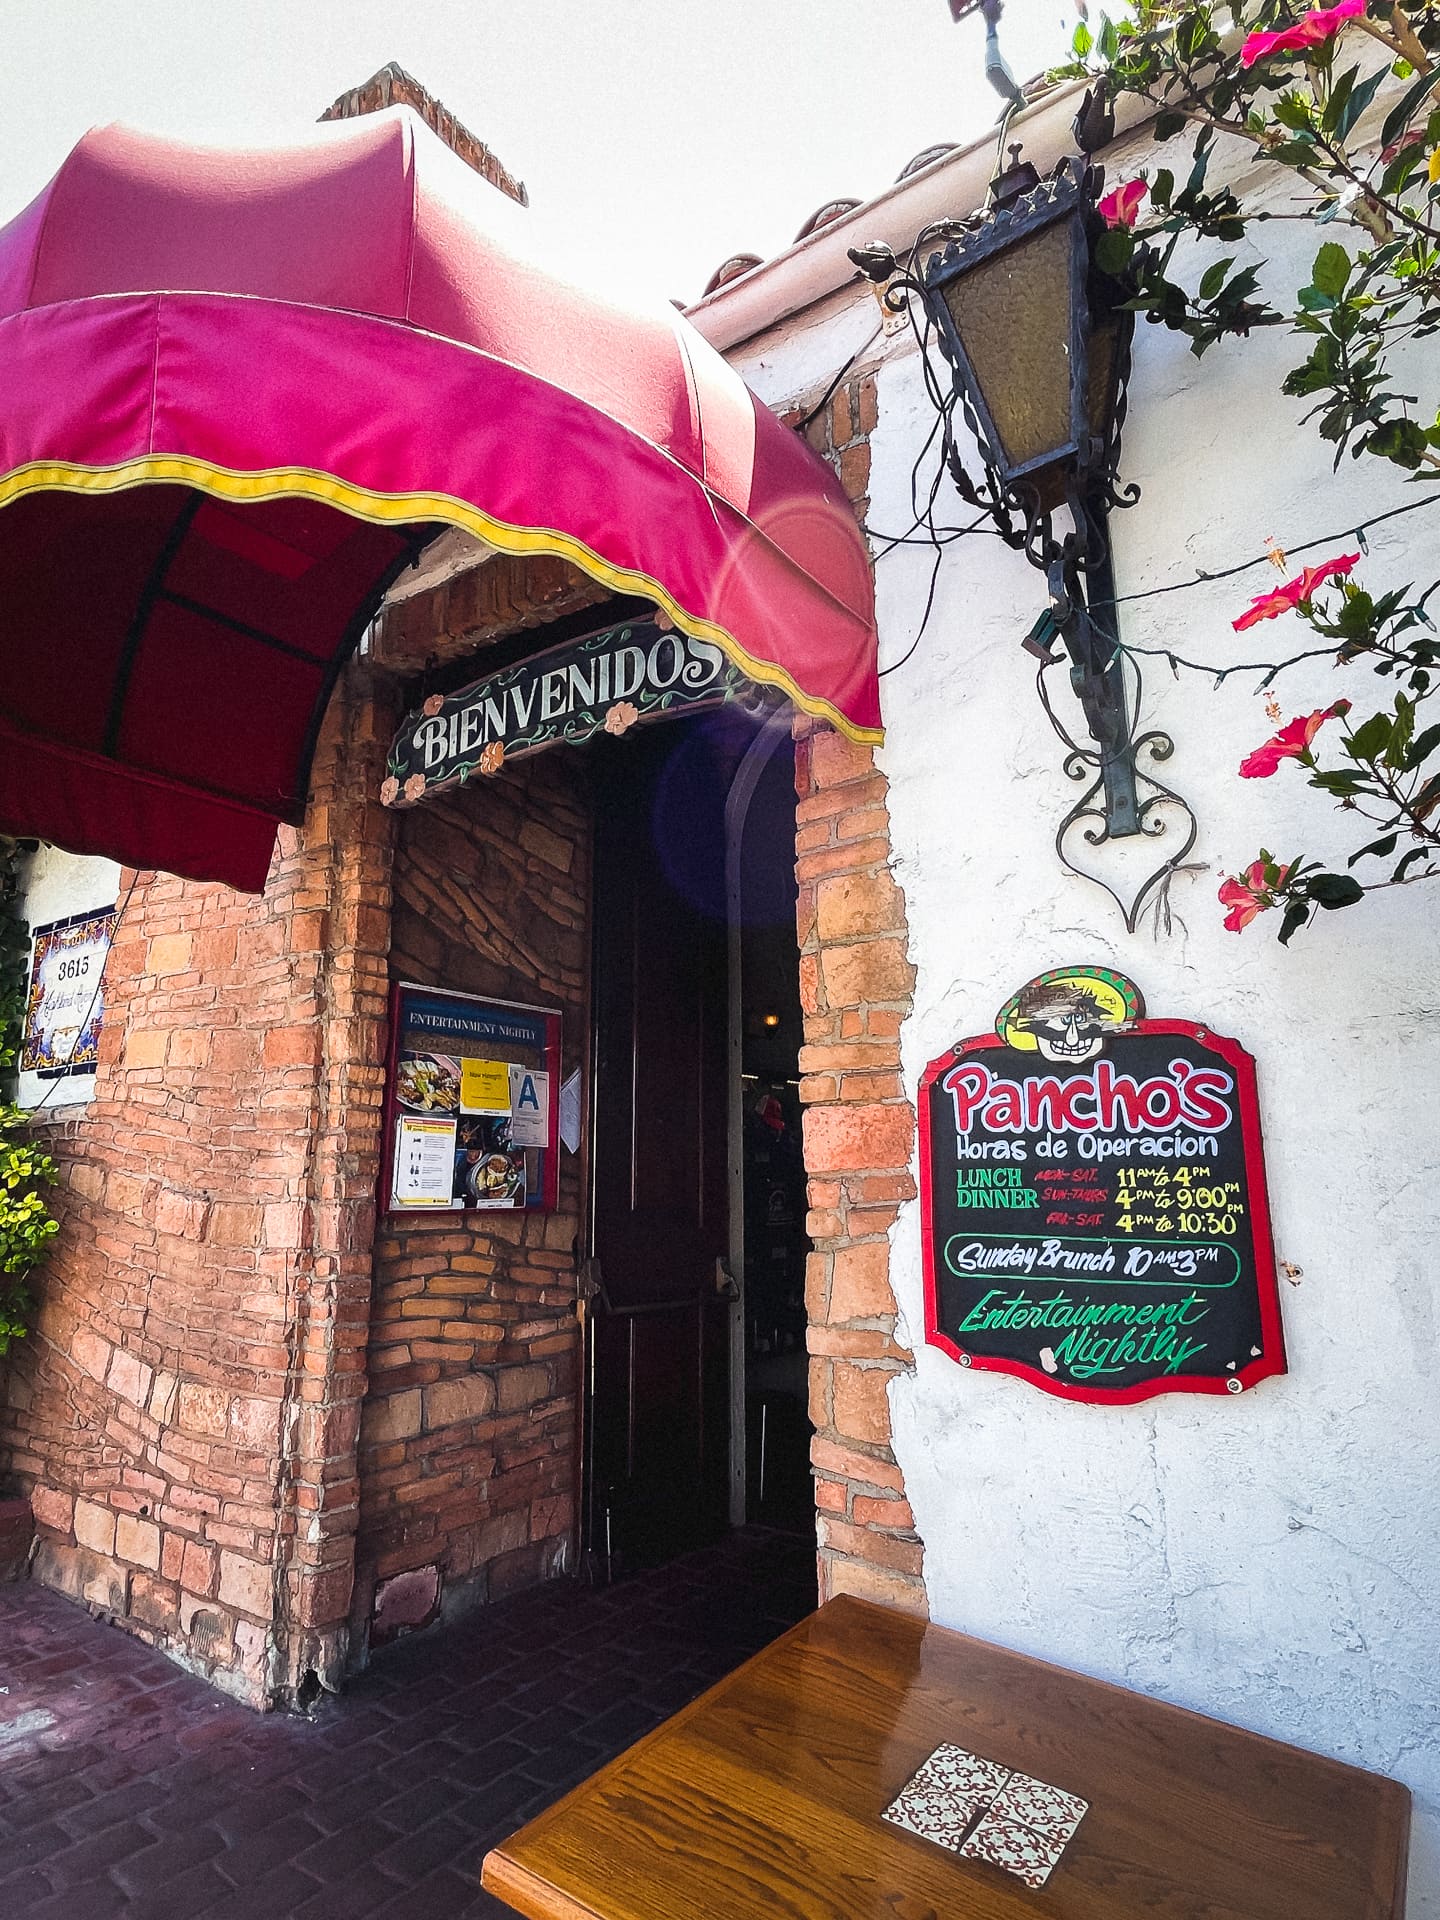
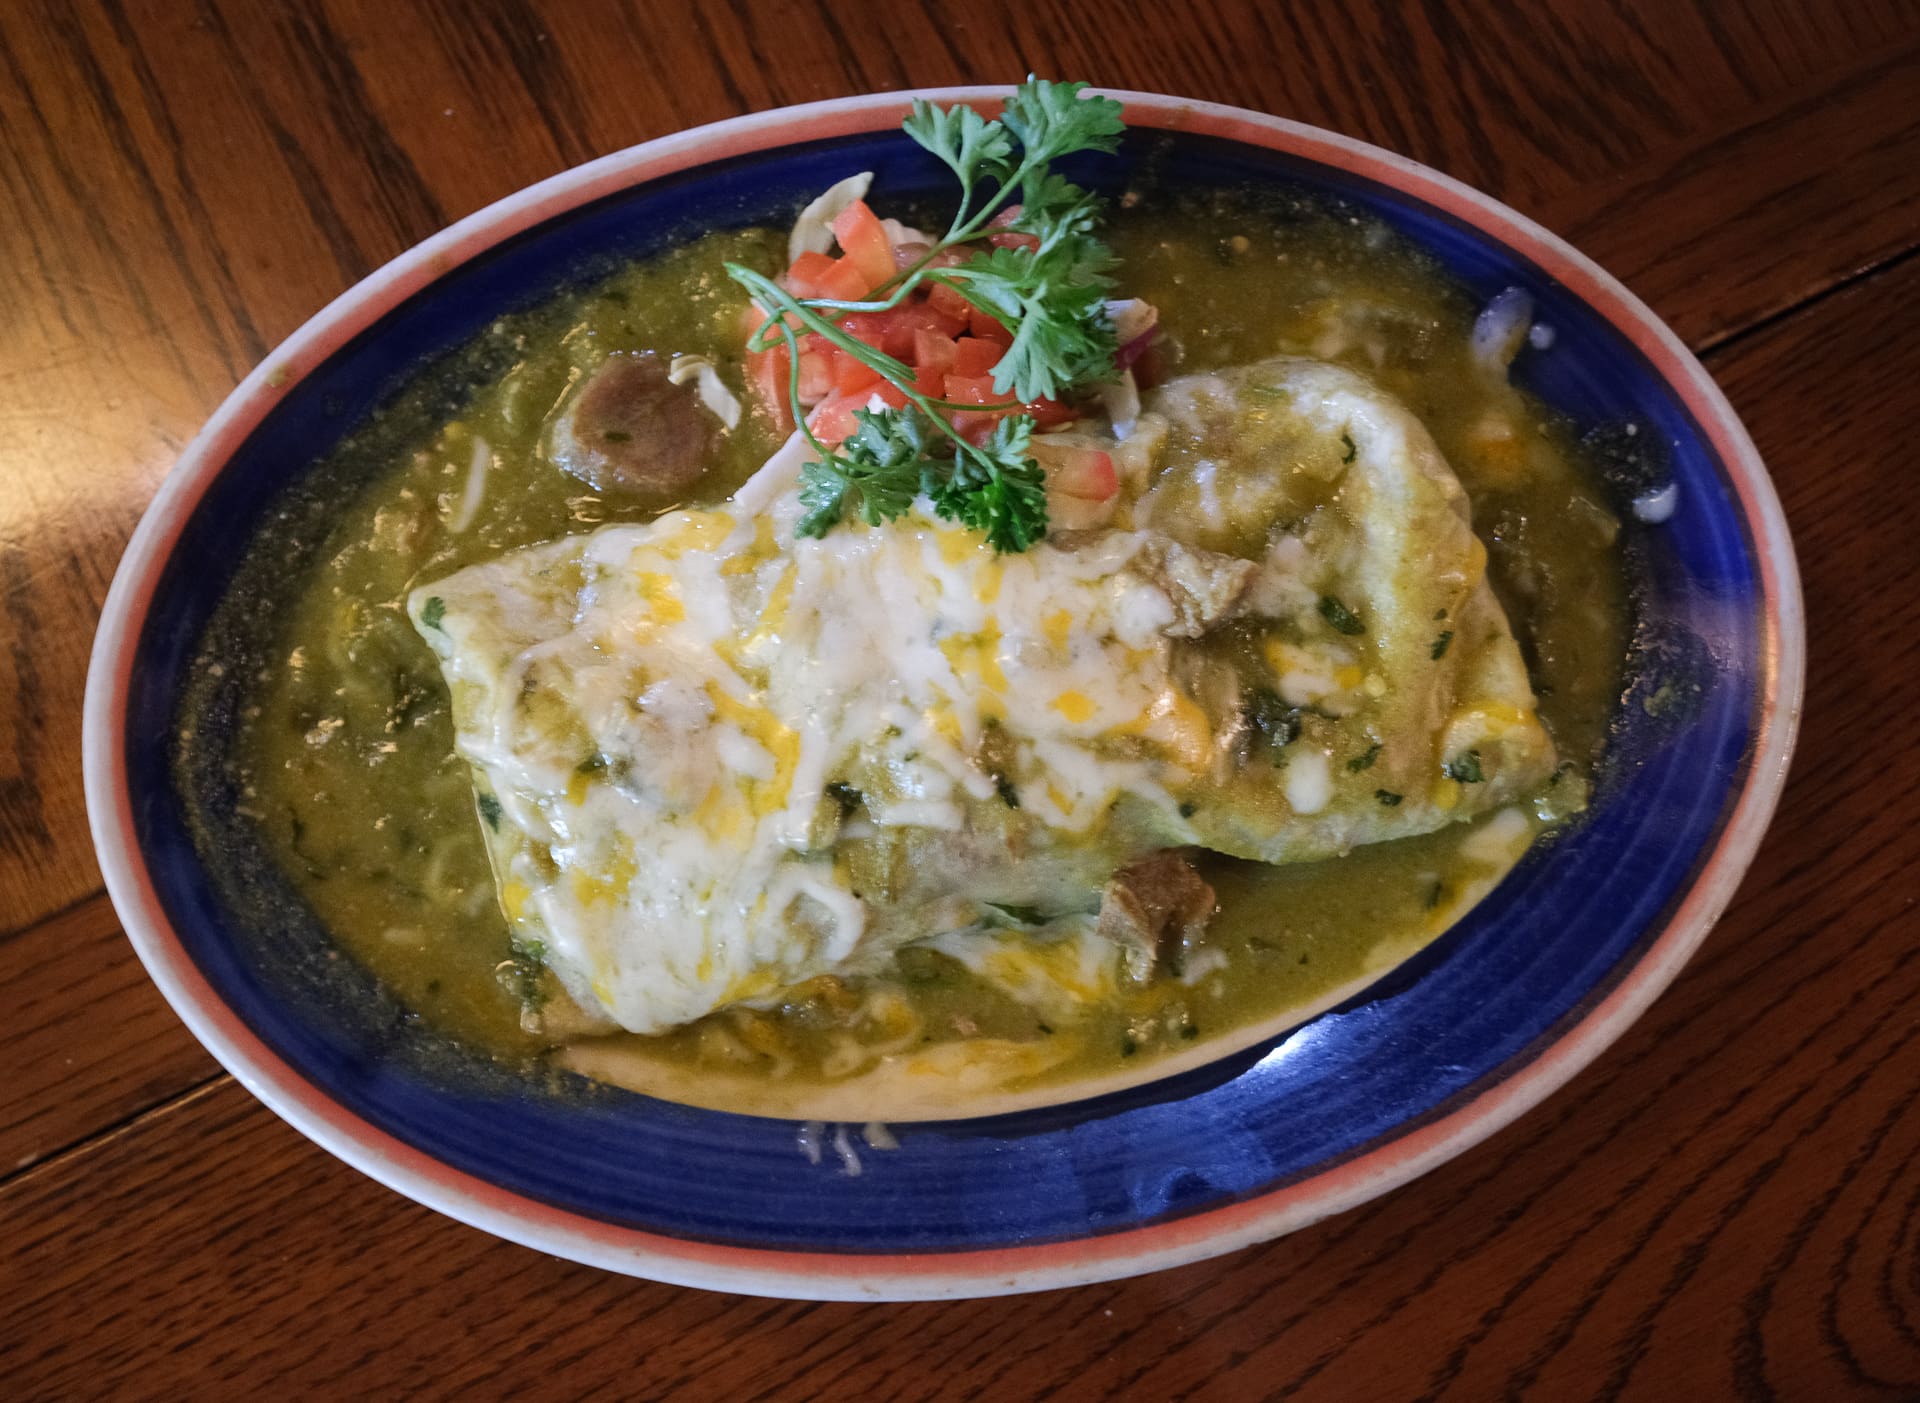
We worked up a big appetite so we went to Pancho’s in Manhattan Beach for some excellent Mexican food. My chile verde burrito was huge and luckily I have two teenager who helped me finish it. 🌯
Photo info: Apple iPhone 12 mini, 1.55mm, f/2.4, 1/200 sec, ISO25 “Panchos” Manhattan Beach, 2021Photo info: FUJIFILM X-E4, 27mm, f/2.8, 1/17 sec, ISO2000 “Chile Verde Burrito” Manhattan Beach, 2021
After our late lunch, we went back to my parents’ house to relax a bit before eating dinner (so much food!) and then settled in for a nice long mahjong session. Lots of fun!