If anyone wants to connect our Google Latitude account thingies, let me know! It’s fun to see everyone on the map, even city-level is good! Email me at my firstnamelastname at gmail dot com.
Listening to…


Want To Be Close -Reload-
Azumi Takahashi
Now playing...

ヒッチコック
Yorushika
7 minutes ago

CATWALK
ACO
14 minutes ago

東京
Emerald
18 minutes ago

アポロ
MONONKVL
22 minutes ago
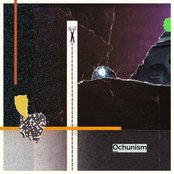
夢中
ochunism
26 minutes ago
This work is licensed under a Creative Commons Attribution-ShareAlike 4.0 International License.
Privacy Policy