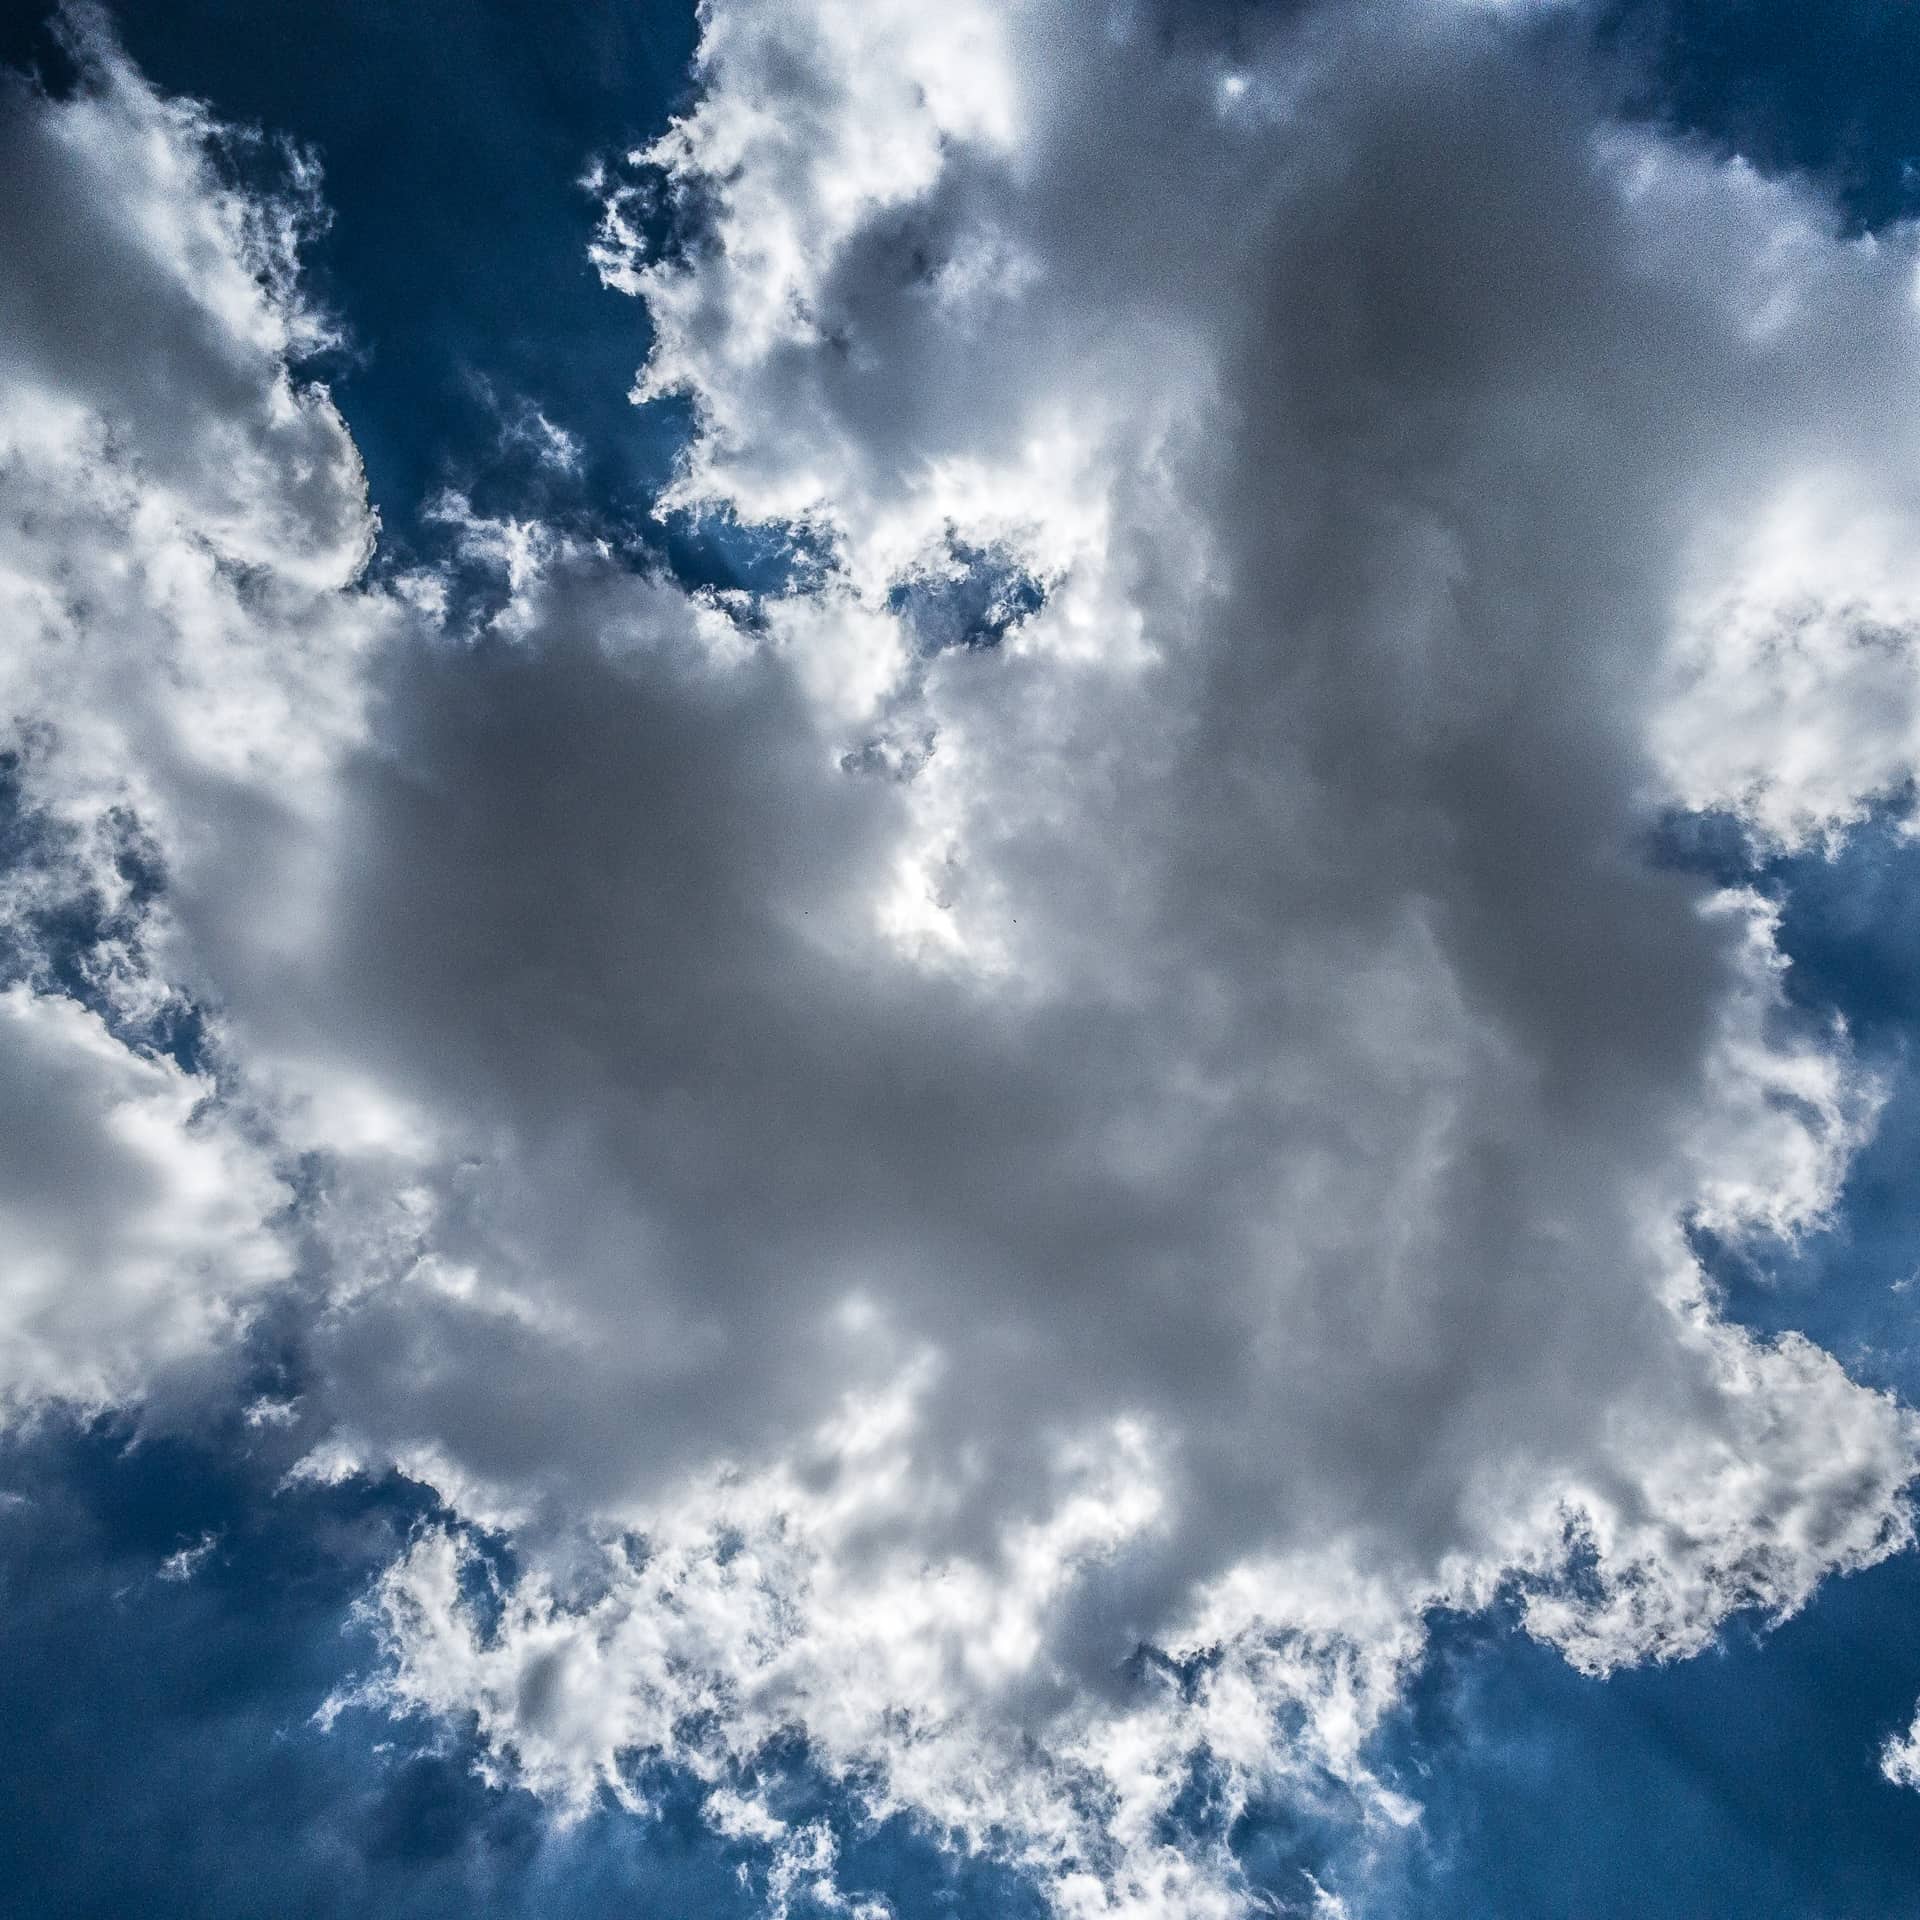
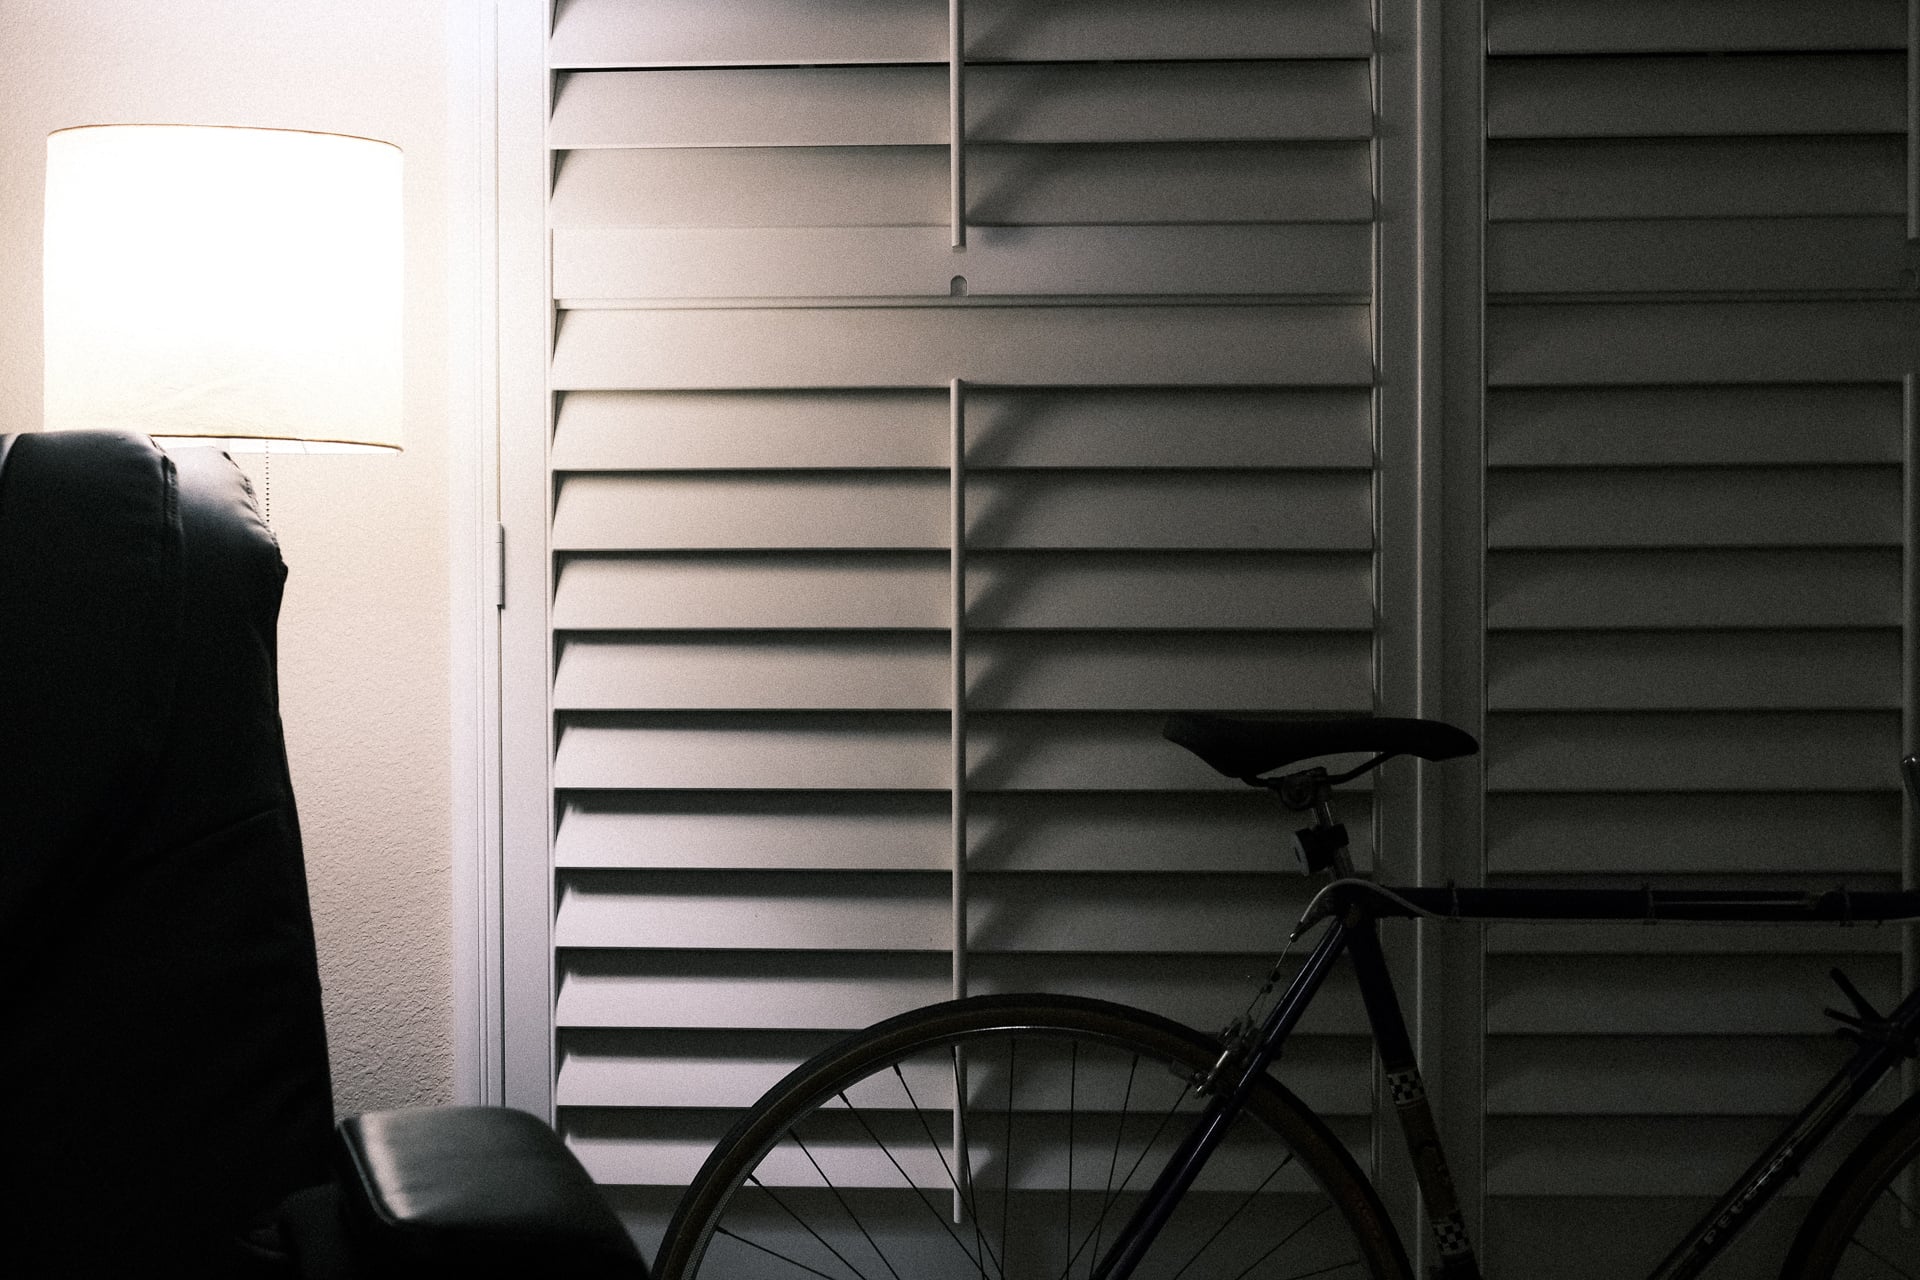
Photo info: Apple iPhone 12 mini, 4.2mm, f/1.6, 1/20000 sec, ISO32 “Look Up” Cedar Park, 2021
I really enjoyed the cloud-cover on today’s neighborhood run.
I’m also enjoying using the Simple RAW Camera app for my iPhone 12 Mini. I find that the iPhone’s regular photos are too processed for my taste, especially when I bring them into Lightroom for editing, but shooting RAW on the iPhone bypasses the iPhone “magic” and allows me to post-process the photos with greater control. For normal photos, I’ll still use the iPhone’s camera, but for cloud photos, RAW is the way to go.
FYI, the iPhone 12 Mini doesn’t have the option natively to enable RAW photos to be saved, so you have to use an app.
My Fujifilm X-E4 can connect to Fujifilm X Raw Studio and save unlimited custom recipes which makes it easy to try out different looks on the computer and then transfer any of them to the camera. Since I don’t shoot RAW anymore, having these film presets to create the JPGs in-camera is really neat and fun. It’s like having a roll of a particular film (and/or processing technique) in the camera.
Some will say to just shoot RAW and then apply the recipes in post. I understand the logic (I’ve done that for years) but I now prefer keeping things light and simple. That means culling my photo library aggressively and shooting JPG for a small library size and greater compatibility for sharing.
A bit more about culling the photo library. I shoot daily and it’s important to delete images until I have only 5 or 6 chosen JPG files per day in my Lightroom catalog. My nightmare (and how I used to live) is to have 20 RAW files sitting there, ready for processing or deleting. That kind of clutter not only sat on the hard drive, but also sat in the back of my mind. RAW files offer the option unlimited possibilities, but in my mind, these possibilities are just open-ended questions of “is this better?” or “should I go back and re-edit using these other settings?”. A JPEG gives me a kind of closure to each image I’ve taken. It’s more or less final and I can move on.
All that being said, the snapshots in this post are just test shots and not all that good nor interesting, but I like them anyways.
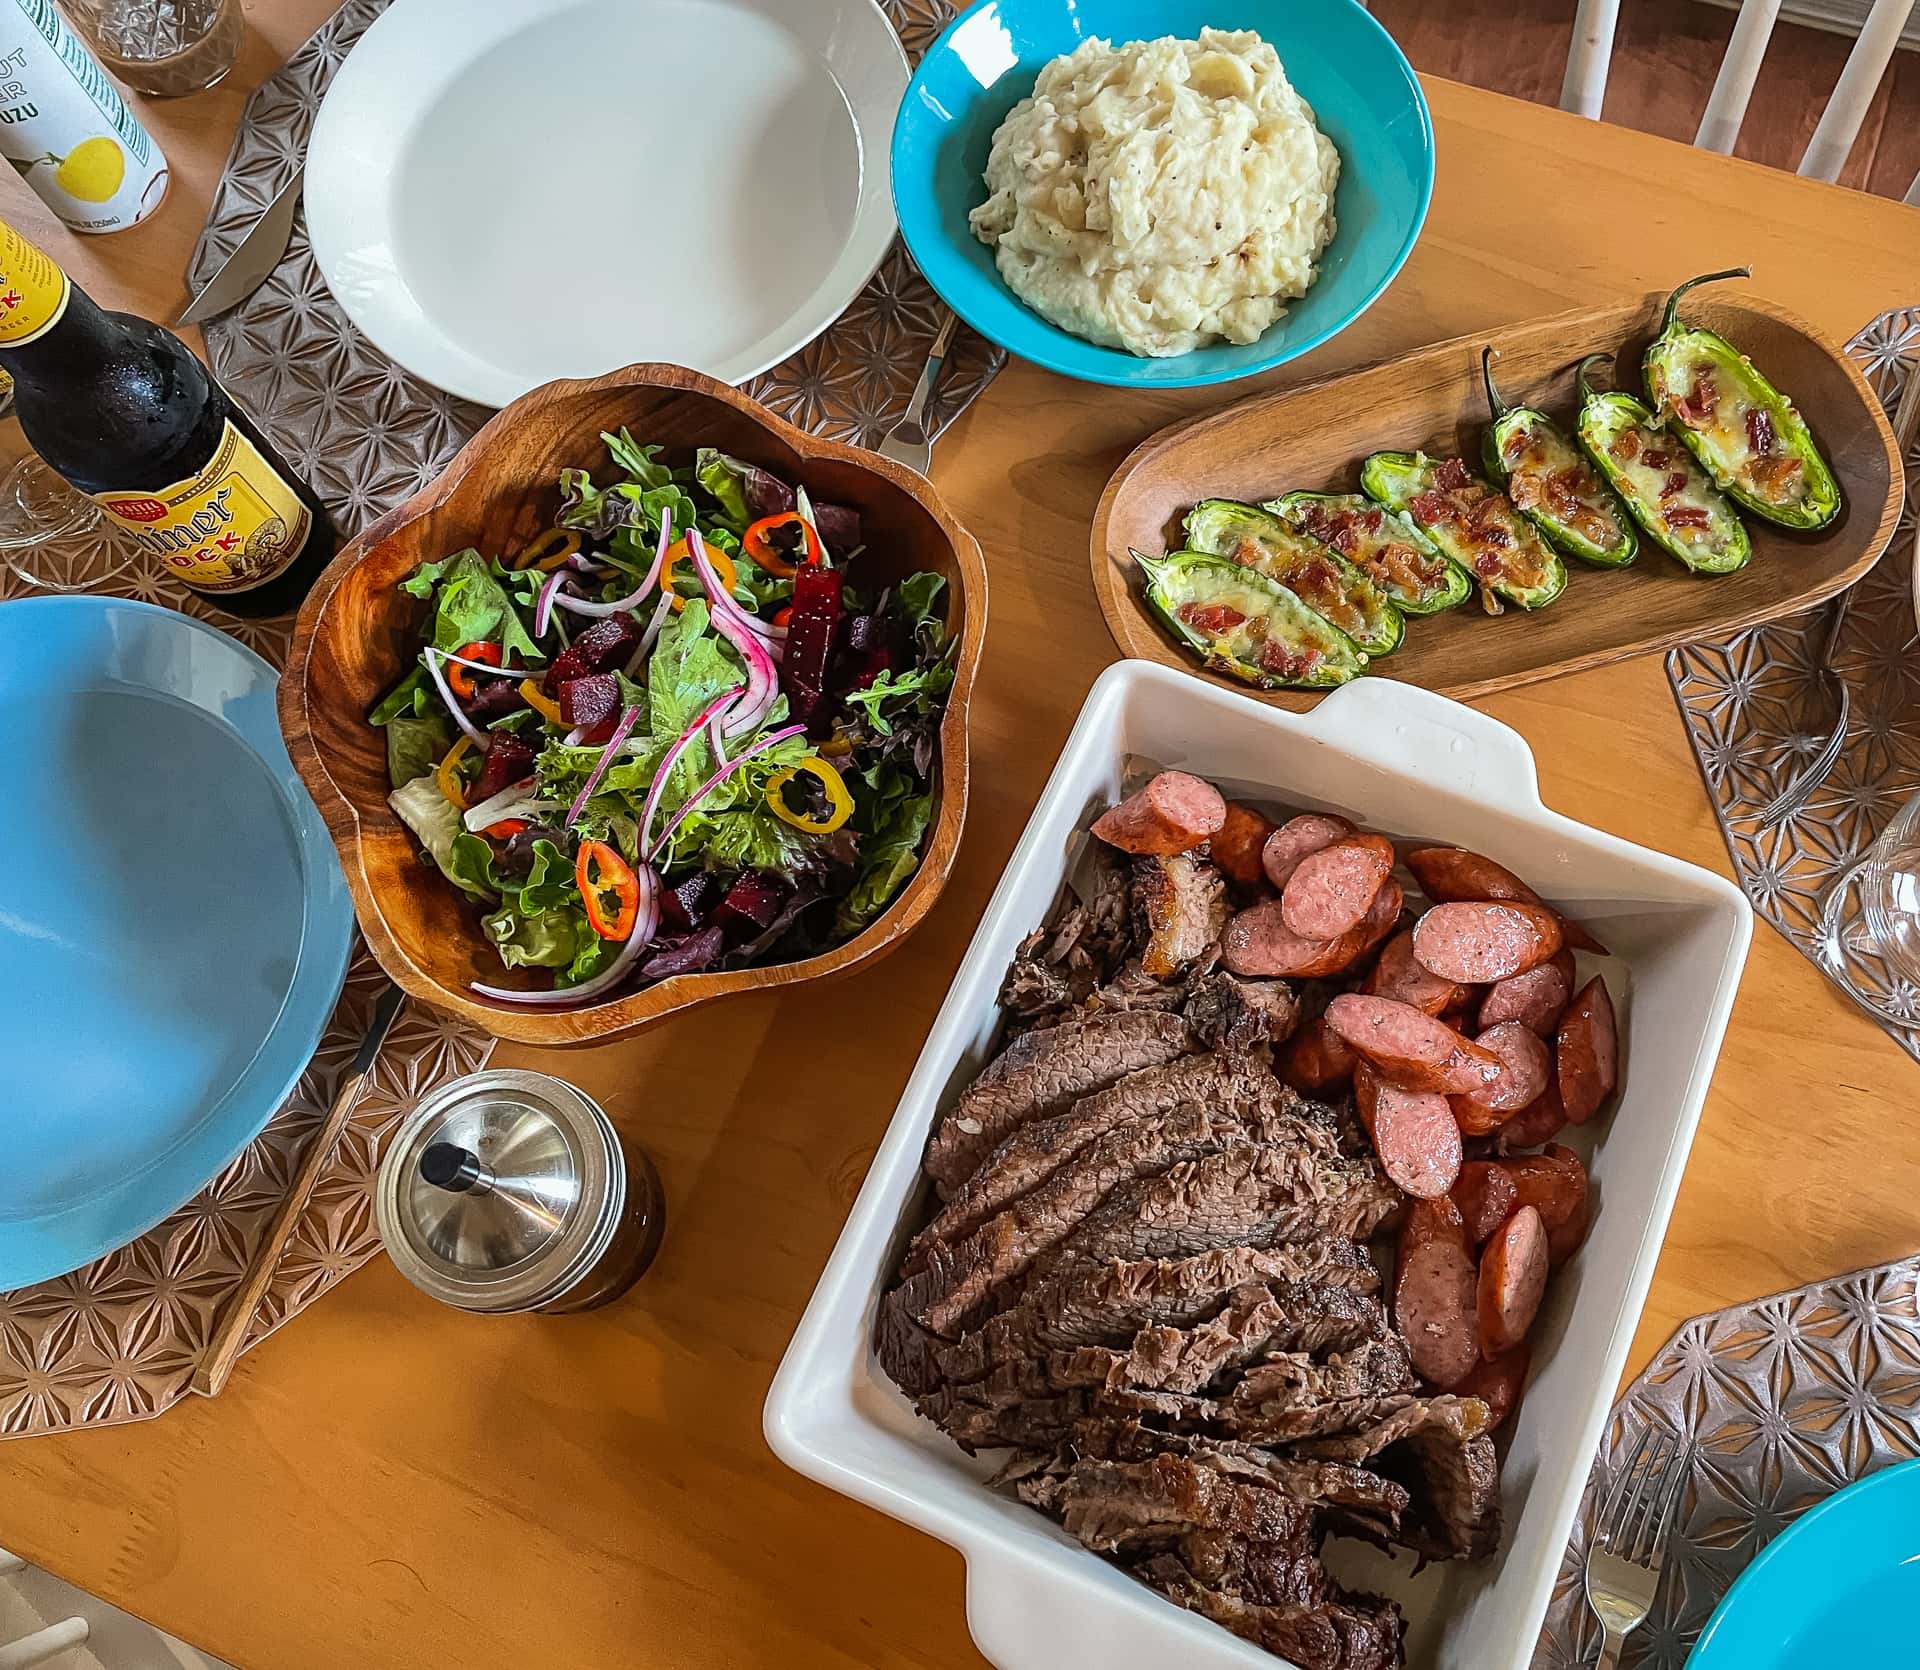
Photo info: Apple iPhone 12 mini, 4.2mm, f/1.6, 1/40 sec, ISO320 “Fourth of July Dinner” Cedar Park, 2021
I made a beef brisket for our holiday meal using a slow-baking method as I have done in the past. However, this time it took a couple of hours longer than usual for some reason. The delay was okay, however, as the family was in full relax-mode, and we snack on the smoked sausage and drank margaritas (just Mariko and I!) while we waited. I also made jalapeño poppers, Bay made mashed potatoes, Mariko made a salad, and Koa set the table.
It was a yummy meal, and easy to make.
FYI, the traditional way of preparing jalapeño poppers is to wrap the cheese-filled peppers with bacon strips, and then pop them into the oven. But what we do is to fry up the bacon, cut into bits, and then just add them with the cheese stuffing. This method is so much easier, not nearly as messy, and it’s simpler to get the jalapeños to the right done-ness. It’s also way easier to eat. 😀🌶
I hope you had a nice day!
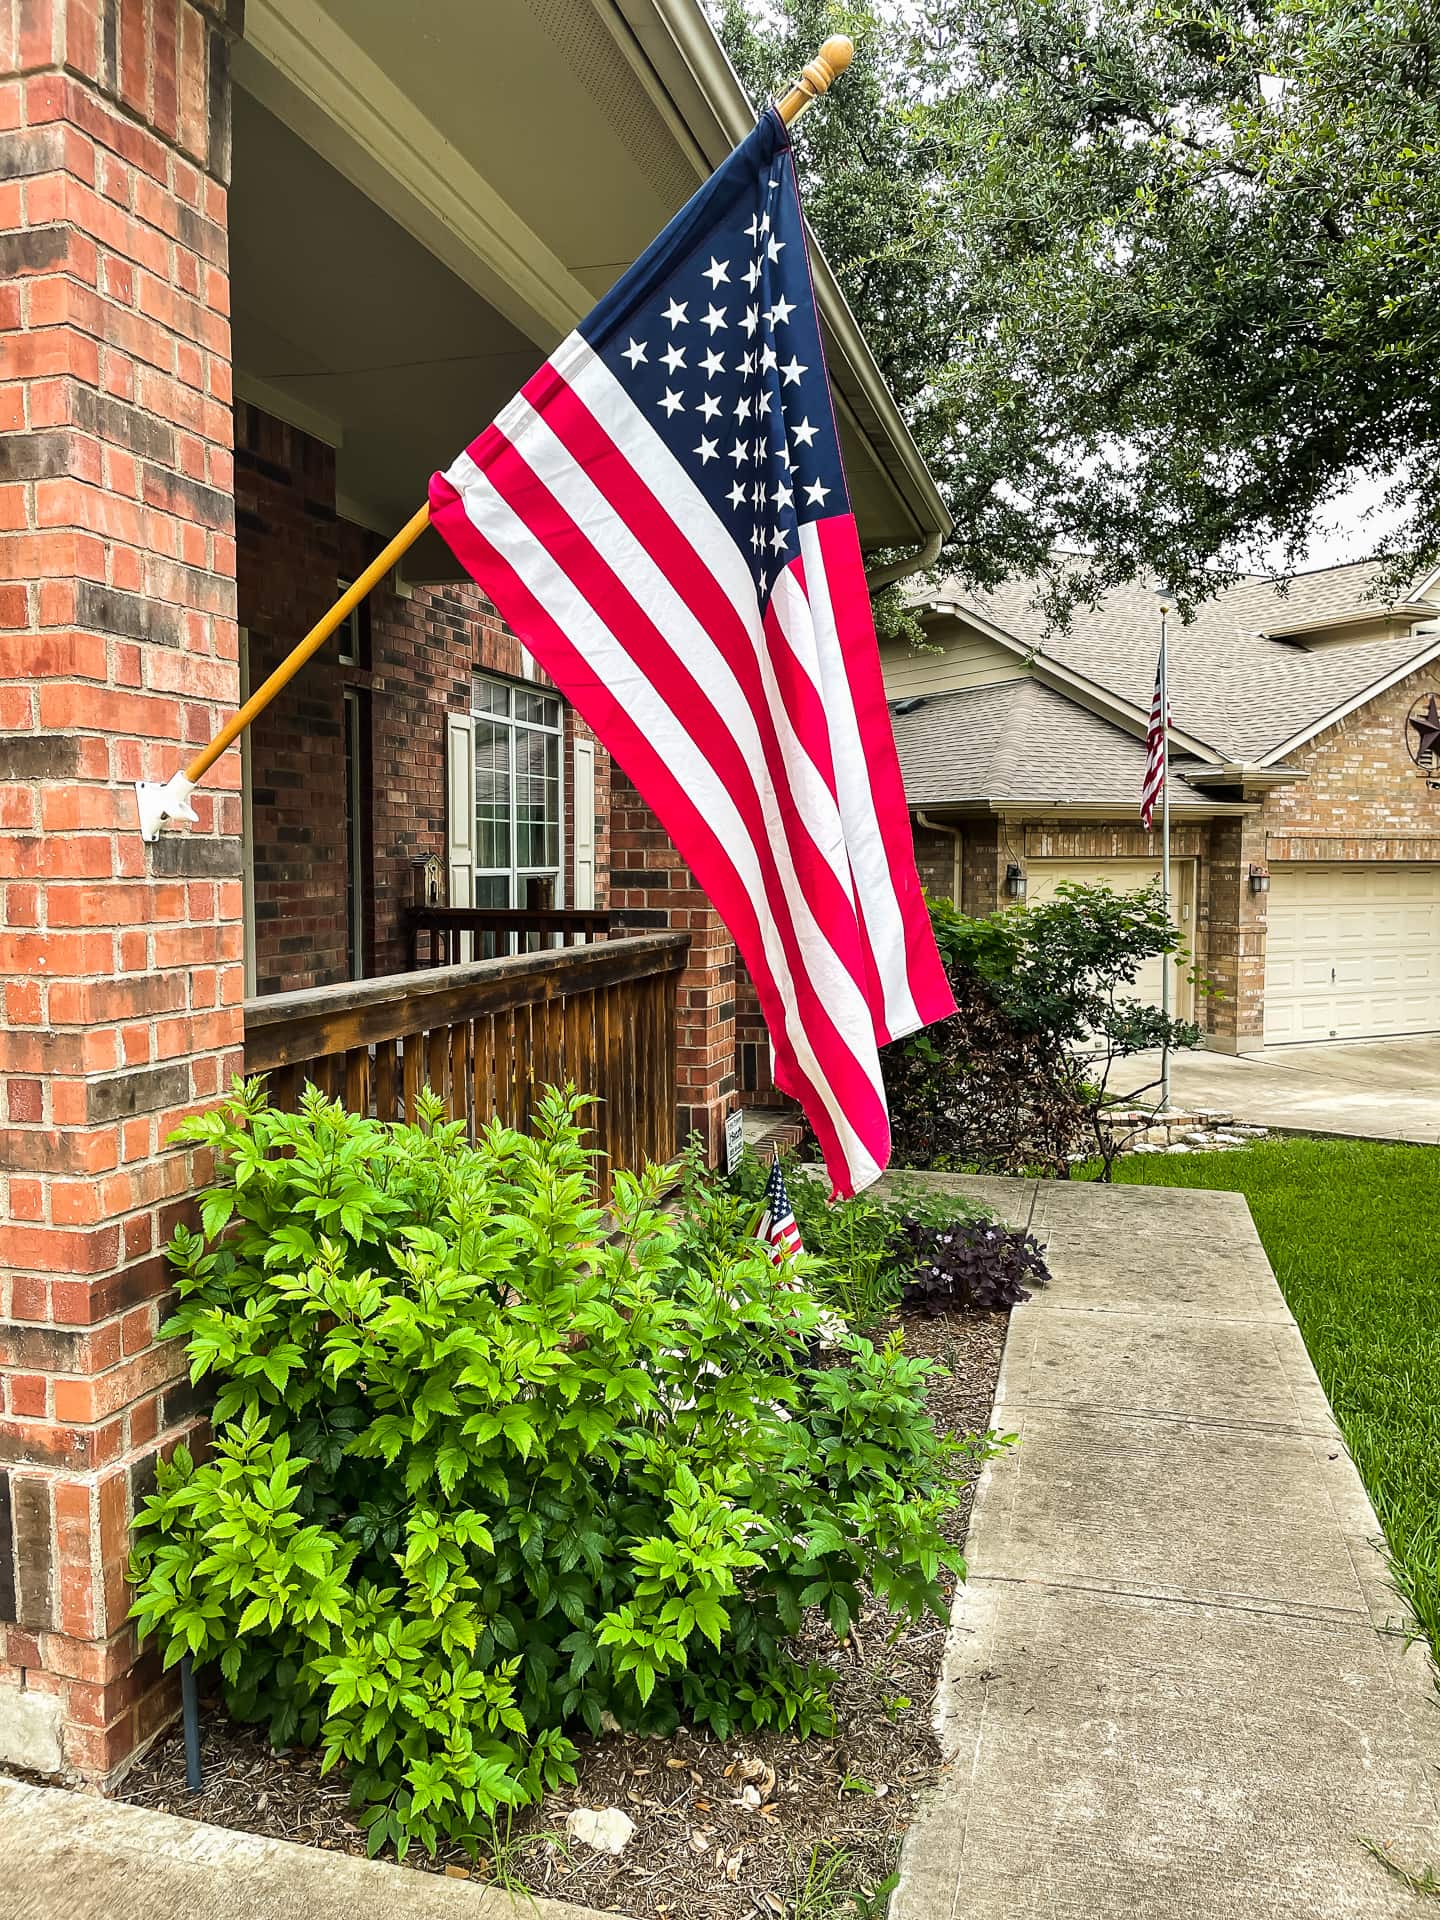
Photo info: Apple iPhone 12 mini, 4.2mm, f/1.6, 1/260 sec, ISO32 “American Flag” Cedar Park, 2021
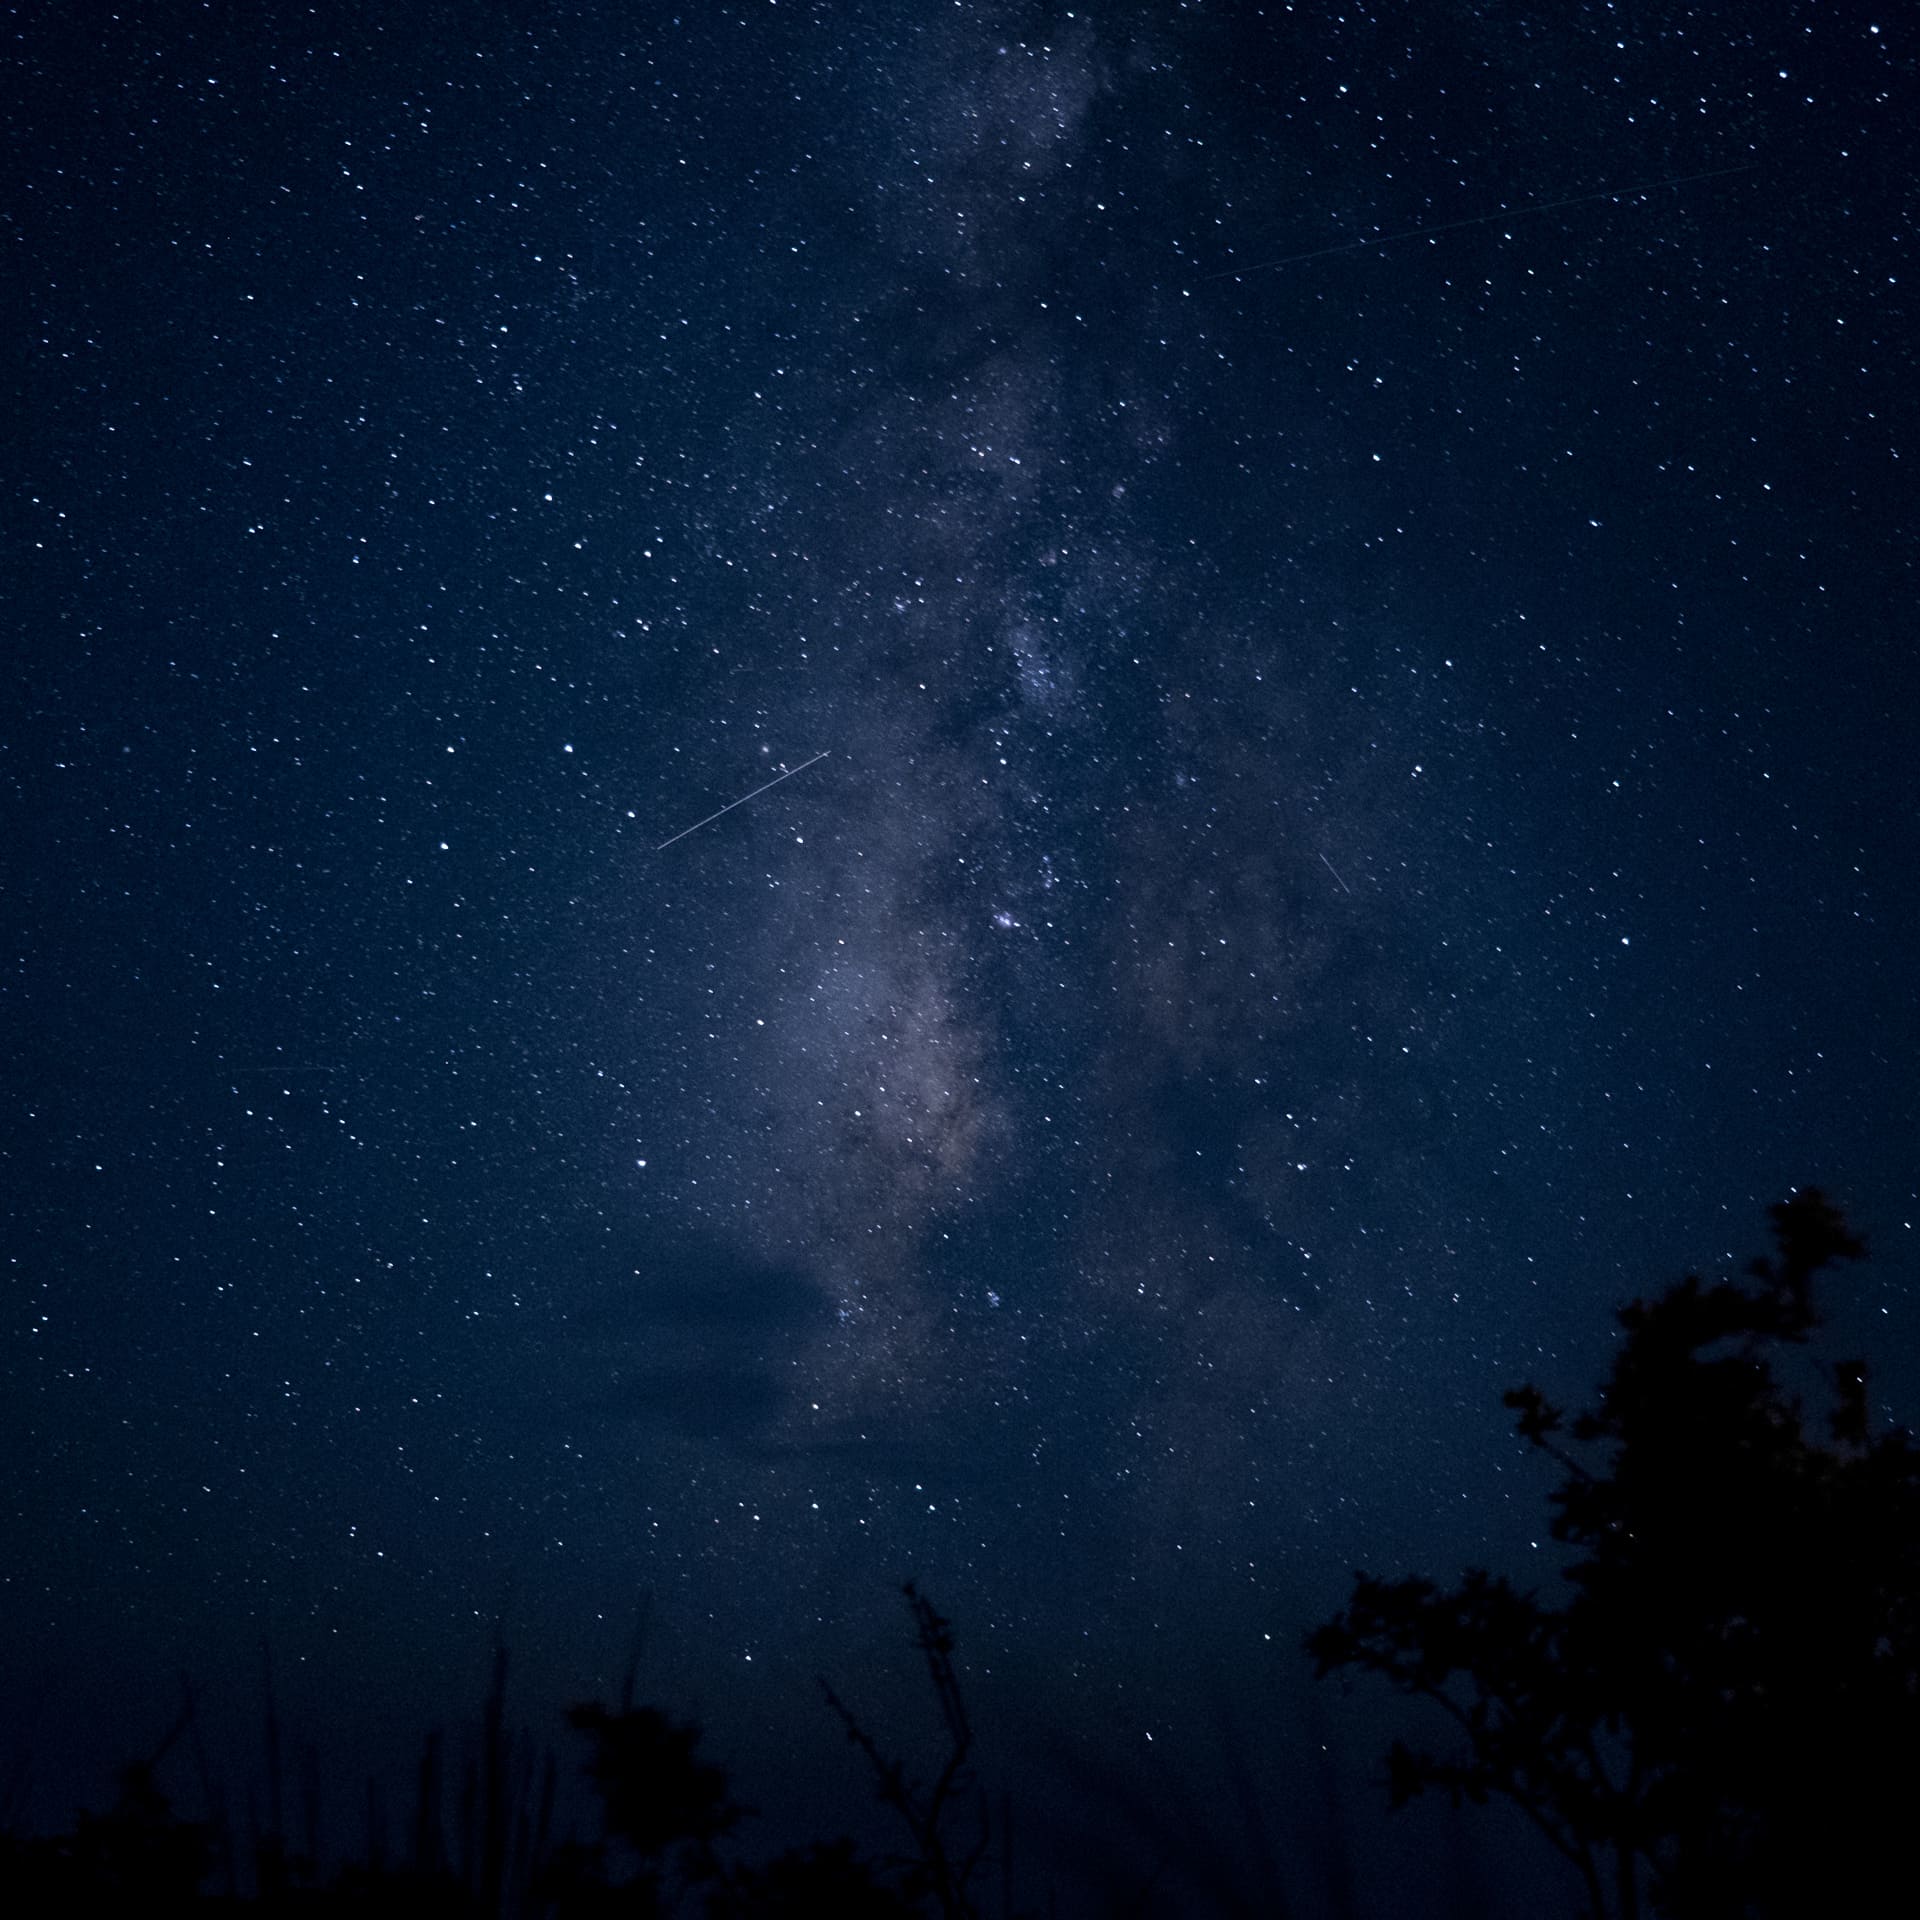
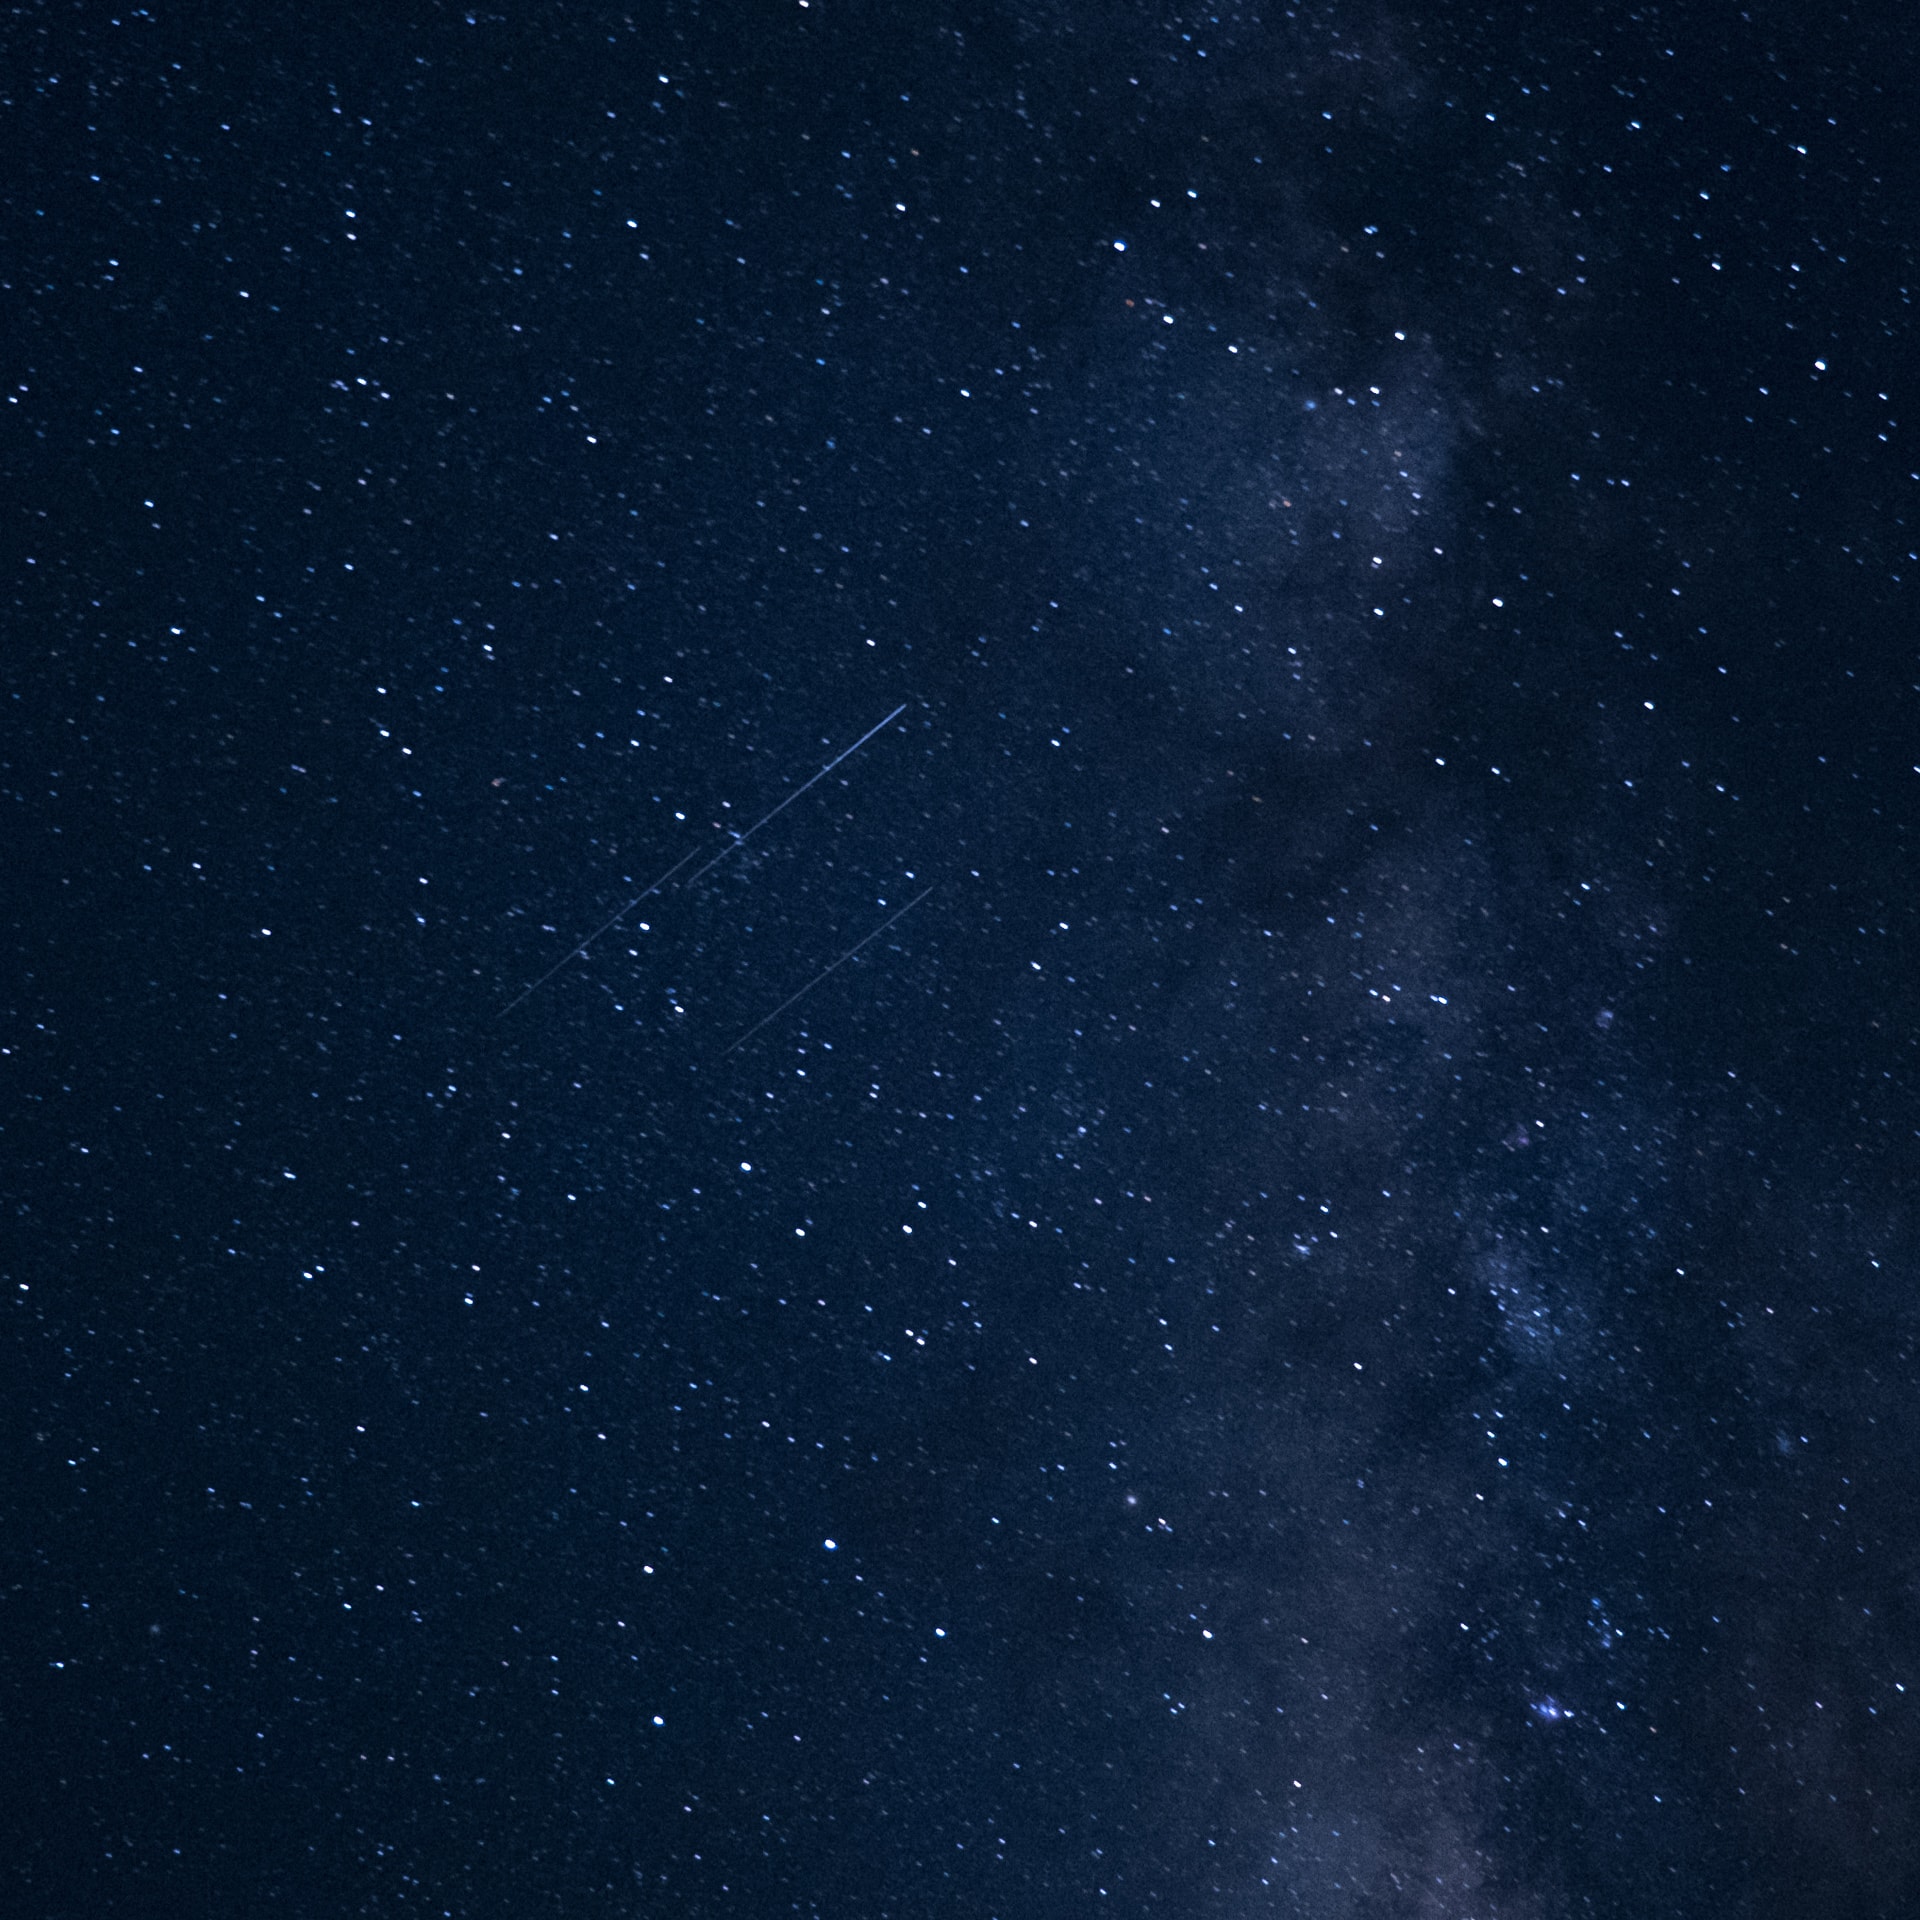
This morning I woke up at 5 am and right outside my tent was the Milky Way. It was awesome! I got out my Fujifilm X-E4 with 18-55 mm lens, put it on the Ultrapod and took a few shots. There were only a few clouds in the sky so the shots looked pretty good, and I even captured a few shooting stars. In fact, with the 30-second exposure, almost every shot had at least one shooting star in it. It was so cool!
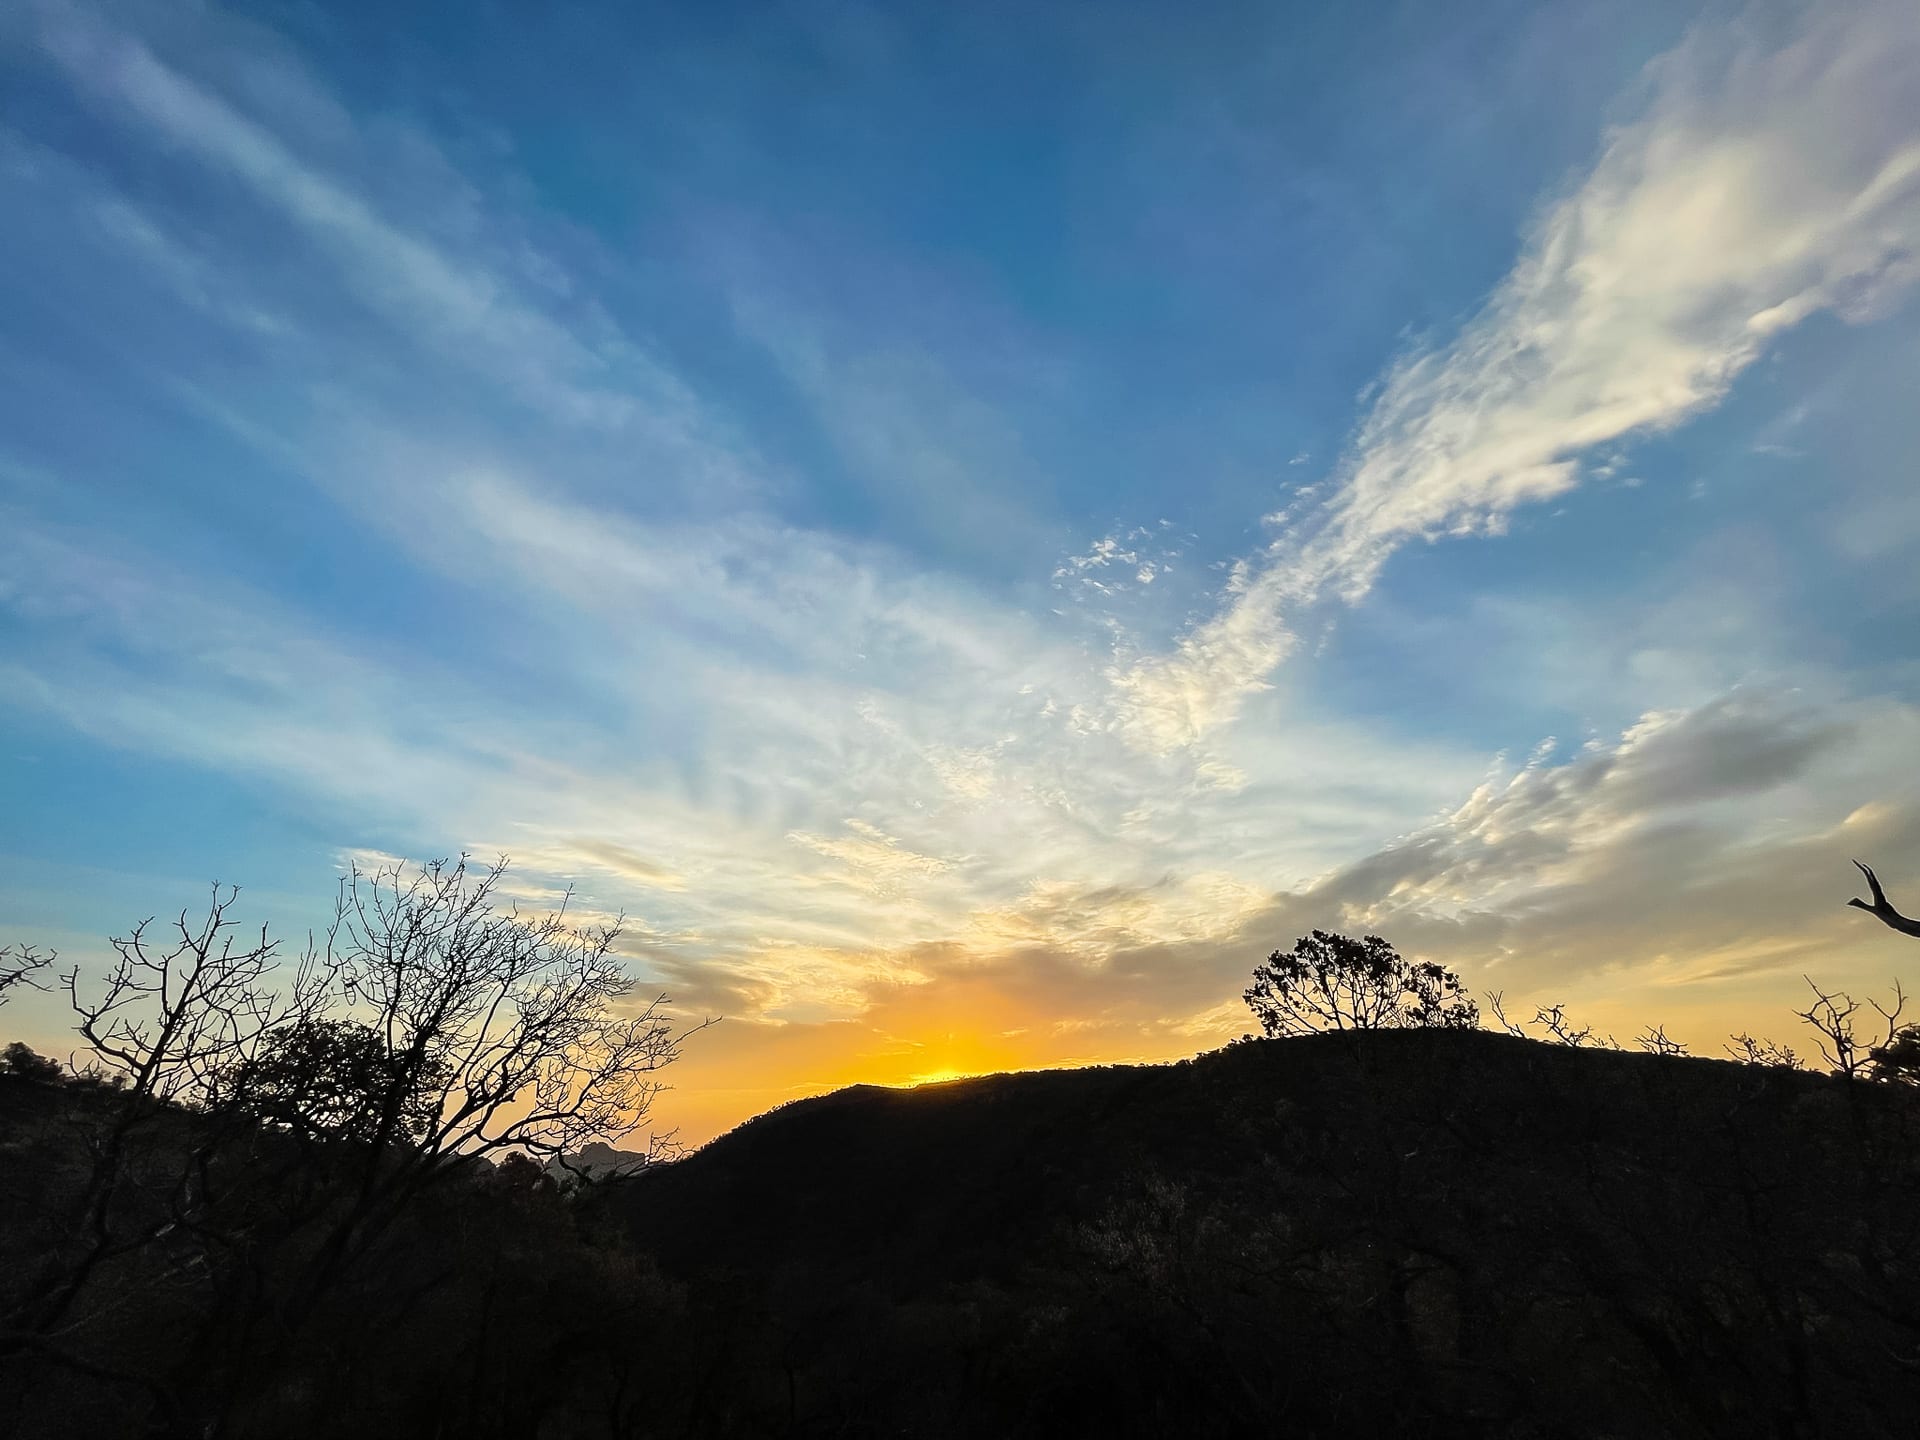
Photo info: Apple iPhone 12 mini, 1.55mm, f/2.4, 1/1000 sec, ISO25 “Sunrise” Big Bend, 2021
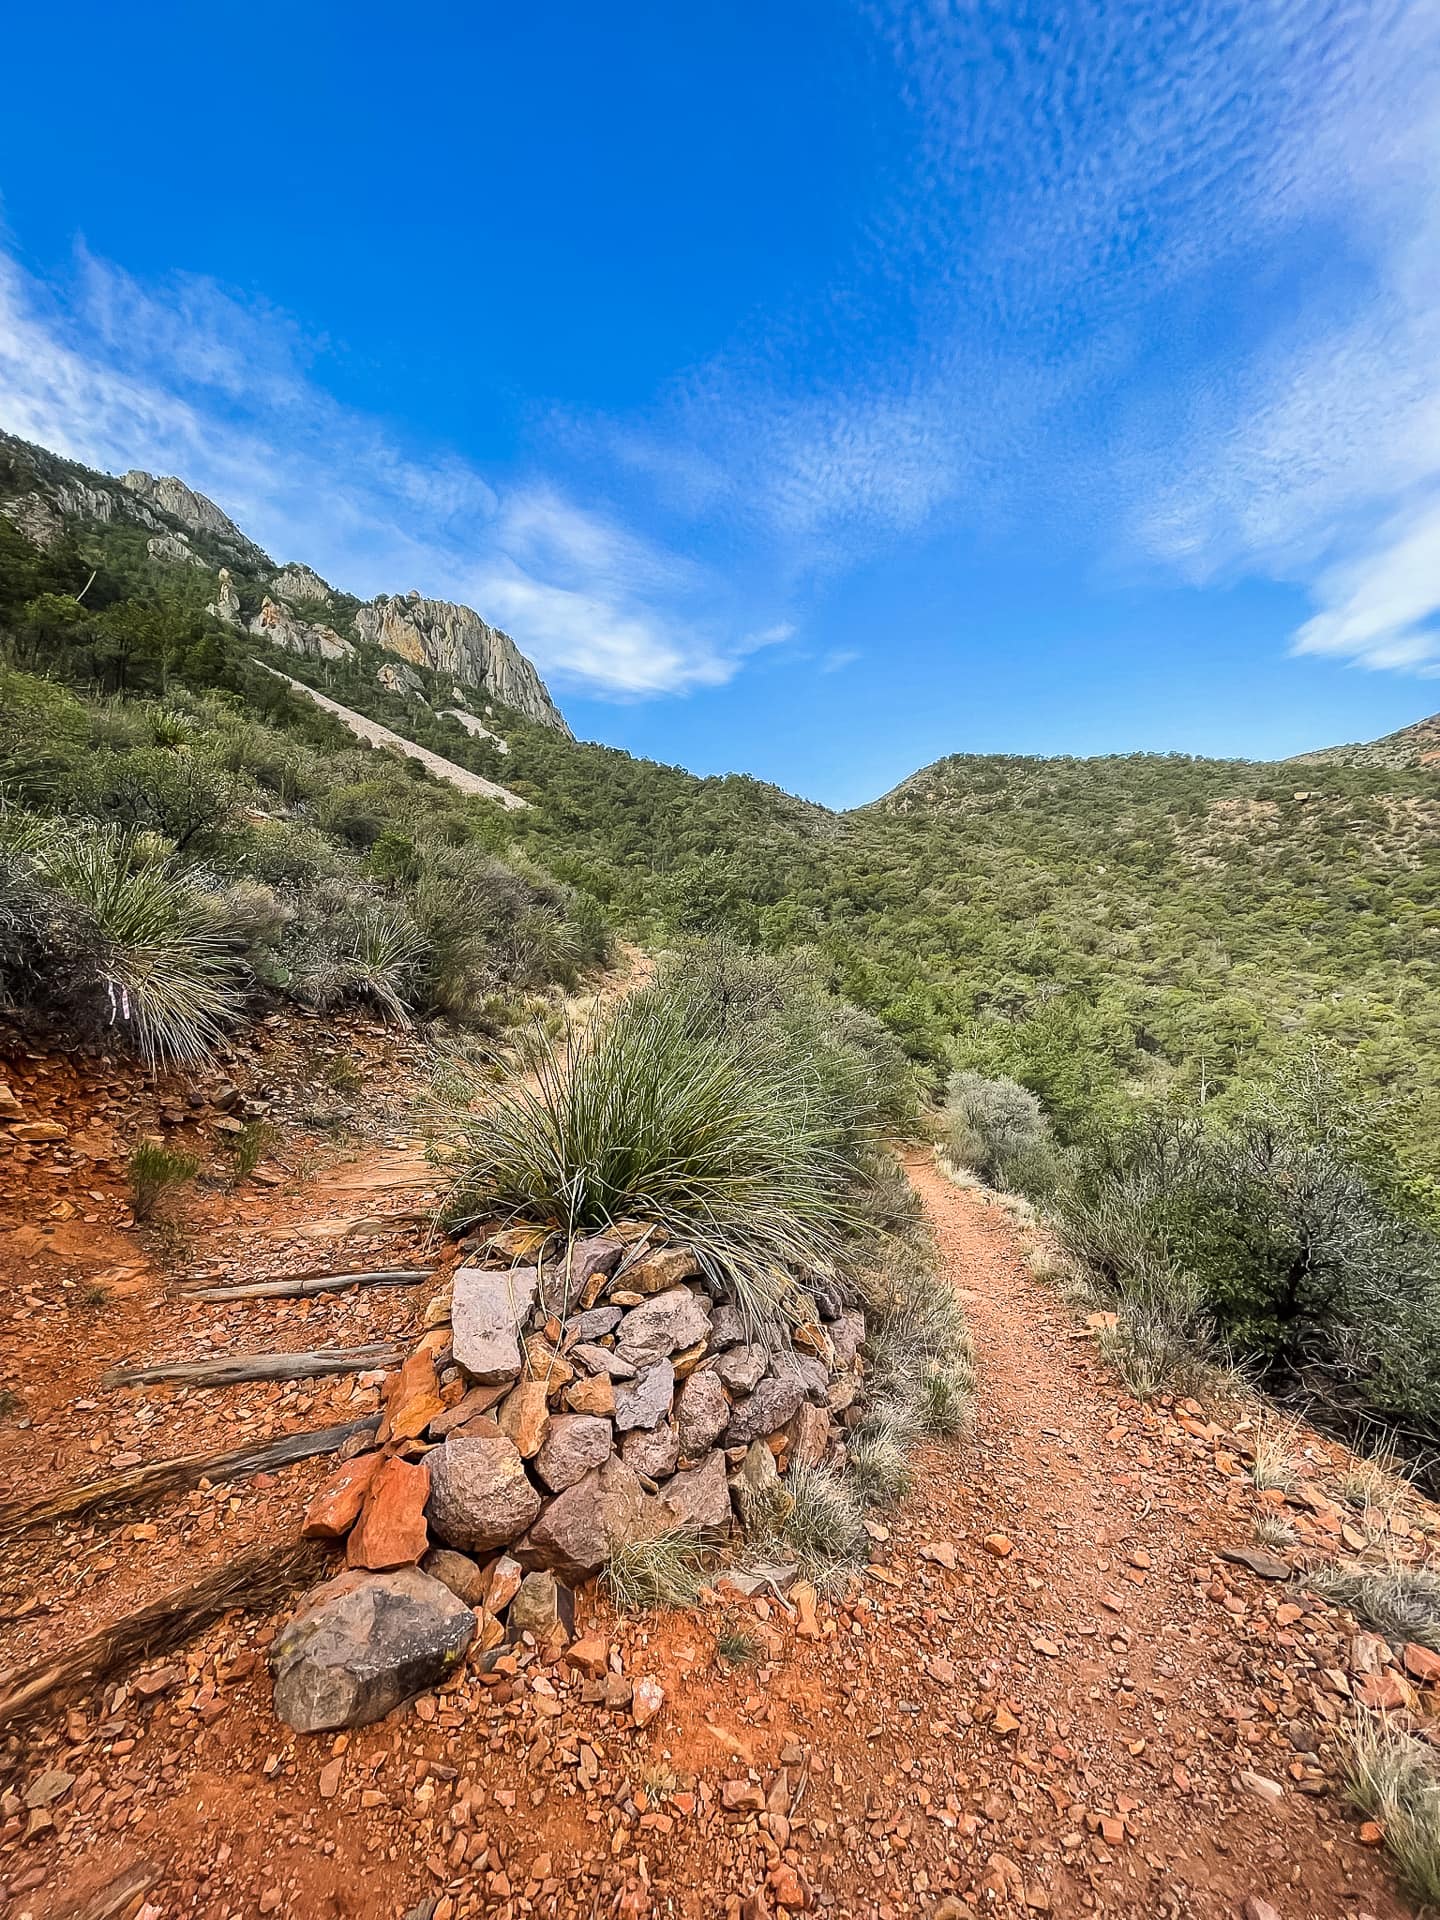
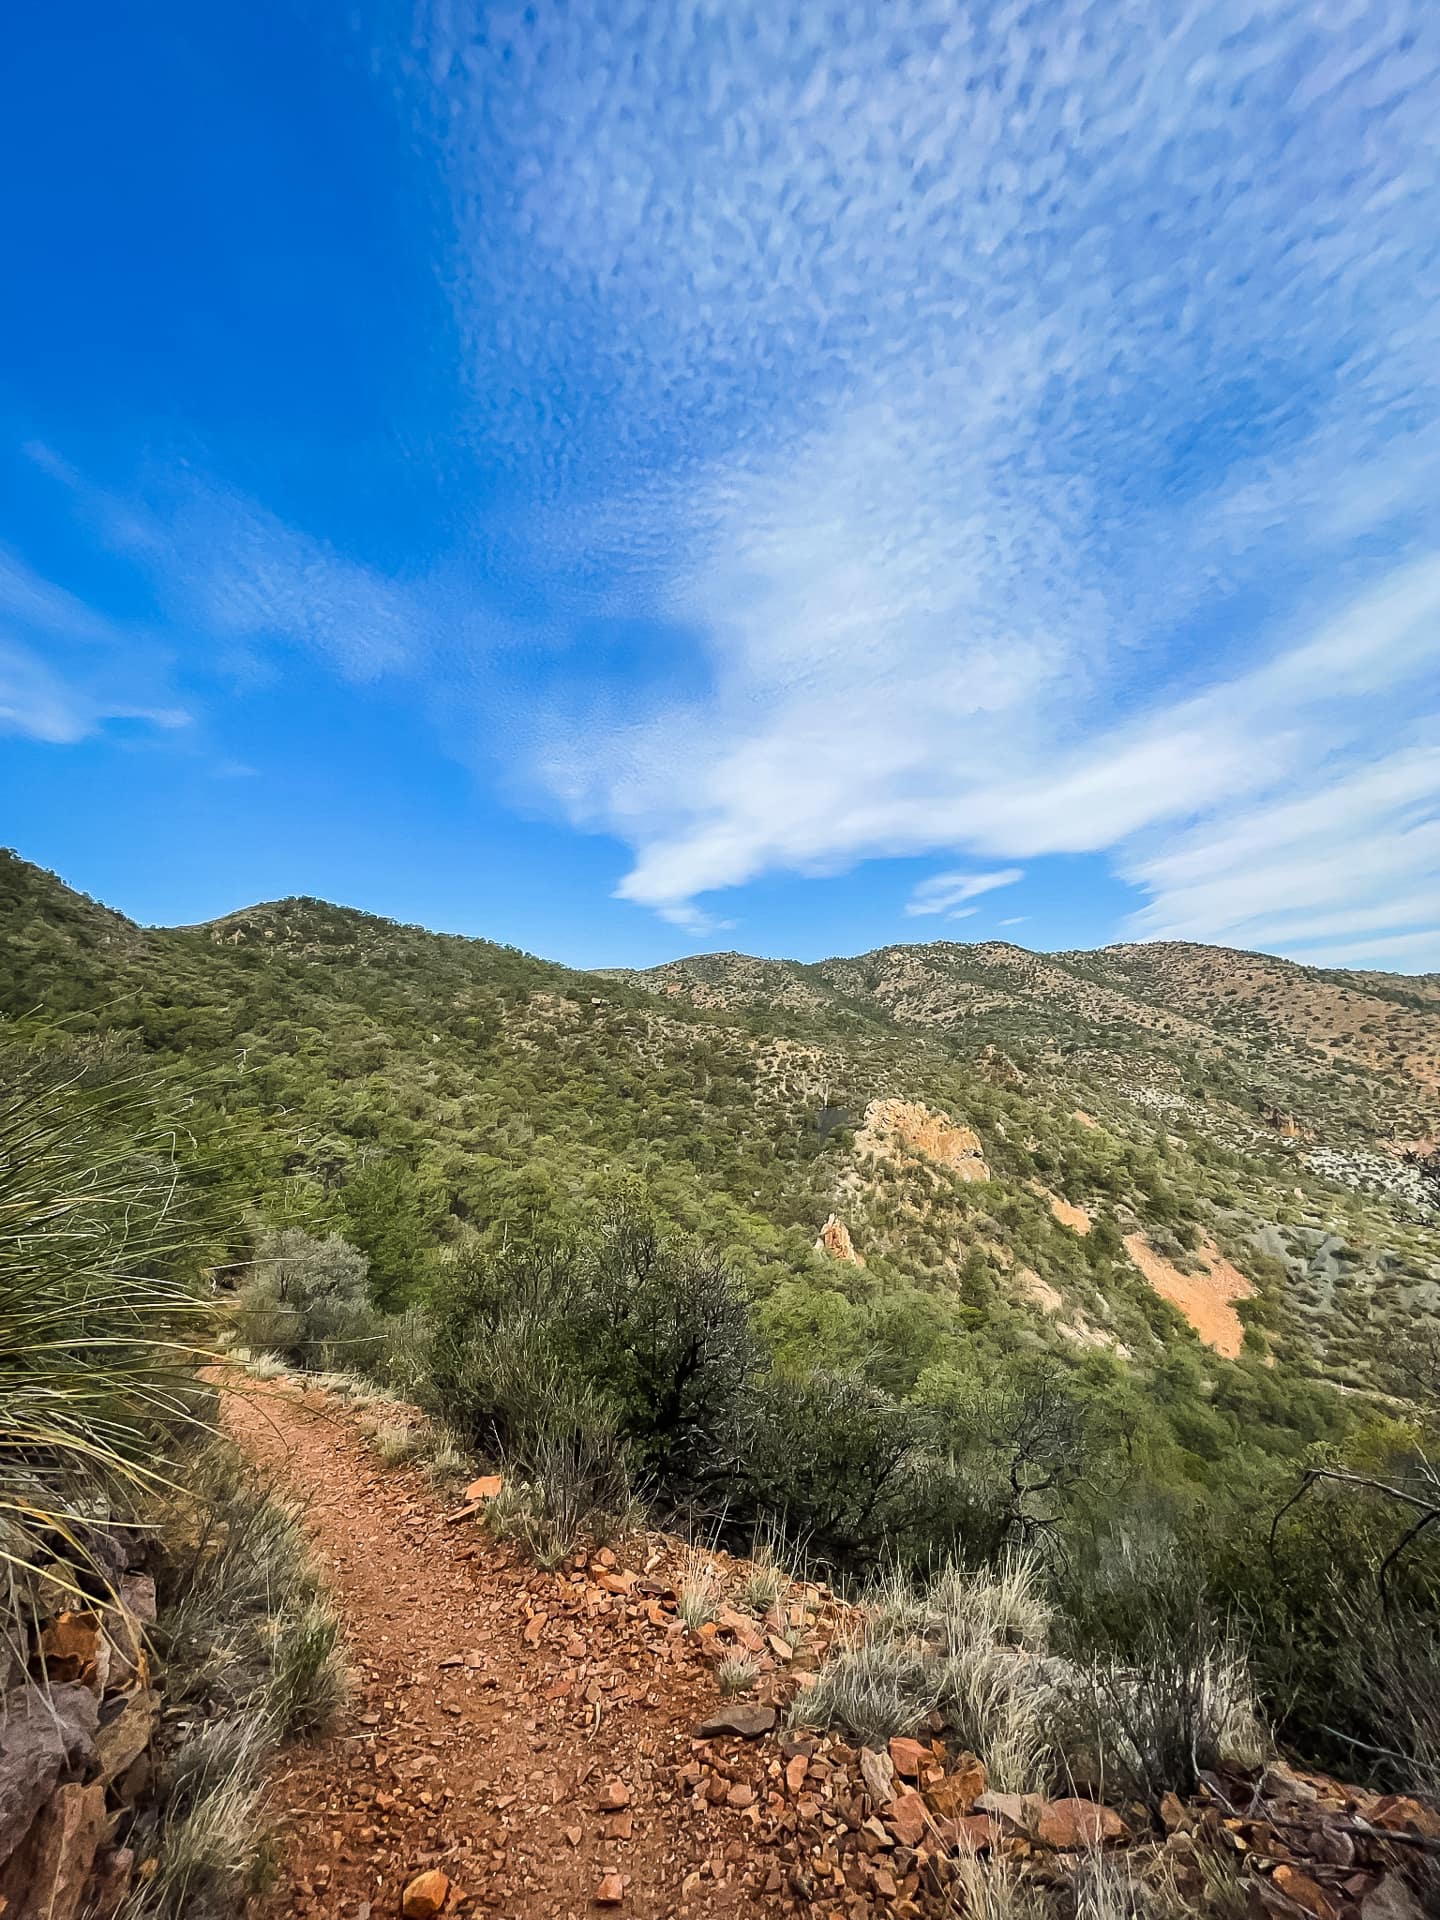
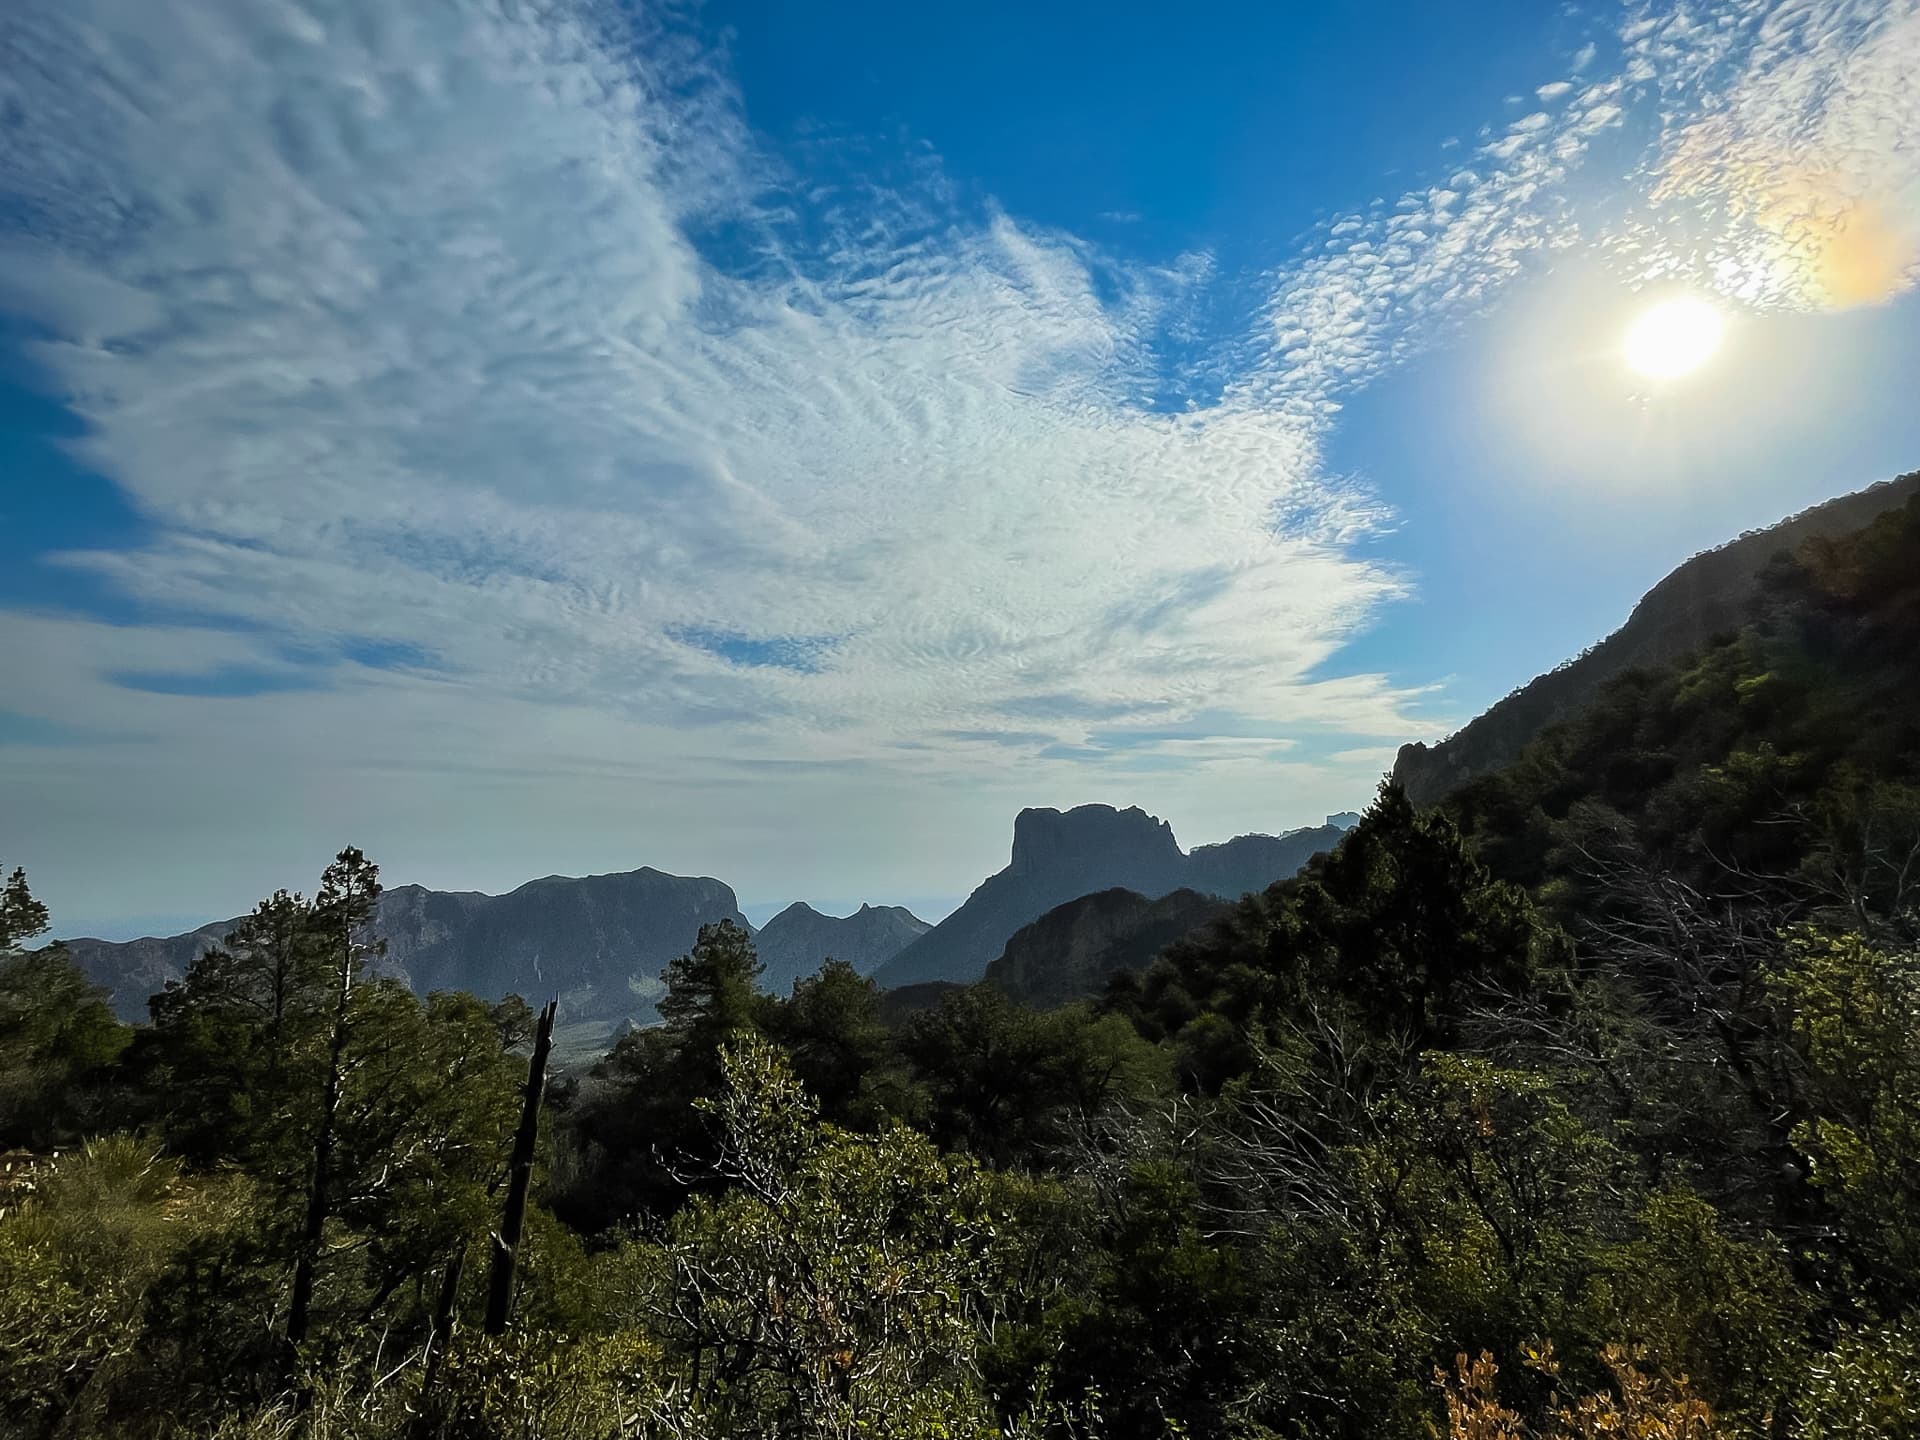
Soon, the sun made its way into the day, and after a sunrise photo and some coffee, it was time to hit the trail. We hiked Laguna Meadows Trail all the way down to the Chisos Basin, seeing one large bear along the way. It was digging a hole near the trail so we had to scoot past pretty quickly, bear-spray at the ready. Very exciting!
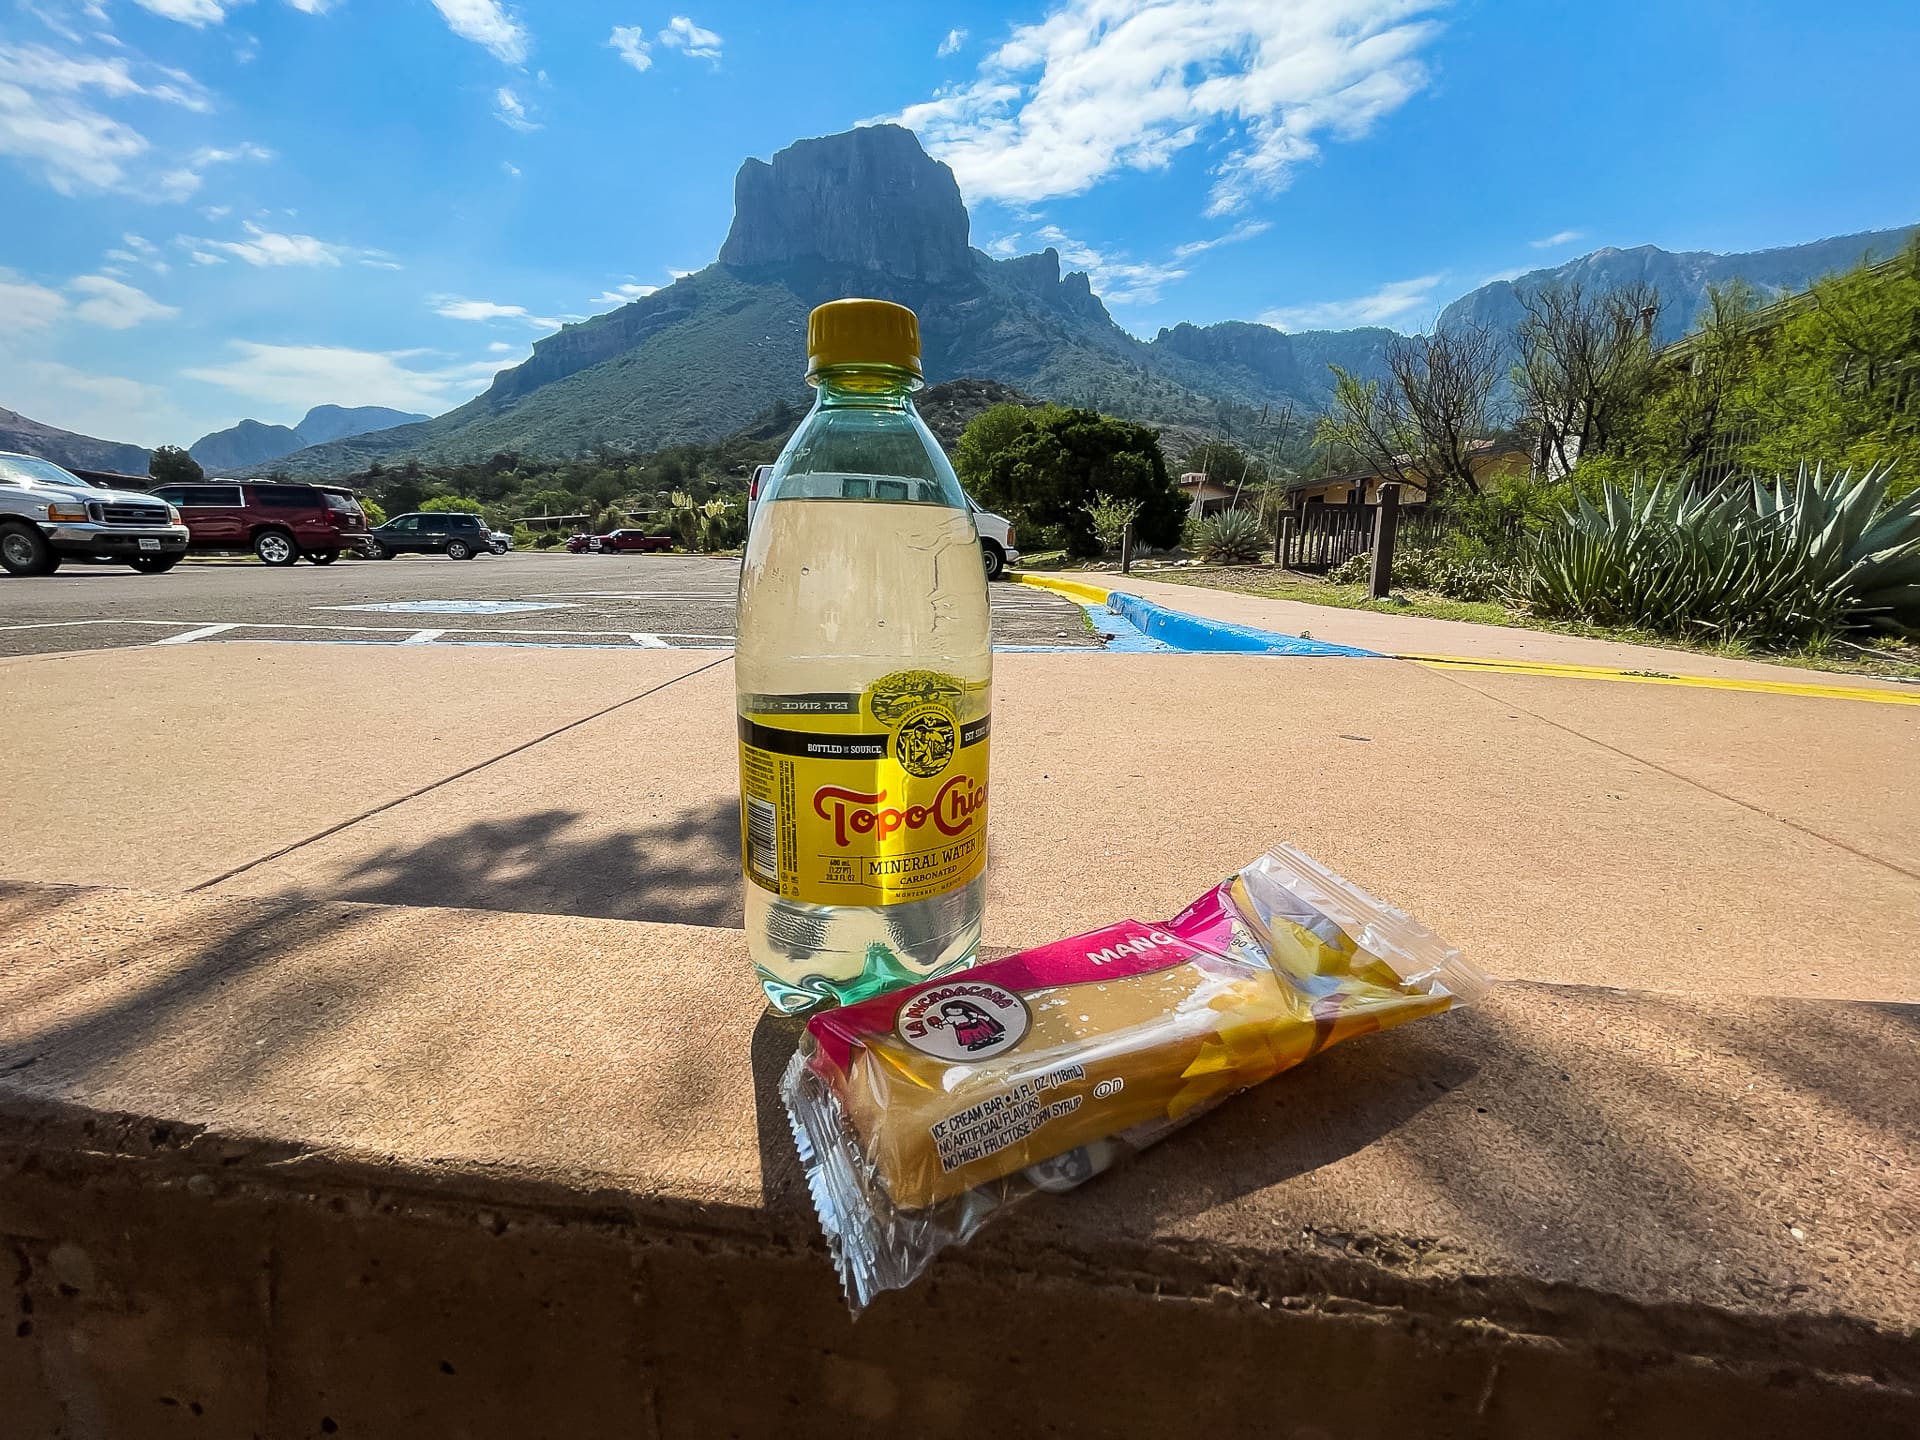
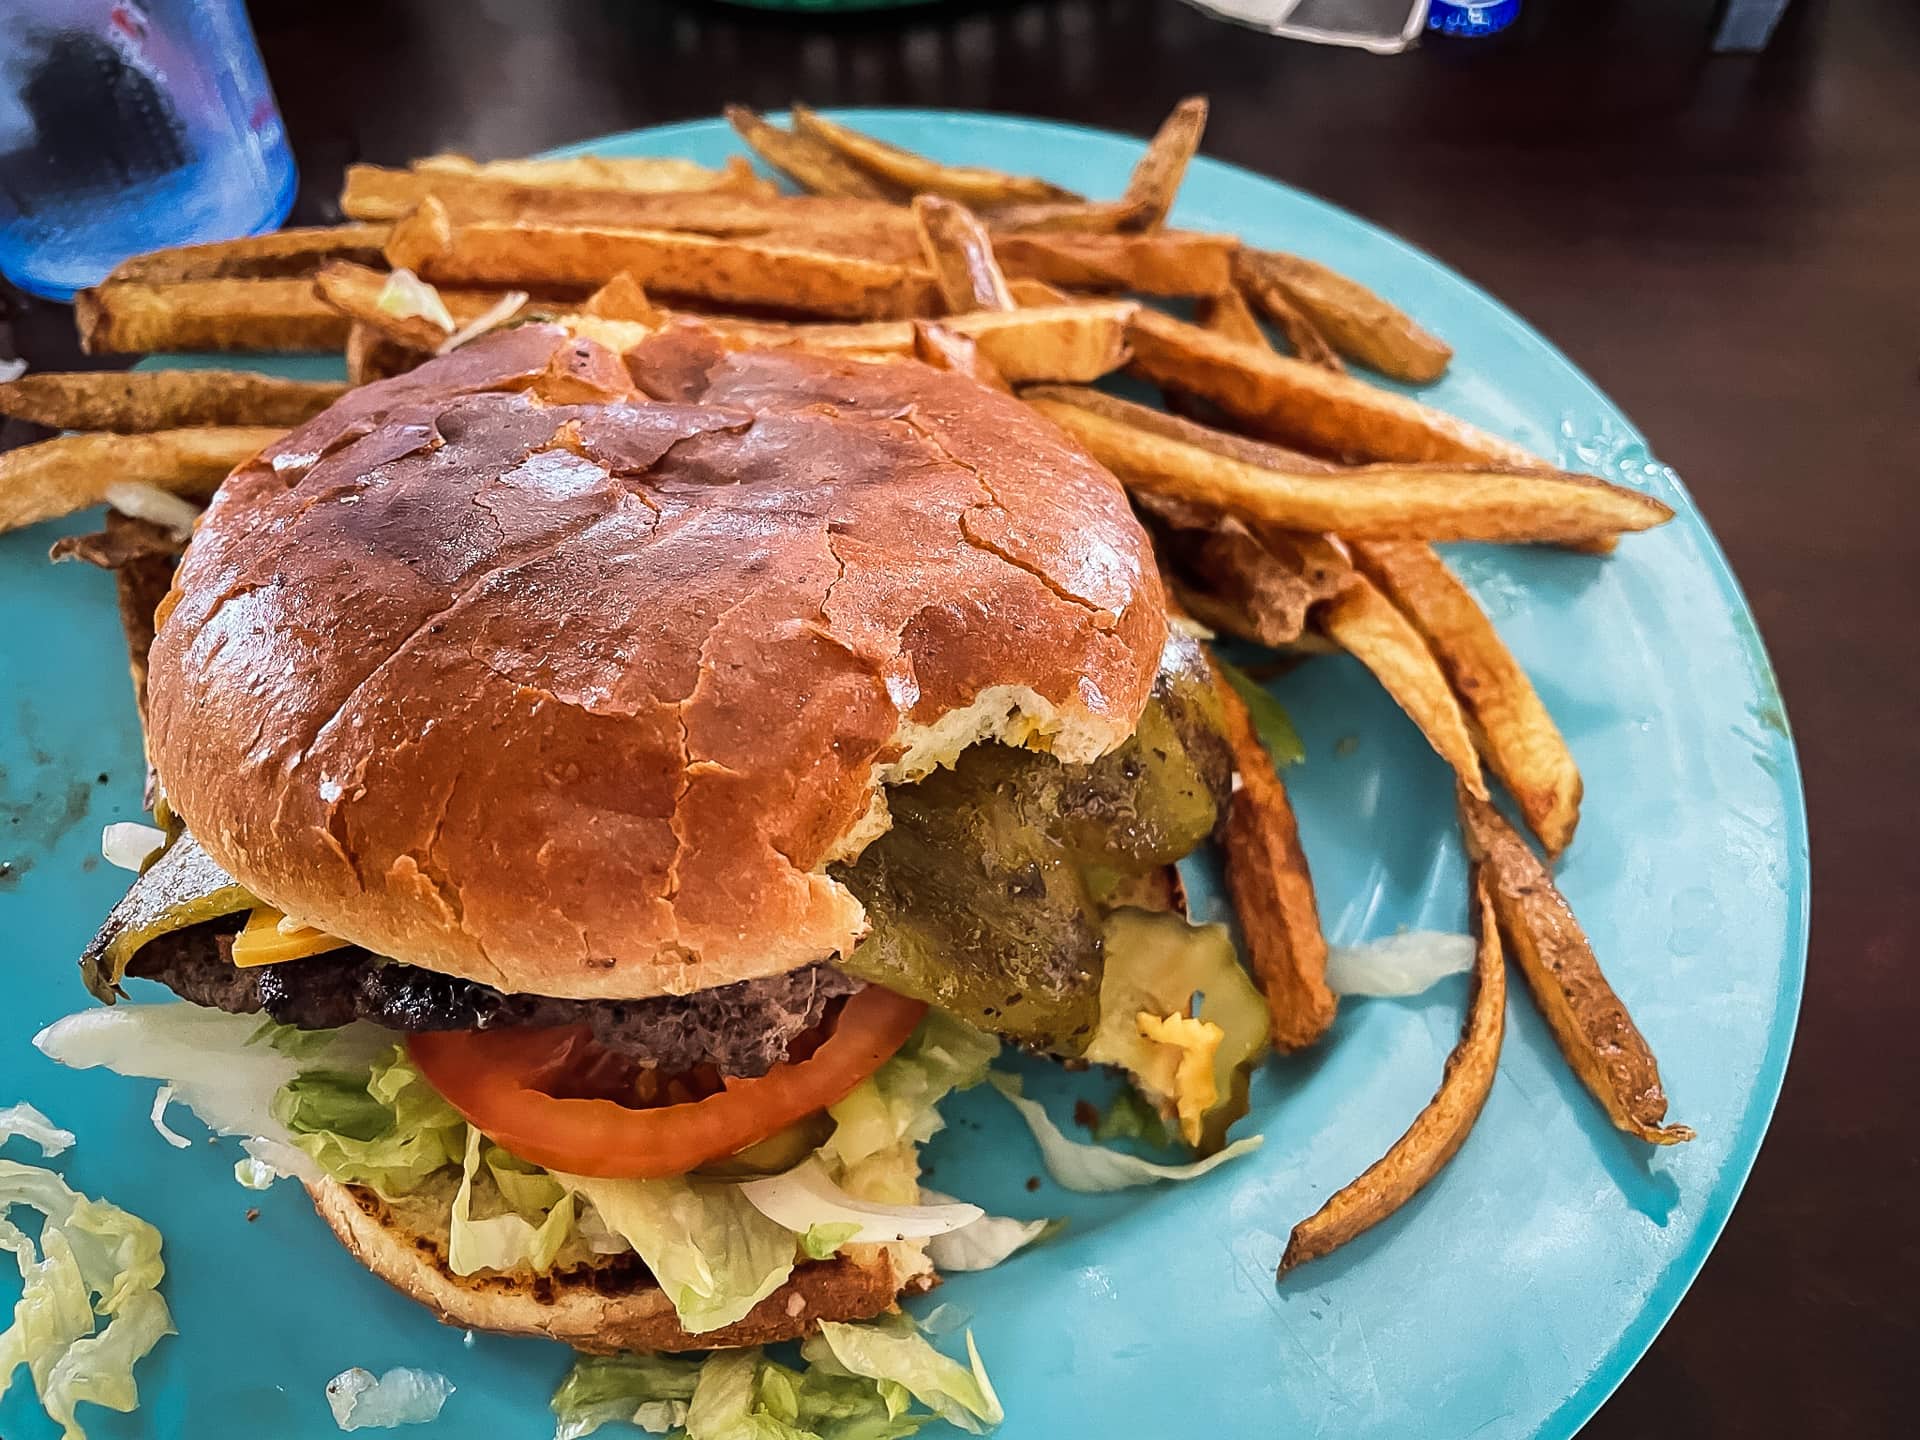
At the end of the hike, I splurged on a Topo Chico and mango ice cream bar before we hit the road. After a couple of hours we arrived at Fort Stockton and had lunch at Pepito’s, where I had a huge burger. It was a good way to satisfy my hiker hunger!
Photo info: Apple iPhone 12 mini, 1.55mm, f/2.4, 1/1250 sec, ISO25 “Refreshments” Big Bend, 2021
Here are a few more photos and the Strava track from the last day of our Big Bend trip. Enjoy!
Photo info: Apple iPhone 12 mini, 1.55mm, f/2.4, 1/480 sec, ISO25 “Switchback” Big Bend, 2021Photo info: Apple iPhone 12 mini, 1.55mm, f/2.4, 1/950 sec, ISO25 “Laguna Meadows Trail” Big Bend, 2021Photo info: Apple iPhone 12 mini, 1.55mm, f/2.4, 1/5300 sec, ISO25 “Casa Grande” Big Bend, 2021Photo info: Apple iPhone 12 mini, 4.2mm, f/1.6, 1/60 sec, ISO500 “Pepito’s Burger” Fort Stockton, 2021Photo info: FUJIFILM X-E4, 18mm, f/2.8, 20 sec, ISO3200 “Triple Shooting Stars” Big Bend, 2021
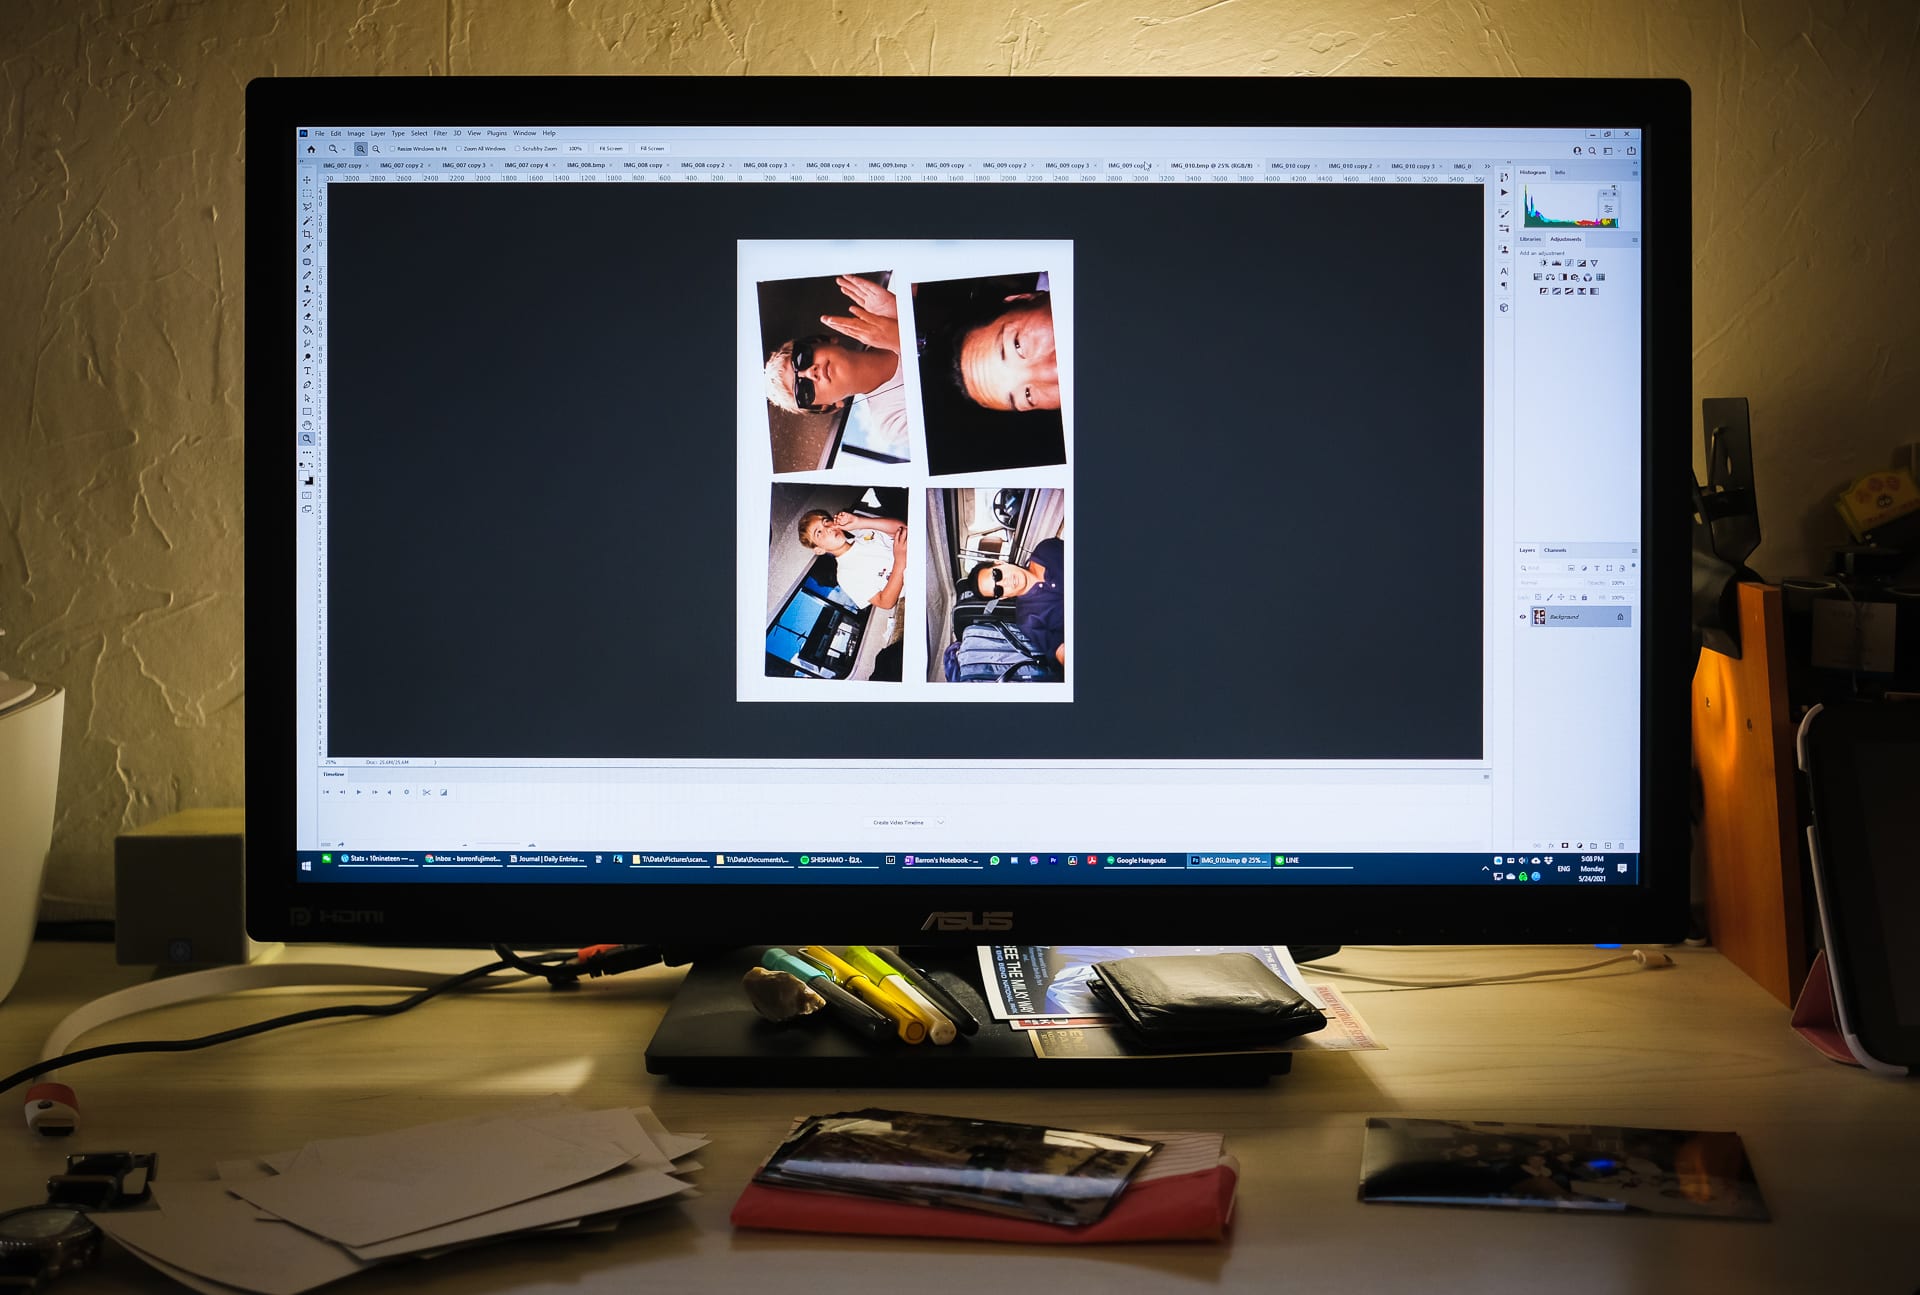
Photo info: FUJIFILM X-E4, 27mm, f/2.8, 1/100 sec, ISO800 “Scanning Snapshots” Cedar Park, 2021
I’ve started scanning in old print photos in an effort to declutter the home office and make it easier to browse. I find it much more convenient to look at photos on the computer or iPad than opening a box of snapshots. However, I never started on the large scanning project until now.
It took a bit of tweaking the workflow, but I think I have optimized and automated it as best as I could using my Epson 4490 Scanner and Adobe Photoshop. The basic steps are:
Place multiple photos on the scanner bed. I can fit four 3×5″ or two 4×6″ photos per scan. I find it best to offset/skew the photos a bit so that they DO NOT line up. This will help out later.
In Photoshop, choose File > Import > WIA Support… Select a destination folder and check “Open Acquired…”, then Enter. Next select the scanner and Enter. For my particular scanner, I have the option to scan at a custom DPI, and I chose 300 DPI. I have the scan area set to the entire scanner bed, and I do not use Preview. Just Scan. I mapped the F9 key to launch WIA Support, so I can just type F9, Enter, Enter, C (to select custom), and Enter. The scanner will do it’s thing, and the BMP will open in Photoshop. The destination folder is where Photoshop will save the BMP files, which I will delete later.
Choose File > Automate > Crop and Straighten Photos. This will create separate images for each photo in the BMP file (see the photo above). I’ve set this command to be my F10 key. If the photos are too close together or lined up too well on the scanner bed, Photoshop might think they are a single photo, which is why it’s better to place them askew on the scanner bed. In my workflow, I CTRL+TAB to check the images and rotate any images that need it (I have F12 mapped to Rotate 90 degrees clockwise). At this point you can save each image if you’d like, but since I want to scan many more photos, I remove the photos from the scanner, and begin again.
After I have scanned several batches of photos (and Photoshop is filled with windows), it’s time to save the files. Because the cropped/straightened images are not actually saved as files, the Image Processor script I want to use in Step 5 will not work (yet). So, we need to temporarily save all the open images. The easiest way I’ve found is to type CTRL+ALT+W to close all images. In the dialog box, check Apply to All, then Yes. In the next dialog box, select a folder where the individual BMP files will be saved. Then I just hit enter for each subsequent dialog box.
Next, I will save all the BMP files as JPGs. In Photoshop, choose File > Scripts > Image Processor… In the dialog box’s step 1 section, choose the folder where you saved the individual BMPs from Step 4. In the next section, I then to save the processed image into a new folder. Choose any other desired settings, then click Run. I mapped the F11 key to run the Image Processor. You will now have a folder full of JPG images!
Lastly, delete all the BMPs that were created in Step 4 (and step 2 if you wish) and you can start on the next batch.
That’s pretty much the process I have been using and it works well for me. What’s nice is that Photoshop will create new names for each file (and not overwrite). I definitely recommend mapping the keys for the Photoshop menu items. It makes it much quicker!
Here’s my process in a nutshell: Put the photos on the scanner, type F9, Enter, Enter, C, Enter. I wait for the scanner to finish, then hit F10. CTRL+TAB to check the photos and F12 any photos that need rotating. Then I start the next batch of scanning. After I have many open files, I hit CTRL+ALT+W to save and close the files. Then F11 to create the JPG files. Delete the BMP files and begin the next batch. Easy-peasy! I don’t even need to touch the mouse except to delete the BMPs in File Explorer.
I hope this helps out anyone who wants to scan a bunch of snapshots!
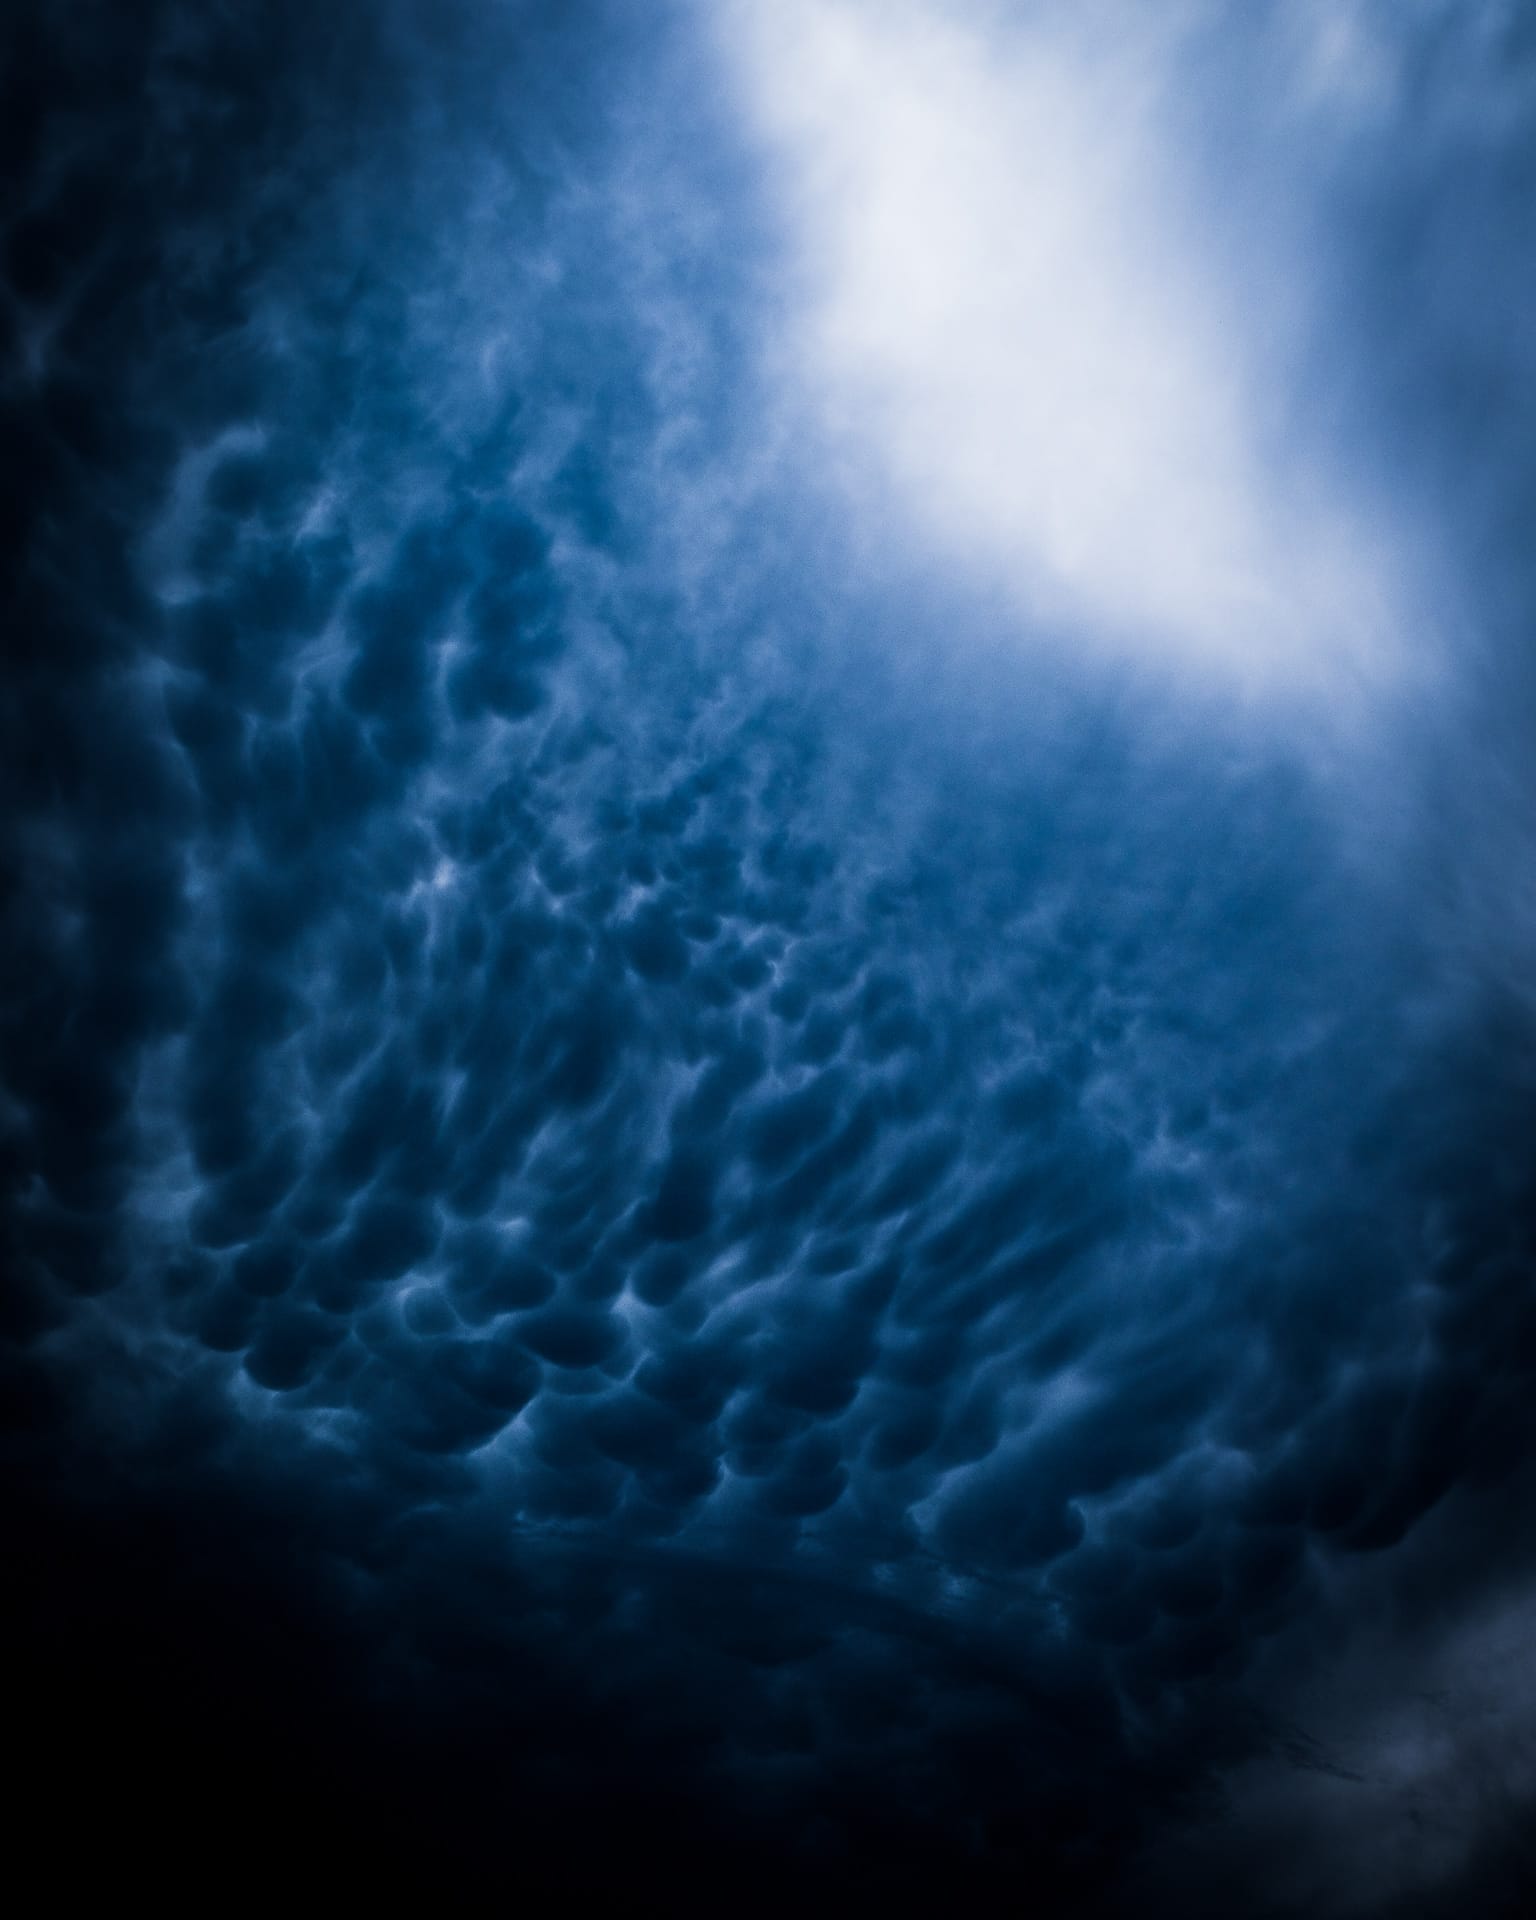
Photo info: FUJIFILM X-E4, 18mm, f/8, 1/2400 sec, ISO320 “Mammatus Clouds” Cedar Park, 2021
A storm rolled though the area this afternoon, with a severe weather watch in effect for a couple of hours. We had heavy rain, no hail, and an amazing showing by the storm clouds! These photos are highly stylized in Adobe Lightroom, but I really like them. They look like the undersides of ocean waves, don’t they?
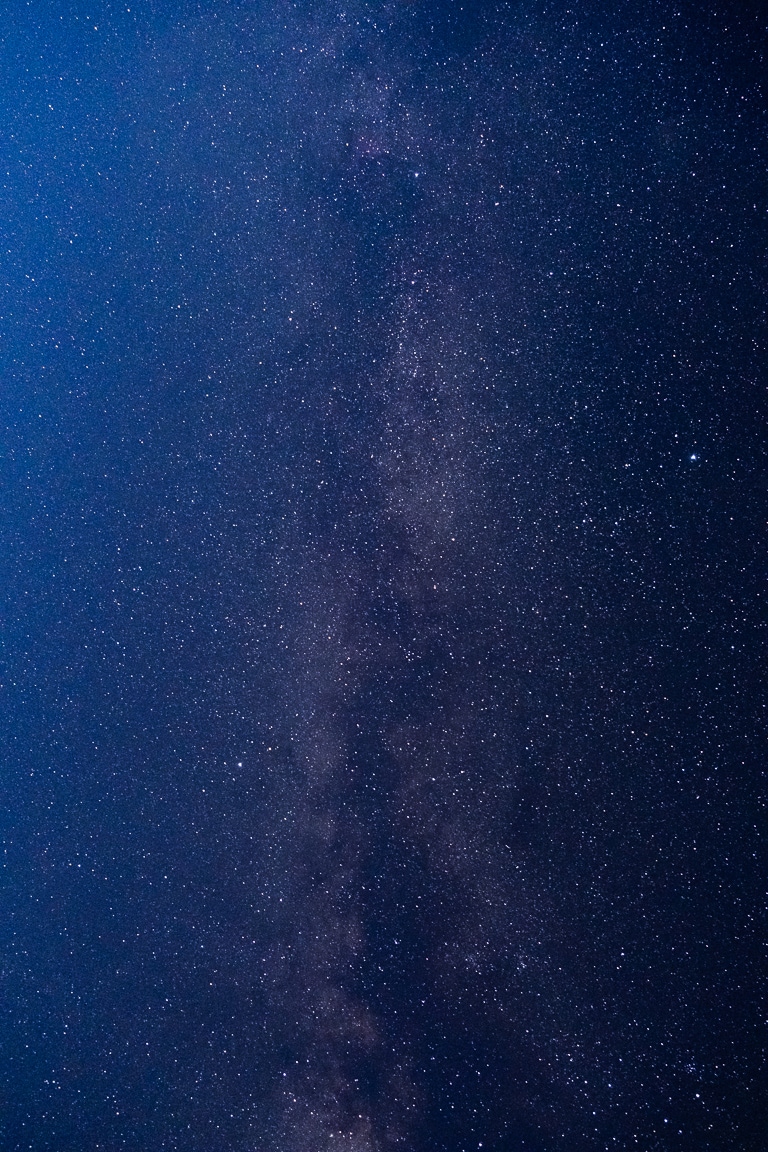
Photo info: FUJIFILM X-E4, 18mm, f/8, 1/1600 sec, ISO160 “Mammatus Clouds” Cedar Park, 2021
I woke up early from my highway rest stop accommodations, and while packing up, I decided to put the Fujifilm X-E4 on the tripod and point it up at the Milky Way. I am pretty happy with the result that the XF 18-55mm “kit” lens produced (with some editing in Adobe Lightroom). 🌃
Like this:
LikeLoading…
My camera & photos
I use a Fujifilm X-series camera for most of the photos on this site and my Instagram. Why not pick one up for yourself?