The long-lost iPod touch

"iPod Touch". USA. Texas. Cedar Park. 2015.
Photo info: FUJIFILM X100T, 23mm, f/3.6, 1/60 sec, ISO1000
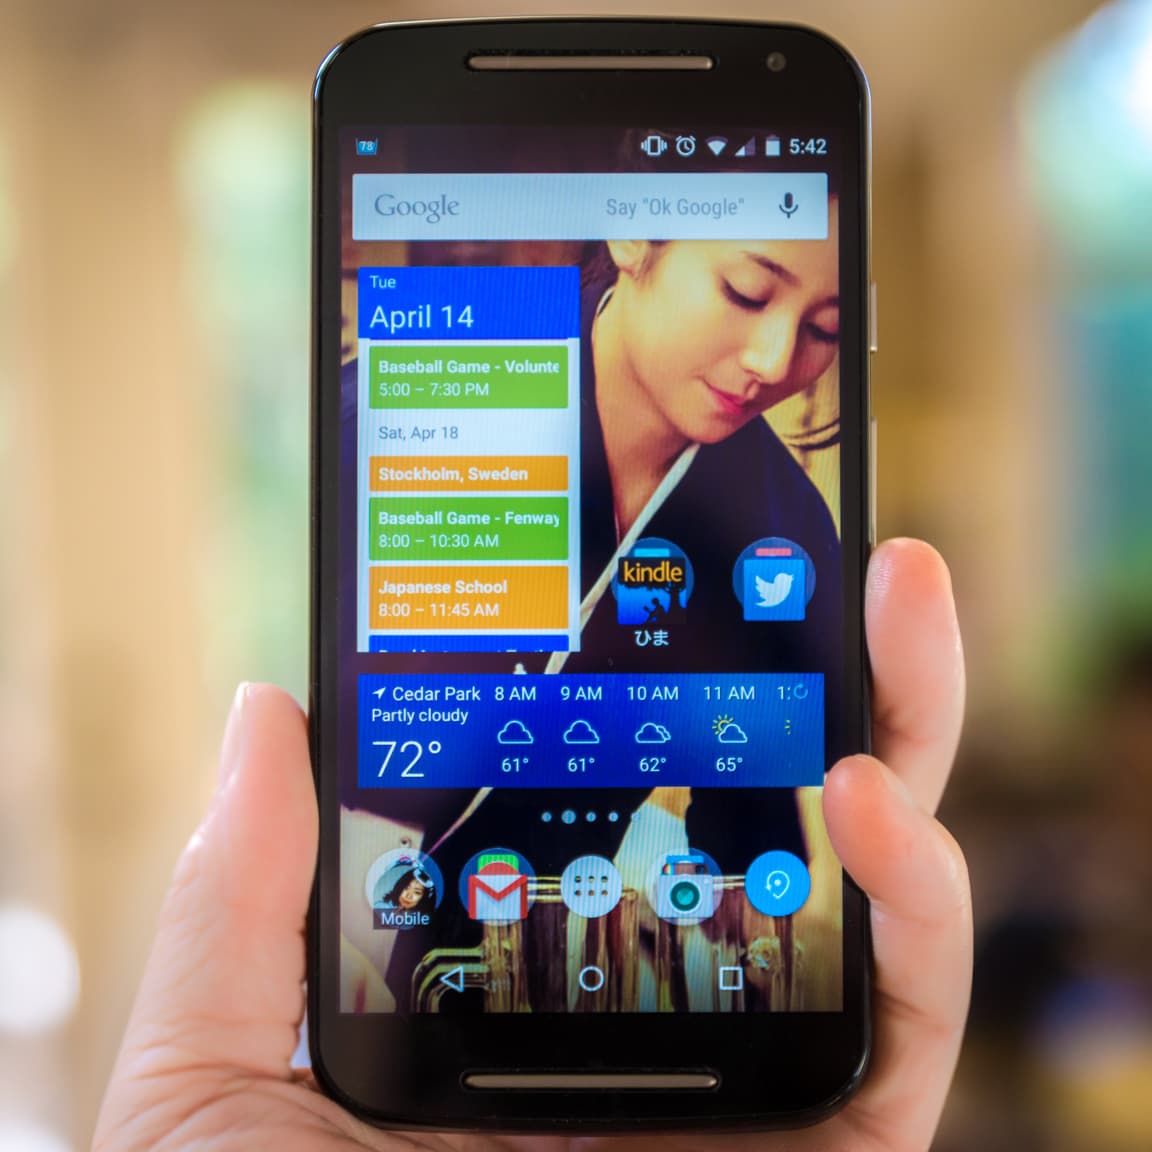
“iPod Touch”. USA. Texas. Cedar Park. 2015.

For a few months I’ve been looking for my wife’s long-lost iPod Touch. It’s funny, but she forgot she even had one! Which is in itself sad since it was a birthday gift from me! Anyways, the reason I wanted to find it was because I wanted to test the image quality of an Instagram upload from an iOS device as compared to my Android phone.

Well, the other night the iPod finally was found! So I quickly got to resetting it and installing some apps. After finding a way to install an old version of Instagram on the iPod touch, I did my test. Unfortunately the outdated version of Instagram only uploads the image as 640 x 640 pixels in size instead of the current 1080 x 1080. So I guess my test for image quality will not be conclusive…

Oh well, at least I have a new (to me) music player!

Fujifilm X100T Wi-Fi App Connection Issues

Just a quick PSA that I hope can help someone out. If you experience Fujifilm X100T Wi-Fi app connection issues using the Fujifilm Wi-fi App to connect your camera to your Android device, change your phone’s “name” in the app settings, then on the camera, “Change access point” so that it searches for a new device.

It seems like if the app remembers your phone’s old name and tries to connect, it will fail. However, if it searches for a new device, it will connect. I hope this helps!

New Phone – Moto G

Moto G and 木村 文乃
Photo info: SONY SLT-A77V, 50mm, f/2.8, 1/90 sec, ISO125
Moto G and 木村 文乃

This is my new phone: a Motorola Moto G (2nd generation). My two-and-a-half-year-old Galaxy S3 finally died after a few resets and so I decided that it was time. The Moto G is not the latest and greatest in terms of technology, but it is decent, comes with the latest version of Android, and is only $179 total, off-contract.

One thing I have learned is that I do not have to load every app under the sun to have a great experience. After resetting the S3, I had to reinstall apps and each time I reset it, I would install less and less, until I was down to the bare essentials. I realized which apps I actually used and now my phone is pretty uncluttered. Also contributing to the streamlined phone is that it runs stock Android, not some manufacturer skin. So it’s nice and fast. That speed is a great feeling! (and no monthly payments is also wonderful)

Factory Reset

I’ve had my current phone – a Samsung Galaxy S3 – for 2.5 years now and it developed a glitch that has become unbearable annoying.

Basically, every few seconds the phone would freeze for a moment, then continue. In Instagram, the phone would pause while scrolling, and the Instagram title bar would appear. After a couple seconds I could scroll again, only to have it repeat that pause in five seconds.

The final straw was when I was trying to watch a video last night, and every few seconds the phone would stop the video and show the menu system. Arrrgh! I was swearing like a sailor!

So I decided to do a factory reset of the phone, and start fresh. Before that, I did a backup of my Nova Launcher settings. Other than that, I just wiped everything on the internal memory.

Surprisingly, I didn’t have any problems logging into existing accounts. Once I logged into my Google account, almost all my apps started downloading to the phone. It was all done within about half an hour.

Now I have a fast phone once again, and the annoying glitch is gone! I’m crossing my fingers that it doesn’t return, but in the meantime I am happy again! :)

Lightroom to Instagram Settings

For all you photographers whose workflows involve moving photos from Lightroom to Instagram, I have found a tip that might improve the quality of the final photos. For a while now, I have been frustrated that the photo I had worked on in Lightroom looked so different after I uploaded it to Instagram. In particular, lots of the fine detail was missing. So, after a bit of research, I’ve settled upon some basic Lightroom to Instagram Settings.

The tip is basically a step in the Export process. What you’ll want to do is create an Export preset that will:

  1. Resize the long edge of the photo to be 1080 x 1080 pixels
  2. Set the resolution to 72dpi
  3. Limit the file size to 320K.

What seems to be happening is that Instagram resizes and recompresses larger photos, often losing a lot of detail in the process. But by exporting your photo at the size Instagram already “wants”, it won’t have to muck with much, if anything.

I hope this helps you!

All credit goes to Chris Romano who did the research and experimentation – Chris Romano Photography. Good stuff!

Follow me on Instagram!

Note: I have updated the Export settings above after Instagram adjusted their file size restrictions.

RAW vs. JPEG

CaptureCapturebefore-after

This is why I prefer to shoot in RAW. You can really do a lot with the RAW information in Lightroom! Sure, you can do a lot with JPEG too, but RAW just lets you do more, and rescue some photos that might be lost causes. I highly recommend shooting in RAW, then watching the hundreds of useful Lightroom tutorials on YouTube. I particularly like Serge Ramelli’s videos.