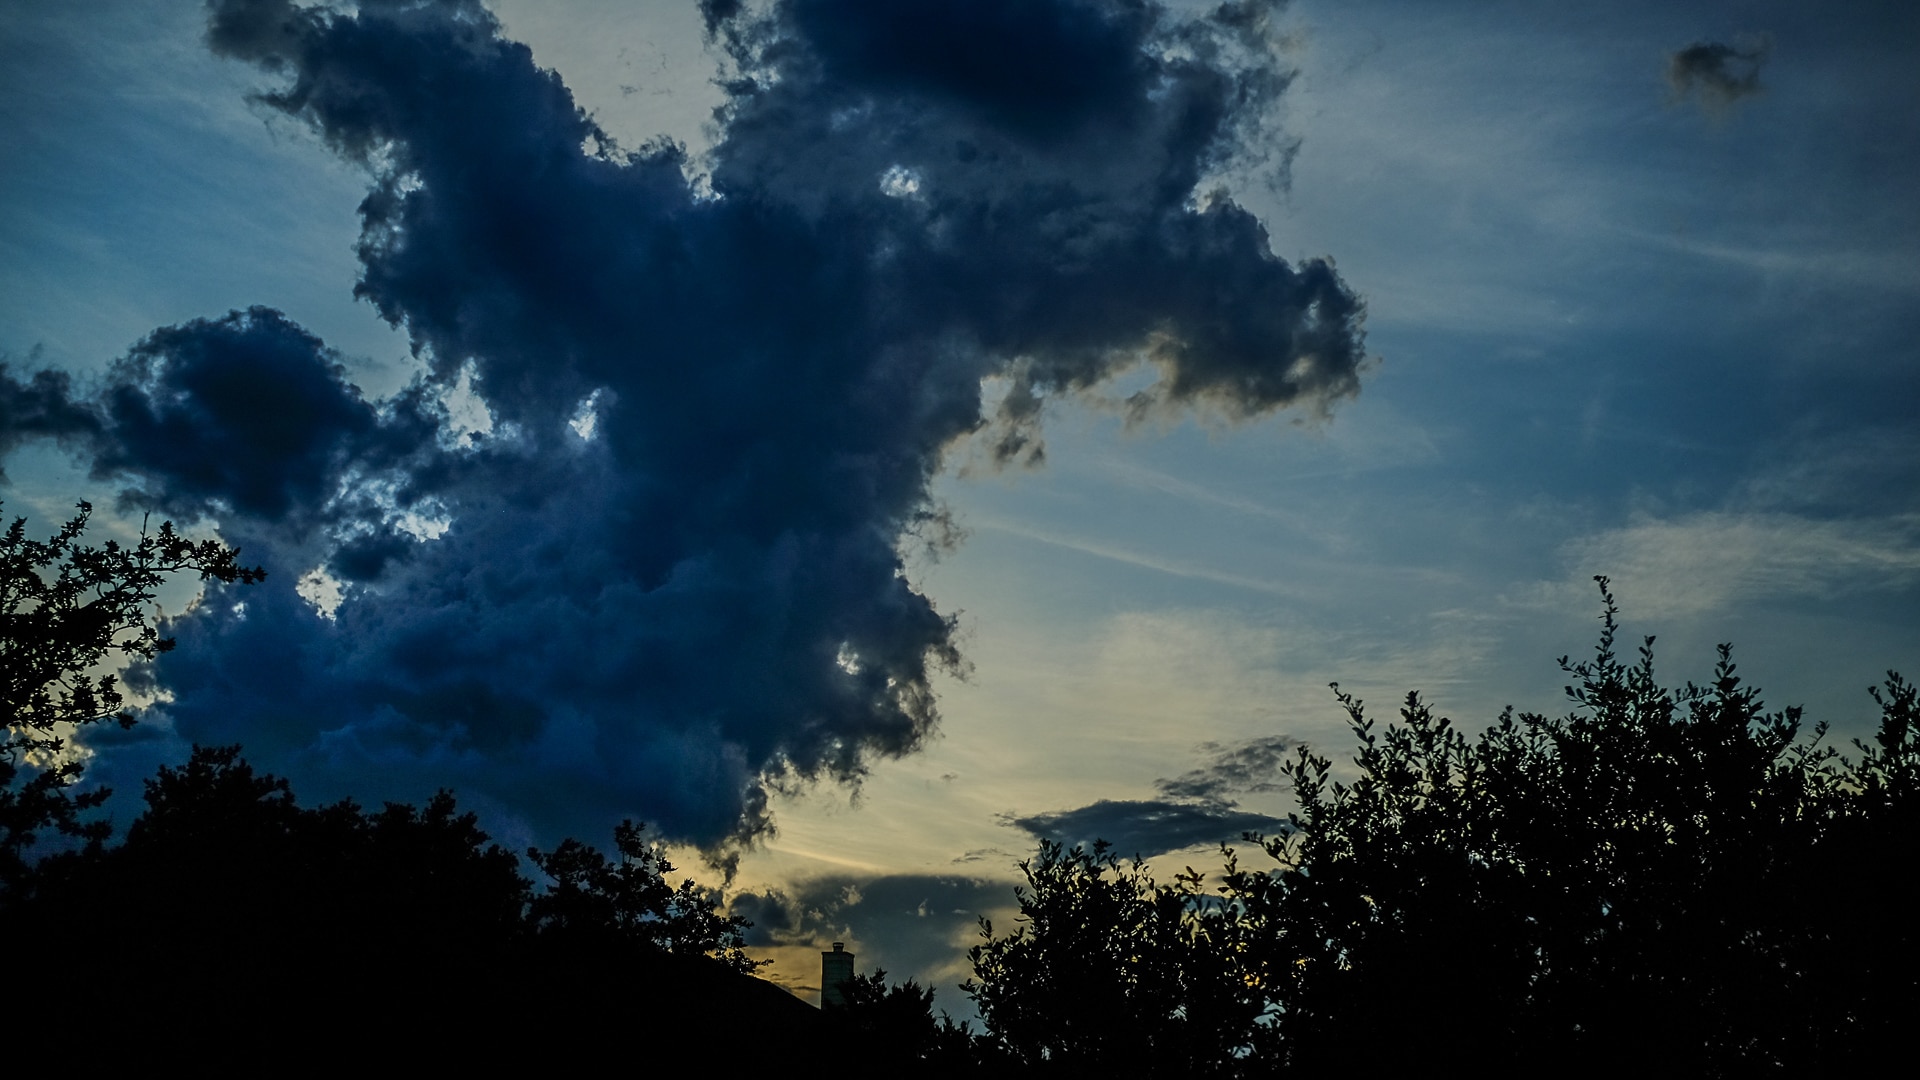
Photo info: SONY NEX-6, 27mm, f/4.5, 1/60 sec, ISO2000 “Sunset Time” Cedar Park, 2019
こんばんは。How’s it going?
Today we had a bit of rain, which ended just at sunset. I was hoping to get a nice time-lapse, and I think it turned out okay:
The clouds after the sun dipped down below the horizon are most often the coolest.
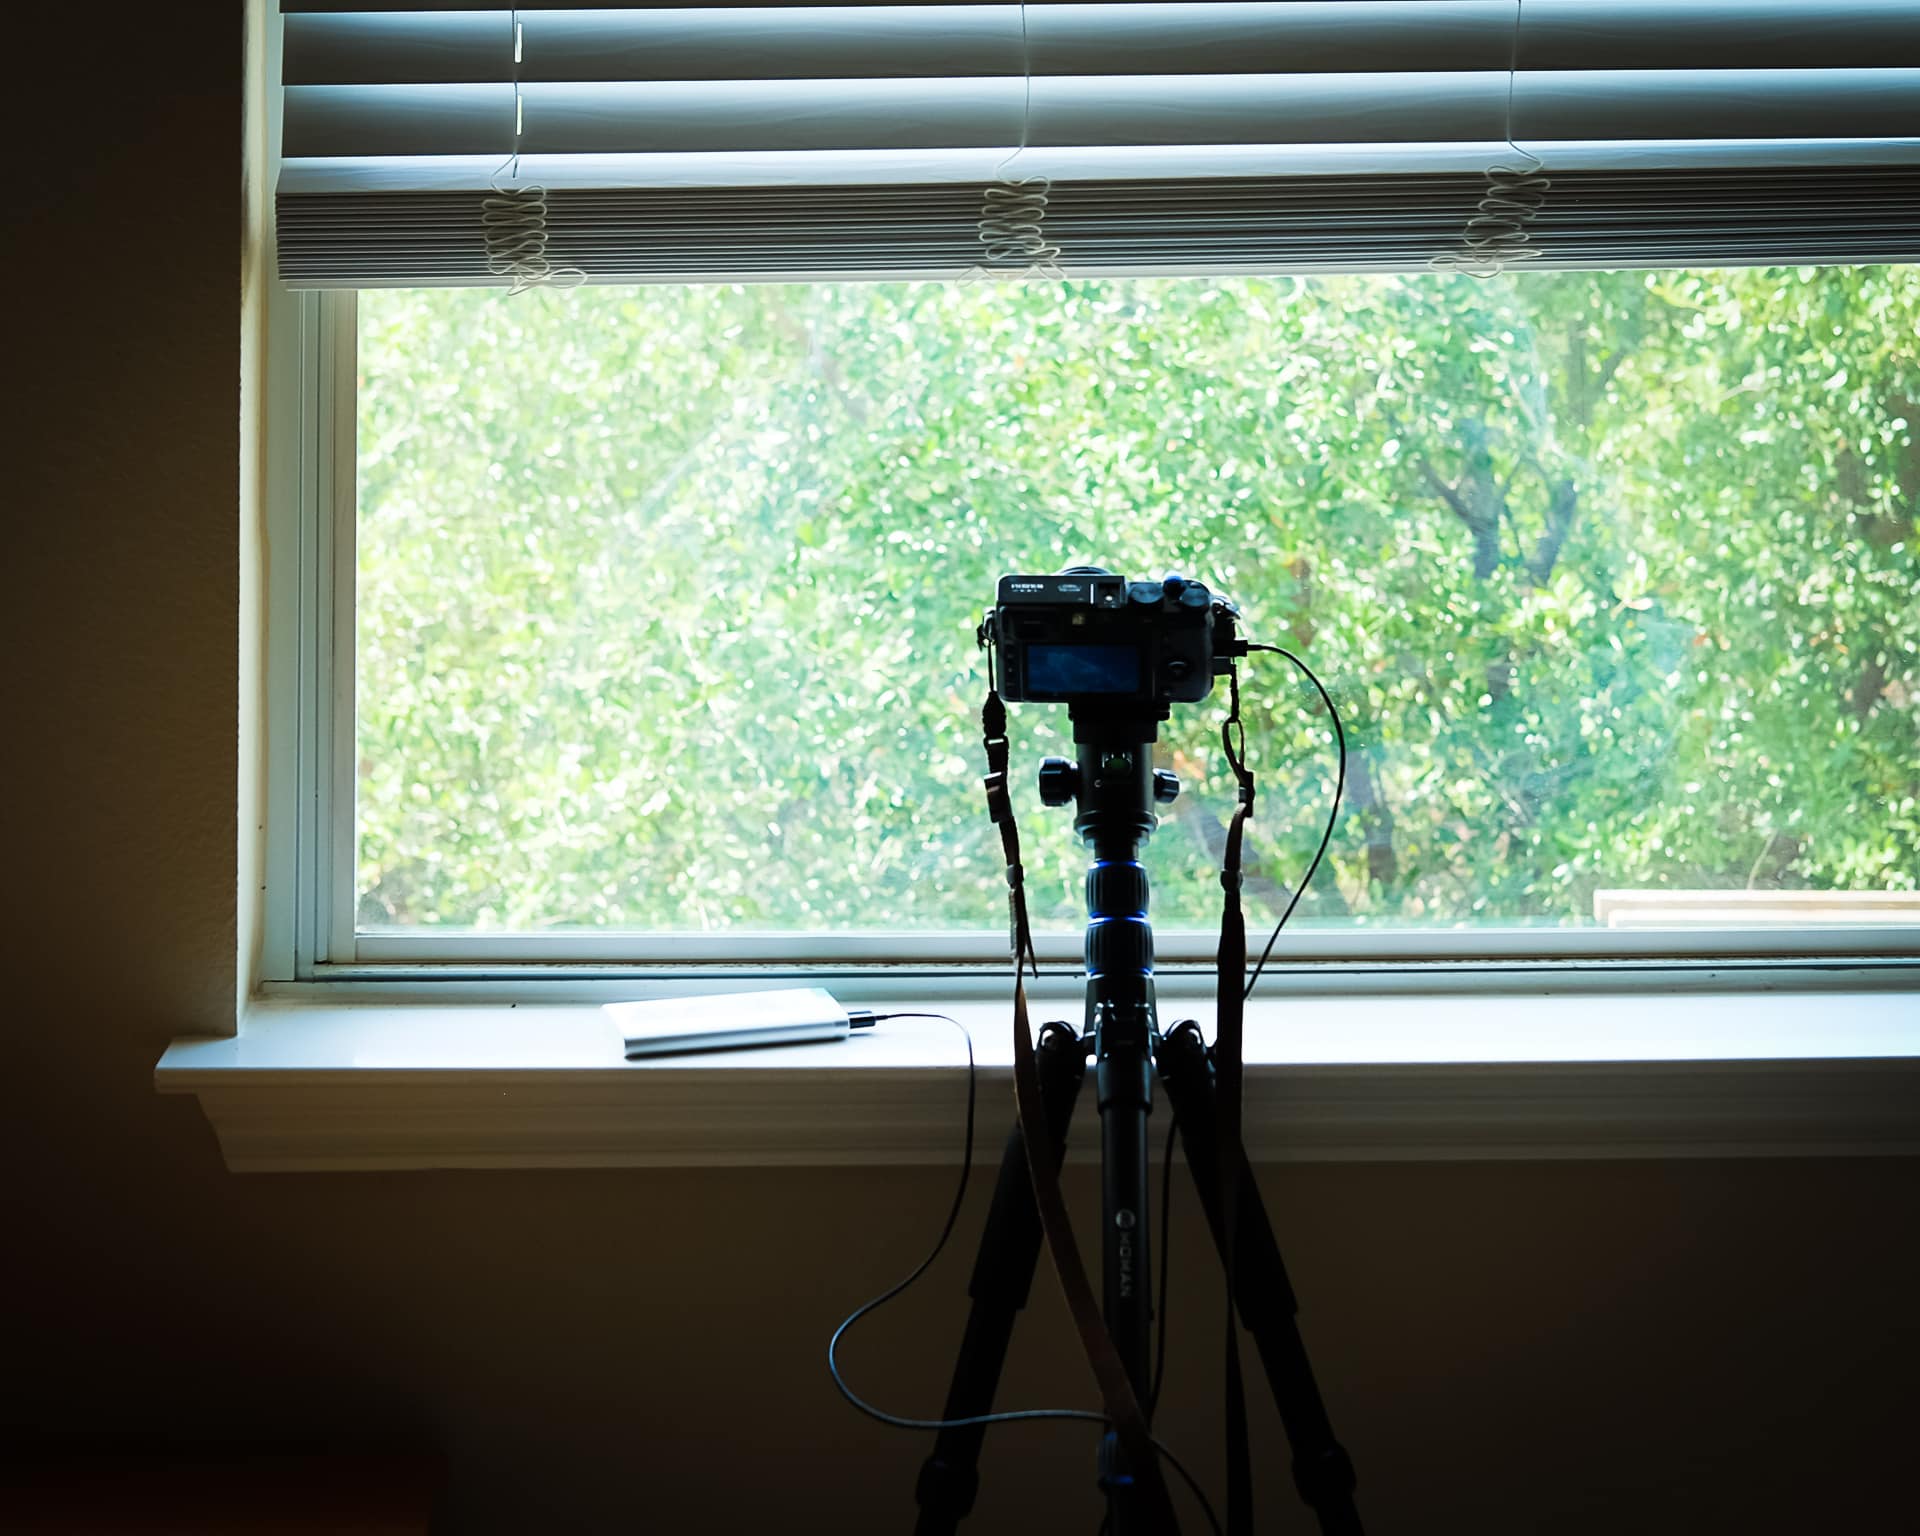
The photo of of my little rig. Tomorrow a new ND filter will arrive, which will hopefully allow me to utilize a longer shutter speed so I don’t capture specks of dust or birds in the frame. We’ll see.
Photo info: FUJIFILM X100T, 23mm, f/2, 1/1000 sec, ISO200 “Evening Clouds” Cedar Park, 2019
Today I spent a bit of time refining the time-lapse process on the Fujifilm X100T. With each one I create, I notice some tweaks that would make it better. I think I’m close to finalizing on my settings! 😊
For this video, I noticed there is a lot of flickering which I’ve determined is caused by the X100T’s built-in ND filter. It’s similar to the flickering that is caused by the variance in exposure when the aperture rings step down. In that case, even though the aperture might be set to the same f/5.6 for all the photos, the blades will not go to the exact same position each exposure. This causes the flickering in the final video. The solution to this on the X100T is to shoot wide open at f/2, so that the aperture blades don’t move. If you have a camera where you can force the blades to not move for each exposure, that is perfect! Or perhaps switch to a manual-lens with an aperture ring.
Anyways, the X100T’s ND filter will move into place for every exposure, so there is a slight variance in the amount of light that it blocks, and that causes the flickering effect. If you do need to reduce the amount of light hitting the sensor, I’d use a regular old ND filter screwed onto the lens, or take advantage of the extreme high shutter-speeds that the electronic shutter enables.
Speaking of the electronic shutter I suggest making sure you are using it for another reason: eliminating any moving parts during the image sequence capture. This means less wear and tear on the camera. Even at f/2, the X100T will activate the aperture blades. 🤷♂️
So, if you hear any noise whatsoever (assuming you have camera beeps turned off), then check your aperture, focus-type, ND filter, and shutter-type. It should be dead silent!
There’s is a lot to remember when making these time-lapse sequences, so I made a checklist of settings. These are specific for shooting JPG on the Fujifilm X100T, but might be helpful for other cameras as well:
Set ISO manually
Set white-balance manually
Set shutter speed manually
Turn off built-in ND filter
Set aperture to f/2
Make sure of external power source
Make sure the DR is not Auto
Set the shutter type to Electronic
That’s it!
The Fujifilm X100T is a nice little camera to create the time-lapse sequences. The only things that would make it better would be the ability to manually stop down the lens, and to remove the 999 exposure limit on interval shooting.
Photo info: FUJIFILM X-T10, 35mm, f/4.5, 1/150 sec, ISO400 “Modest Setup” Cedar Park, 2019
Recently I bought a new tripod to replace my compact Velbon tripod, and that inspired me to use it to take time-lapses of the fun clouds that are appearing in the skies lately. Over the past couple of days, I have figured out how to use my Fujifilm X100T as a cloud time-lapse rig to nice effect.
In the photo above, you can see the modest setup I have positioned by the window. It doesn’t look impressive, but it gets the job done for what I want to do. Take a look at the video below (a compilation of a few day’s worth of videos) and let me know what you think!
This simple rig consists of my Fujifilm X100T mounted on a Moman “Alpenstock” tripod, and powered with my Oprout 10,000mAh power bank.
I’ve found the Fujifilm X100T to be a great little camera for making time-lapse videos because it has a built-in intervalometer (timer), a built-in ND filter, and available electronic shutter. It seems like the externally-connected power bank doesn’t go down hardly at all (still at 4 lights) even after several thousand photos. It’s amazing.
There are a few limitations of the Fujifilm X100T, though. First, the intervalometer has a maximum number of 999 shots that it can take. However, it’s quick to start the sequence again – it’s literally just 5 presses of the OK button to cycle thru the options and start the timer again.
Another limitation is that you cannot keep the aperture stopped down in a fixed position. After each shot, the blades will reset to f2.0 before stopping down for the next shot. This can cause slight variances in exposure which will appear as flickering in the final video. Consequently, I have to shoot wide-open at f/2.0, which could be a problem of overexposing in bright situations.
But happily, that can be mitigated setting ISO to the lowest setting, turning on the built-in ND filter, switching to the electronic shutter which will allow you to shoot at up to 1/32,000 second exposure. And you can also just use a traditional ND filter as well if you have one.
Lastly, the 35mm equivalent focal length might be a little too tight for these kinds of time-lapses, but I suppose you could spend the money to buy the wide-angle lens attachment.
And I feel the need to add that you should be in Manual Focus mode. In the second sequence in the video, I left it set to Auto-focus, and several times the camera focused on the dirt that was on the window. Doh!
Anyways, I’m having a lot of fun creating these videos. As you can see in the movie above, I’ve learned how to put several clips together and also add music. Look out Hollywood, here I come! 😄
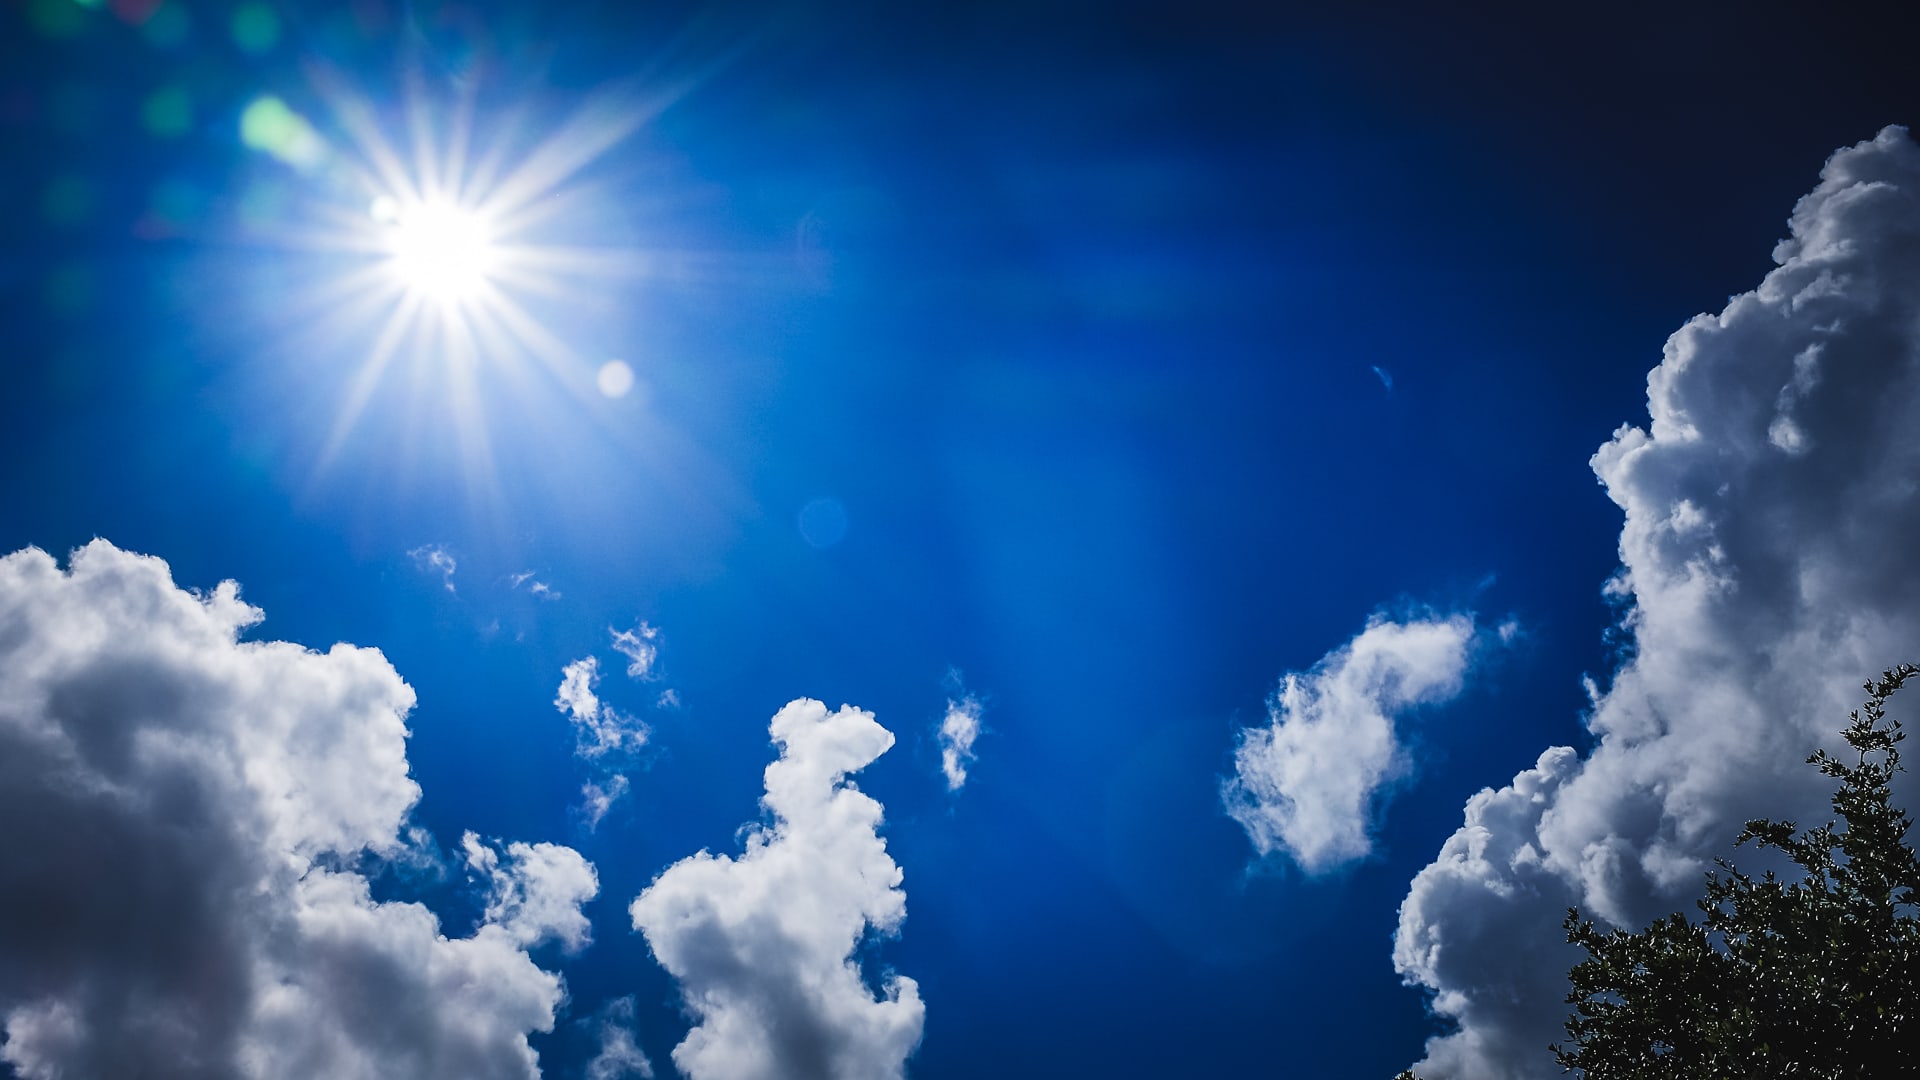
Photo info: FUJIFILM X100T, 23mm, f/16, 1/300 sec, ISO200 “Sunburst” Cedar Park, 2019
I love taking cloud/sun/sky photos, and my Fujifilm X100T makes it a breeze! In fact, any camera with an electronic viewfinder (EVF) can help because you won’t be looking directly at the sun, which not only is safe for your eyes, but the live-view allows you to can make exposure adjustments and see what the photo will look like even before you press the shutter button. Compared to my old DSLR and film cameras, using live-view feels like a bit of time-travel.
For today’s photo, these are the pertinent settings:
Circular Polarizer – Main effect here is the lens flare and used as an ND filter. I don’t think the polarizing effect was strong because of the angle.
F/16 – Stopped-down aperture gives a pronounced sunburst effect.
-1 Exposure Compensation – To keep the highlights from getting blown out.
Lightroom Preset – Basic color adjustments, bringing down the highlights, and adding a little grain.
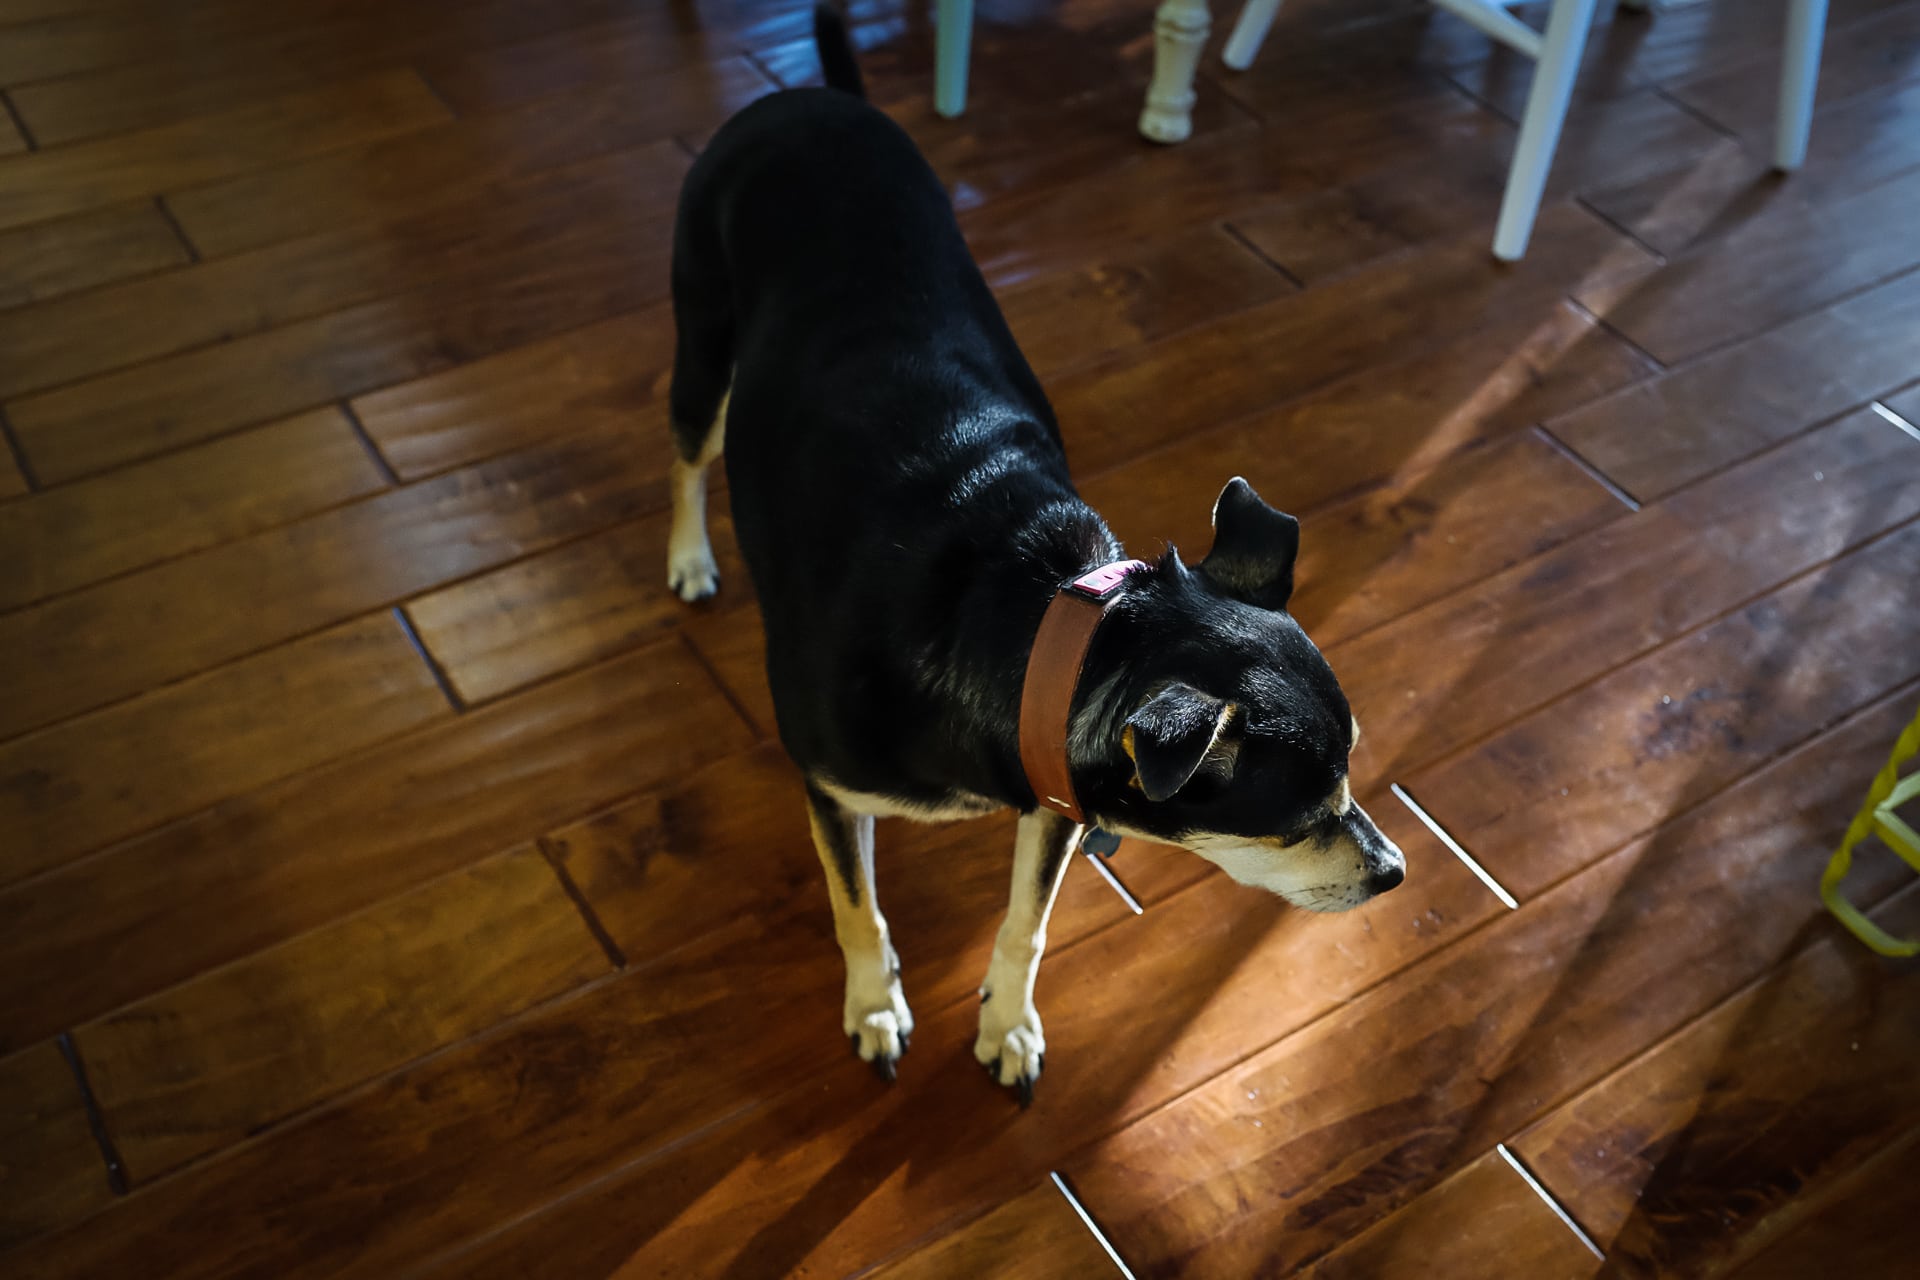
Photo info: FUJIFILM X100T, 23mm, f/4, 1/80 sec, ISO3200 “Camera Shy” Cedar Park, 2019
It’s so funny that Lani doesn’t like when the camera is pointed at her. The only time to get a photo of her face looking at you is if you catch her off guard or if she is severely distracted by the prospect of food. 🐶
The cats, on the other hand, are pretty willing to have their photos taken. 🐱
Photo info: FUJIFILM X100T, 23mm, f/4, 1/100 sec, ISO1600 “Sweet Anko” Cedar Park, 2019
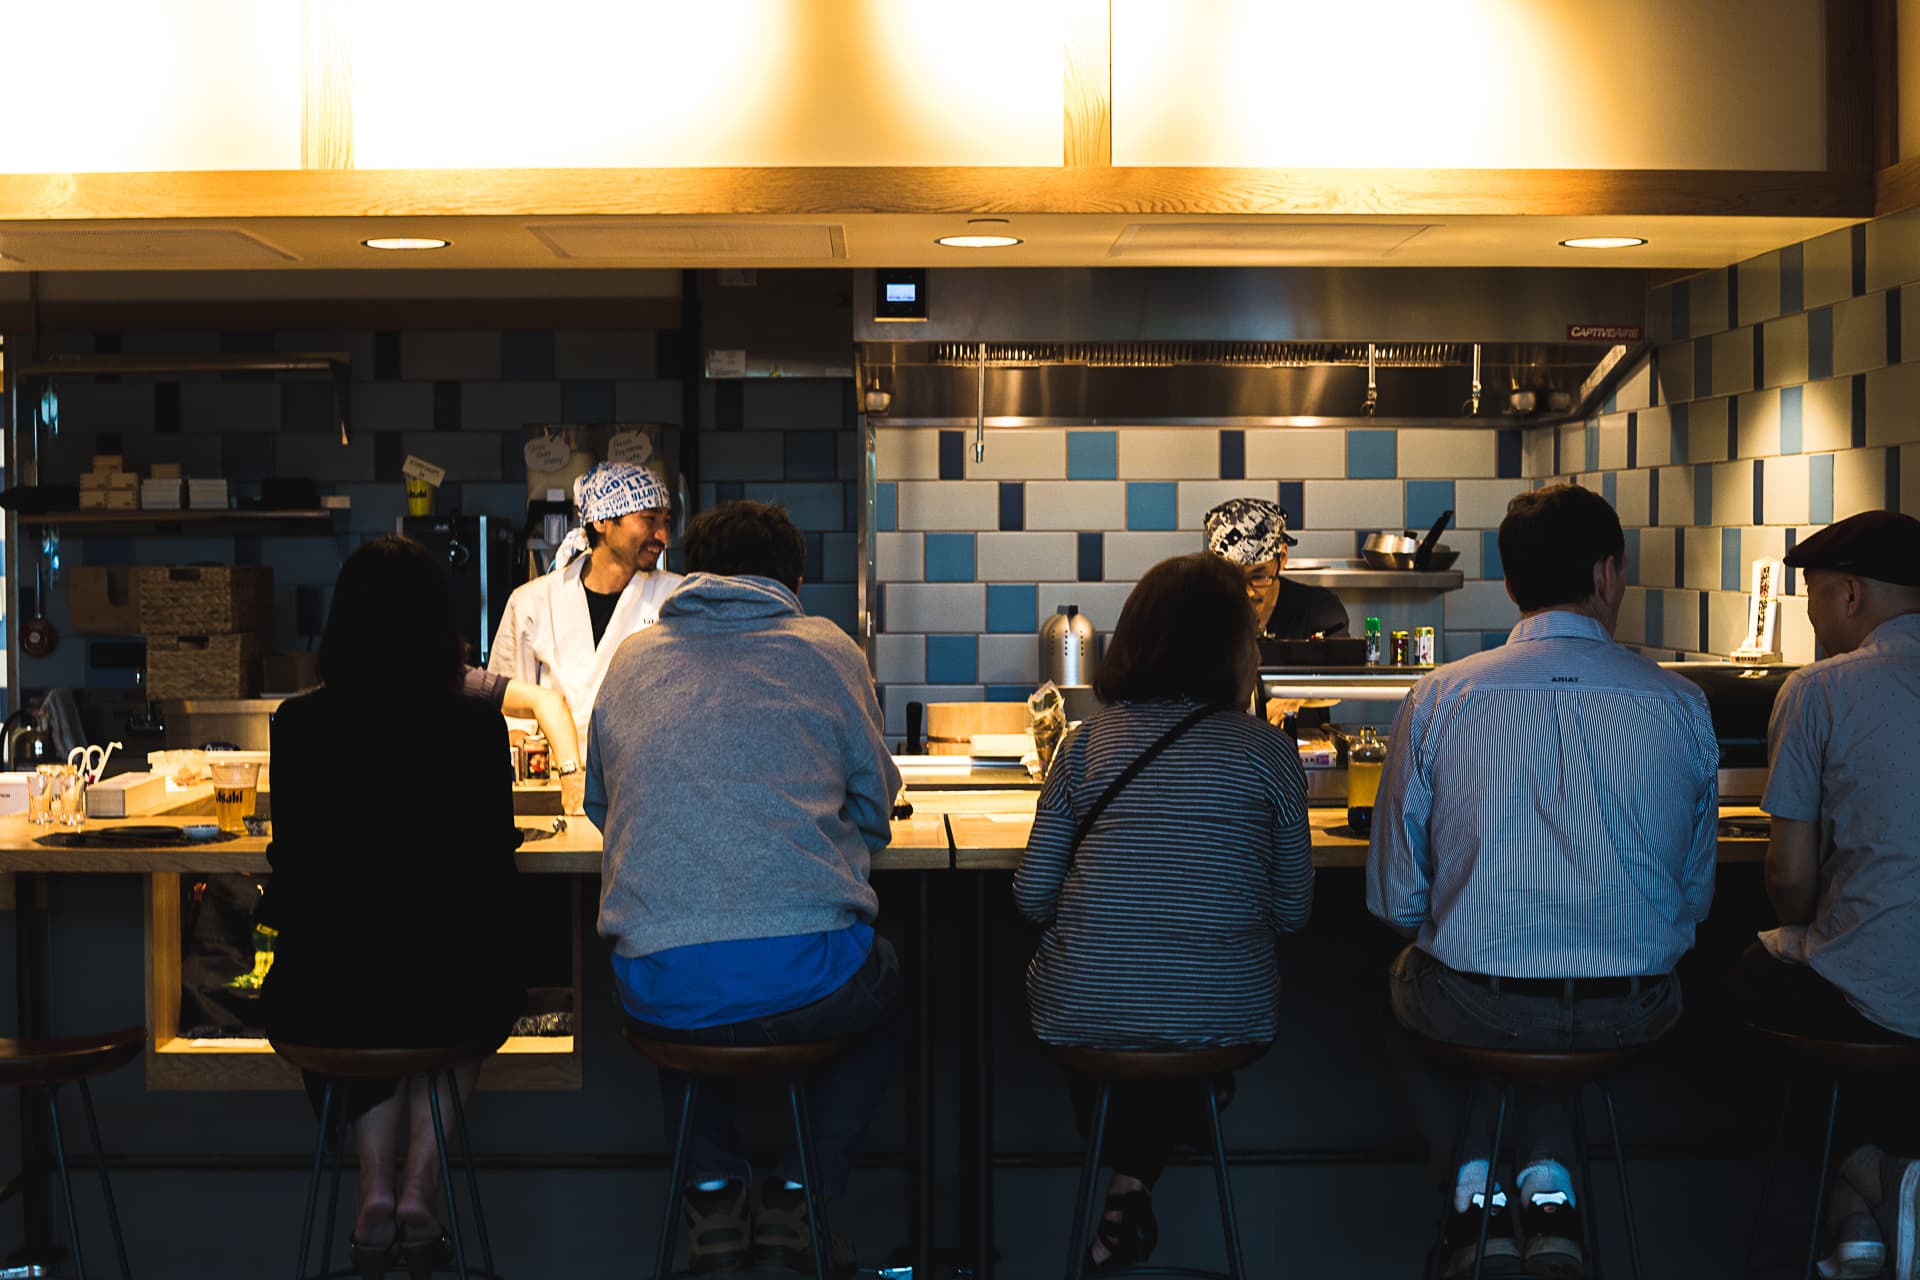
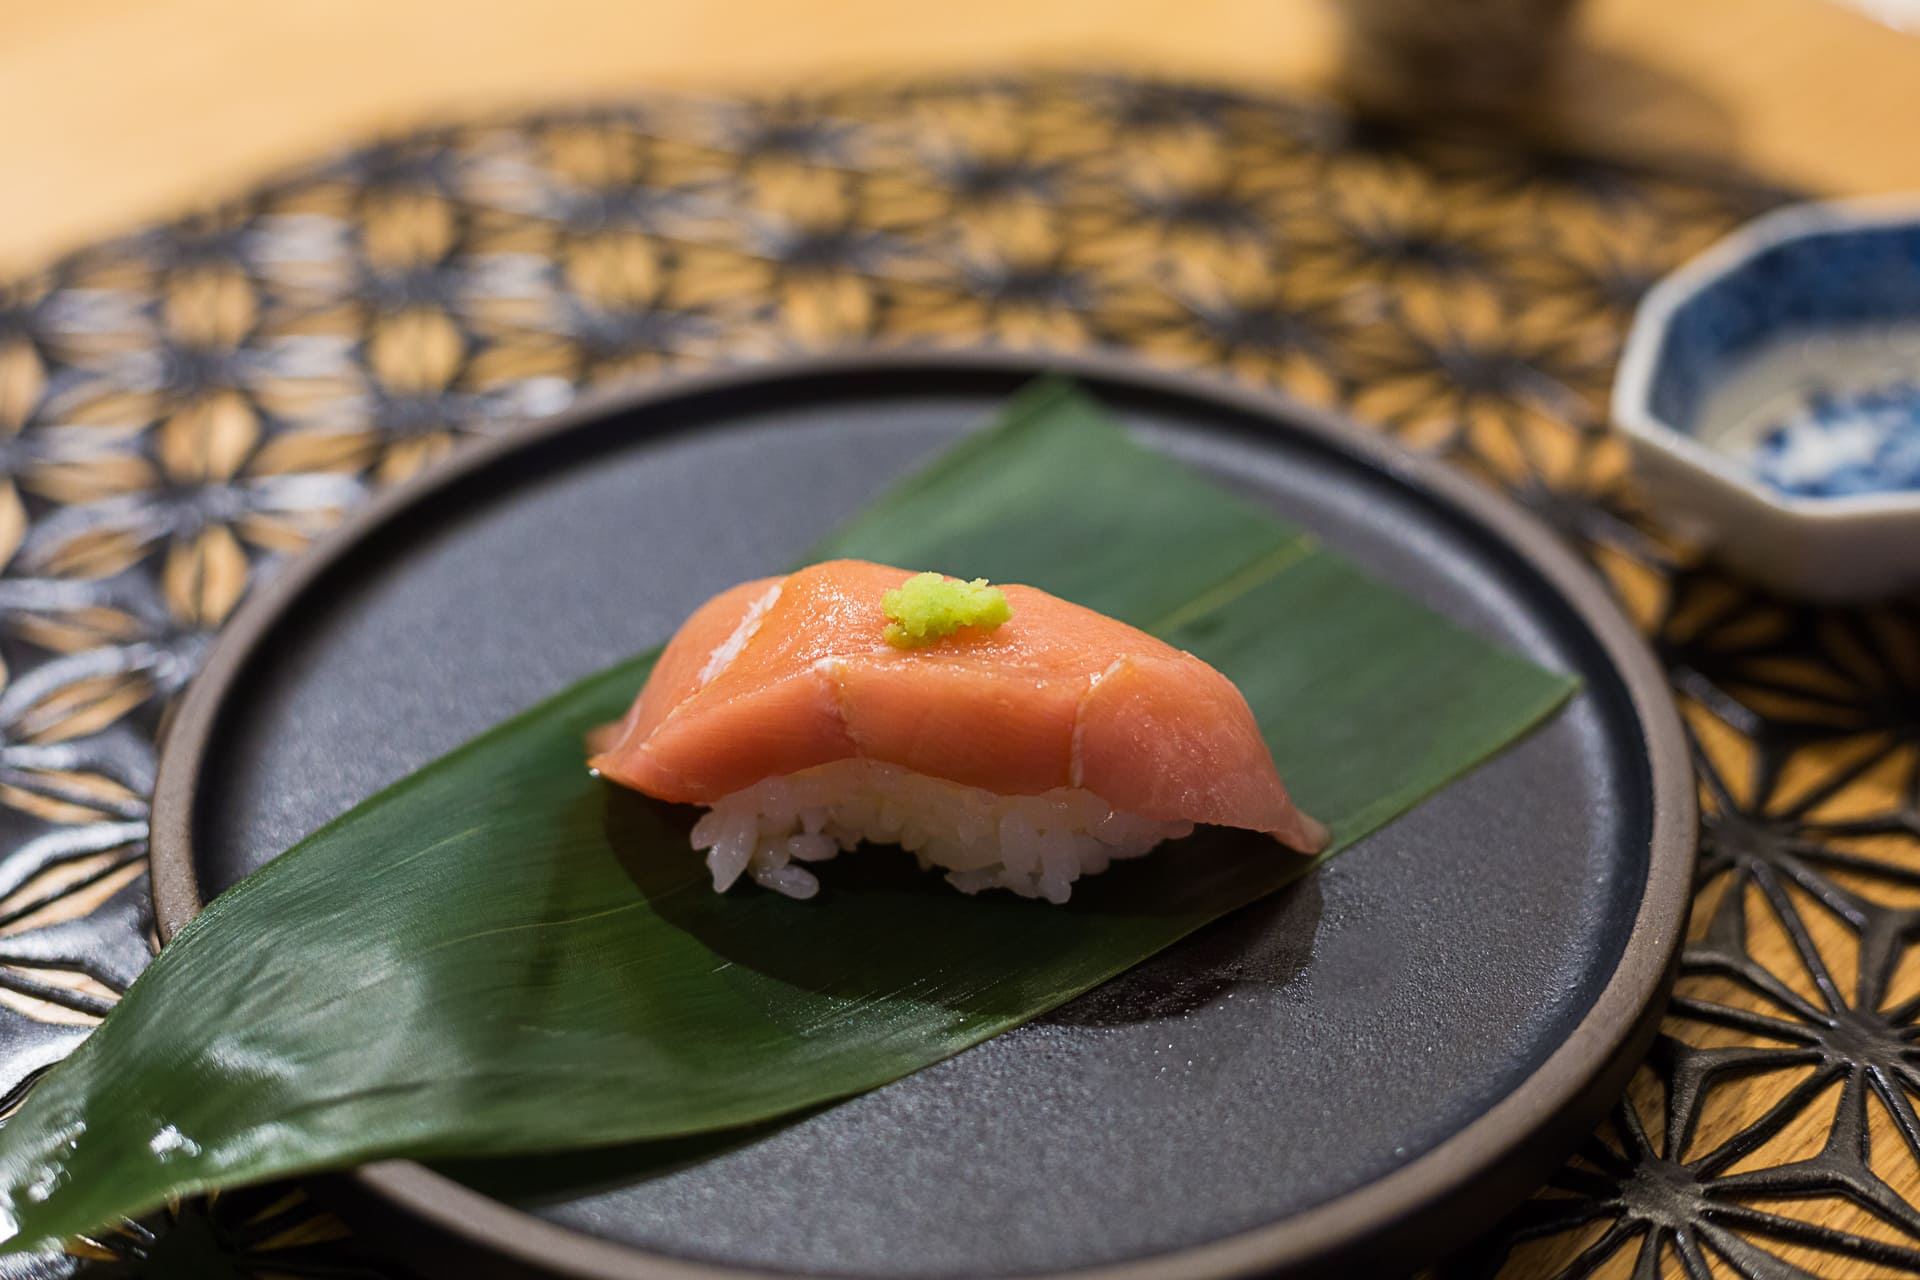
Photo info: Canon EOS 5D Mark III, 50mm, f/6.3, 1/40 sec, ISO1000 “Omakase” Austin, 2019
Tonight we went to the soft opening of our friends’ new restaurant, Uroko. The restaurant has three distinct things: omakase dinner on the weekends, temaki hand roll sushi for lunch, and sushi classes on weekday evenings. The soft opening was omakase, and the sushi was wonderful! There were a total of 12 dishes served, and I enjoyed them all, but my favorite was the otoro – so buttery!
Photo info: Canon EOS 5D Mark III, 50mm, f/3.5, 1/50 sec, ISO640 “Otoro” Austin, 2019
I actually help with their websites, and sometimes photography too, and tonight I took a lot of photos for the new website. It was actually somewhat difficult because I don’t have lighting equipment (nor the skill to actually use them) so the photos weren’t the greatest. Still, I think most of them came out ok. You can see a few more photos at the main website, or the reservation site.
If you are in Austin and want a great sushi experience, check out Uroko!
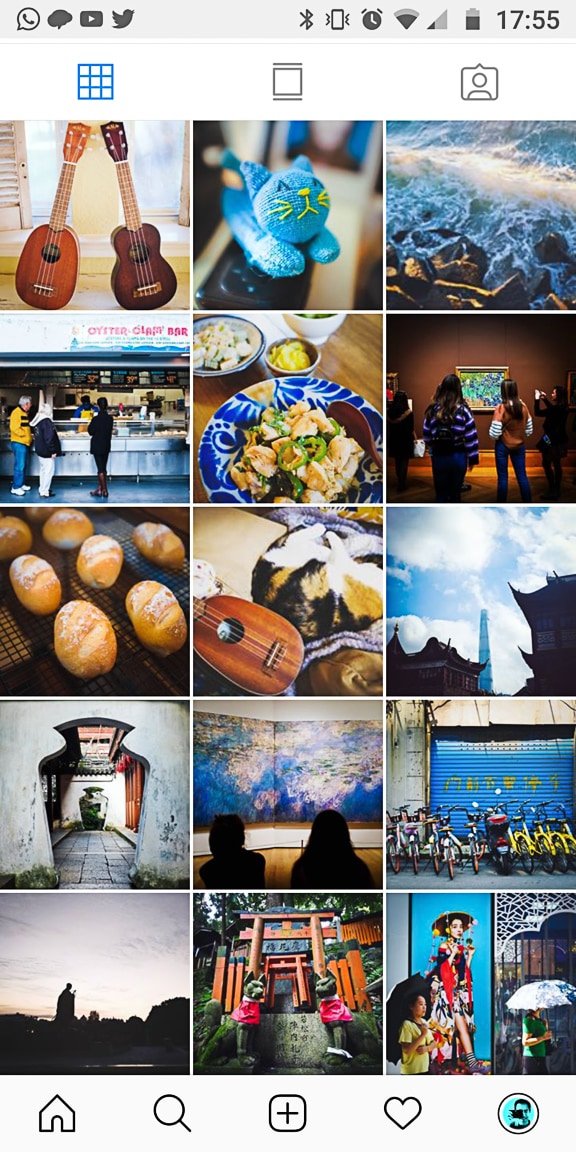
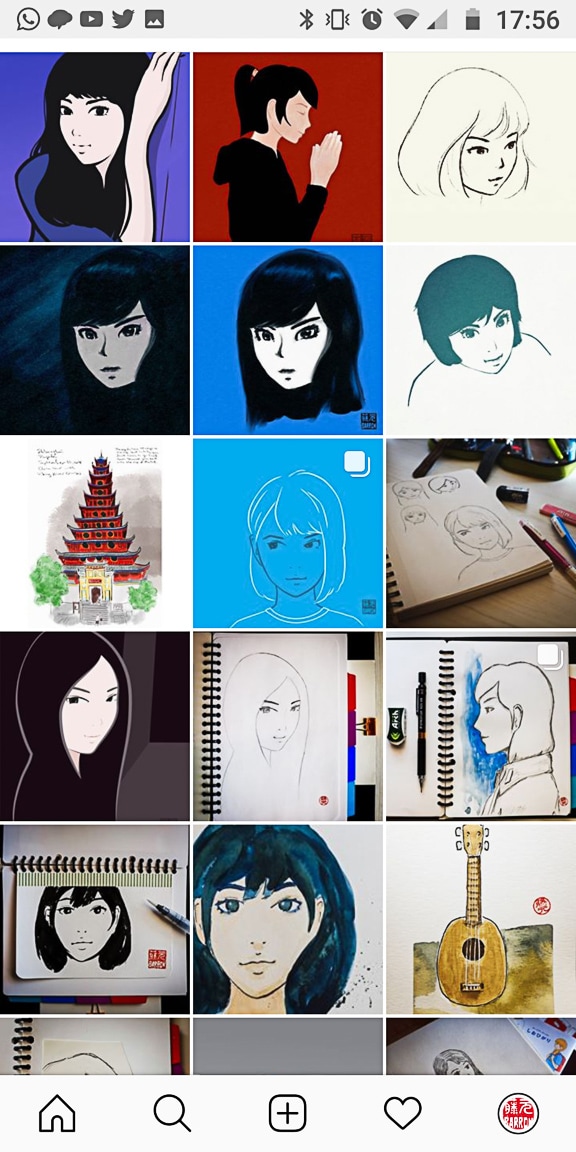
I have to admit that I got sidetracked a bit with my Instagram posting. Basically what happened was that I started focusing on travel photography during my China trip last year, and lost focus of my original intention of posting photos on Instagram. But when I look at my Instagram profile, it says “My Life in Snapshots”. So I am starting to post just regular snaps from my daily life. One thing I do every day is to take at least one photo, and share it on my Flickr stream (I’ve been part of a Project 365 group for a couple of years now), but I think I’ll start posting some of those to my Instagram as well.