“At the Pond” Cedar Park, 2019
こんにちは!How’s it going?
Today I had a few hours by myself this morning so I decided to head over to the nearby park and take some time-lapse photos with my Fujifilm X100T. Honestly, I’ve been lazy by just shooting the time-lapse videos from the comfort of the house, but I thought I’d try something new and see how it goes. So I packed up my gear and headed off.
Here’s the video I made from two ~30-minute sequences:
I’m pleased with how it turned out! The camera settings I used were not any different from what I use at home, but it was a lot more difficult to see the LCD screen, and the electronic viewfinder wasn’t much better because it was so bright outside.
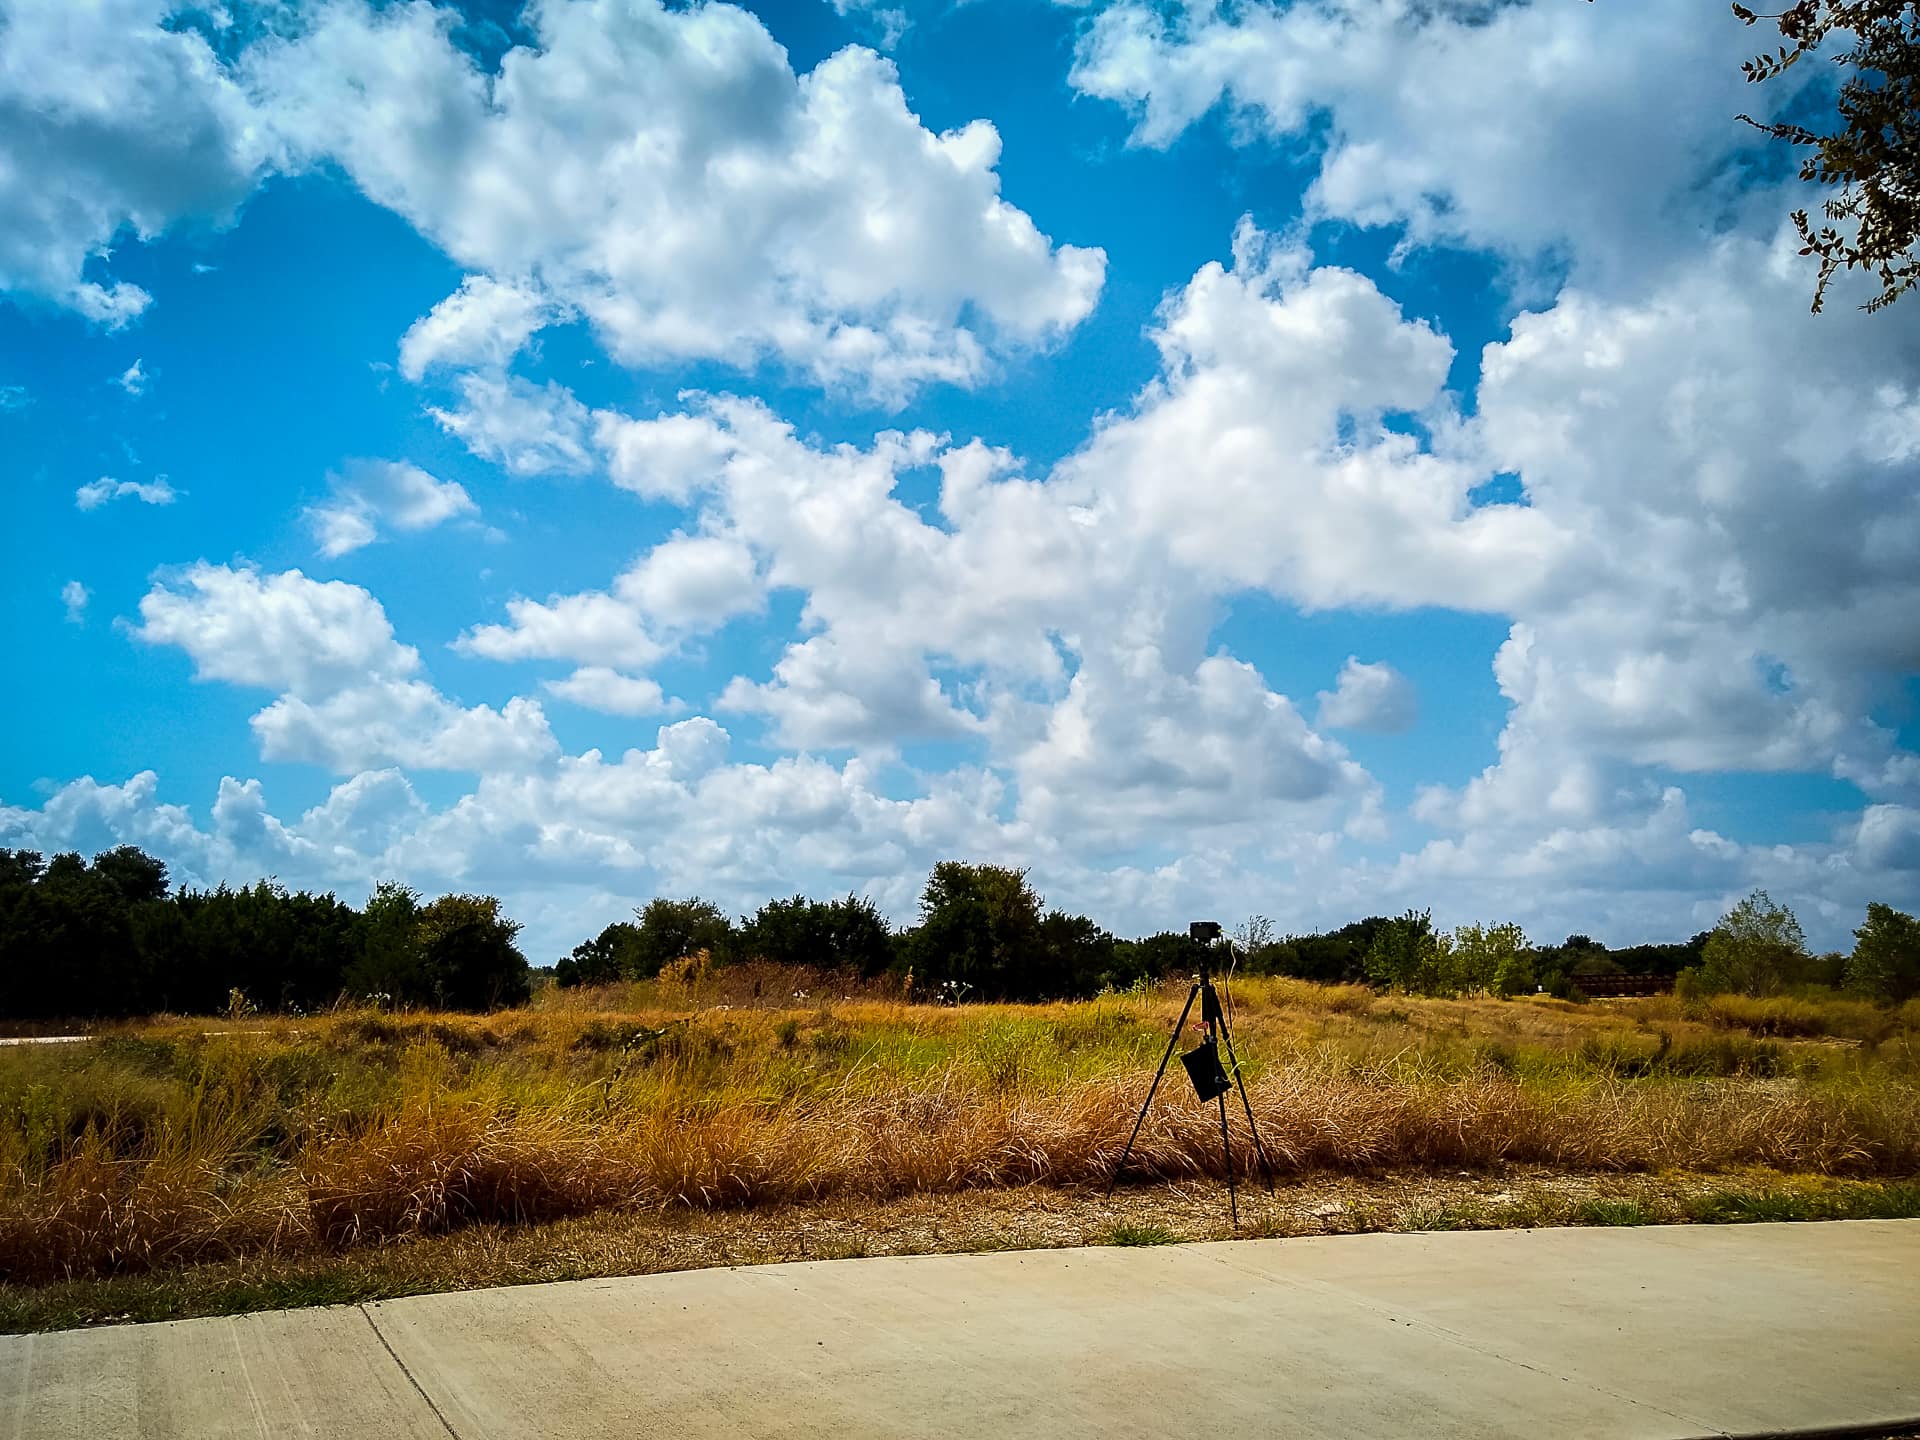
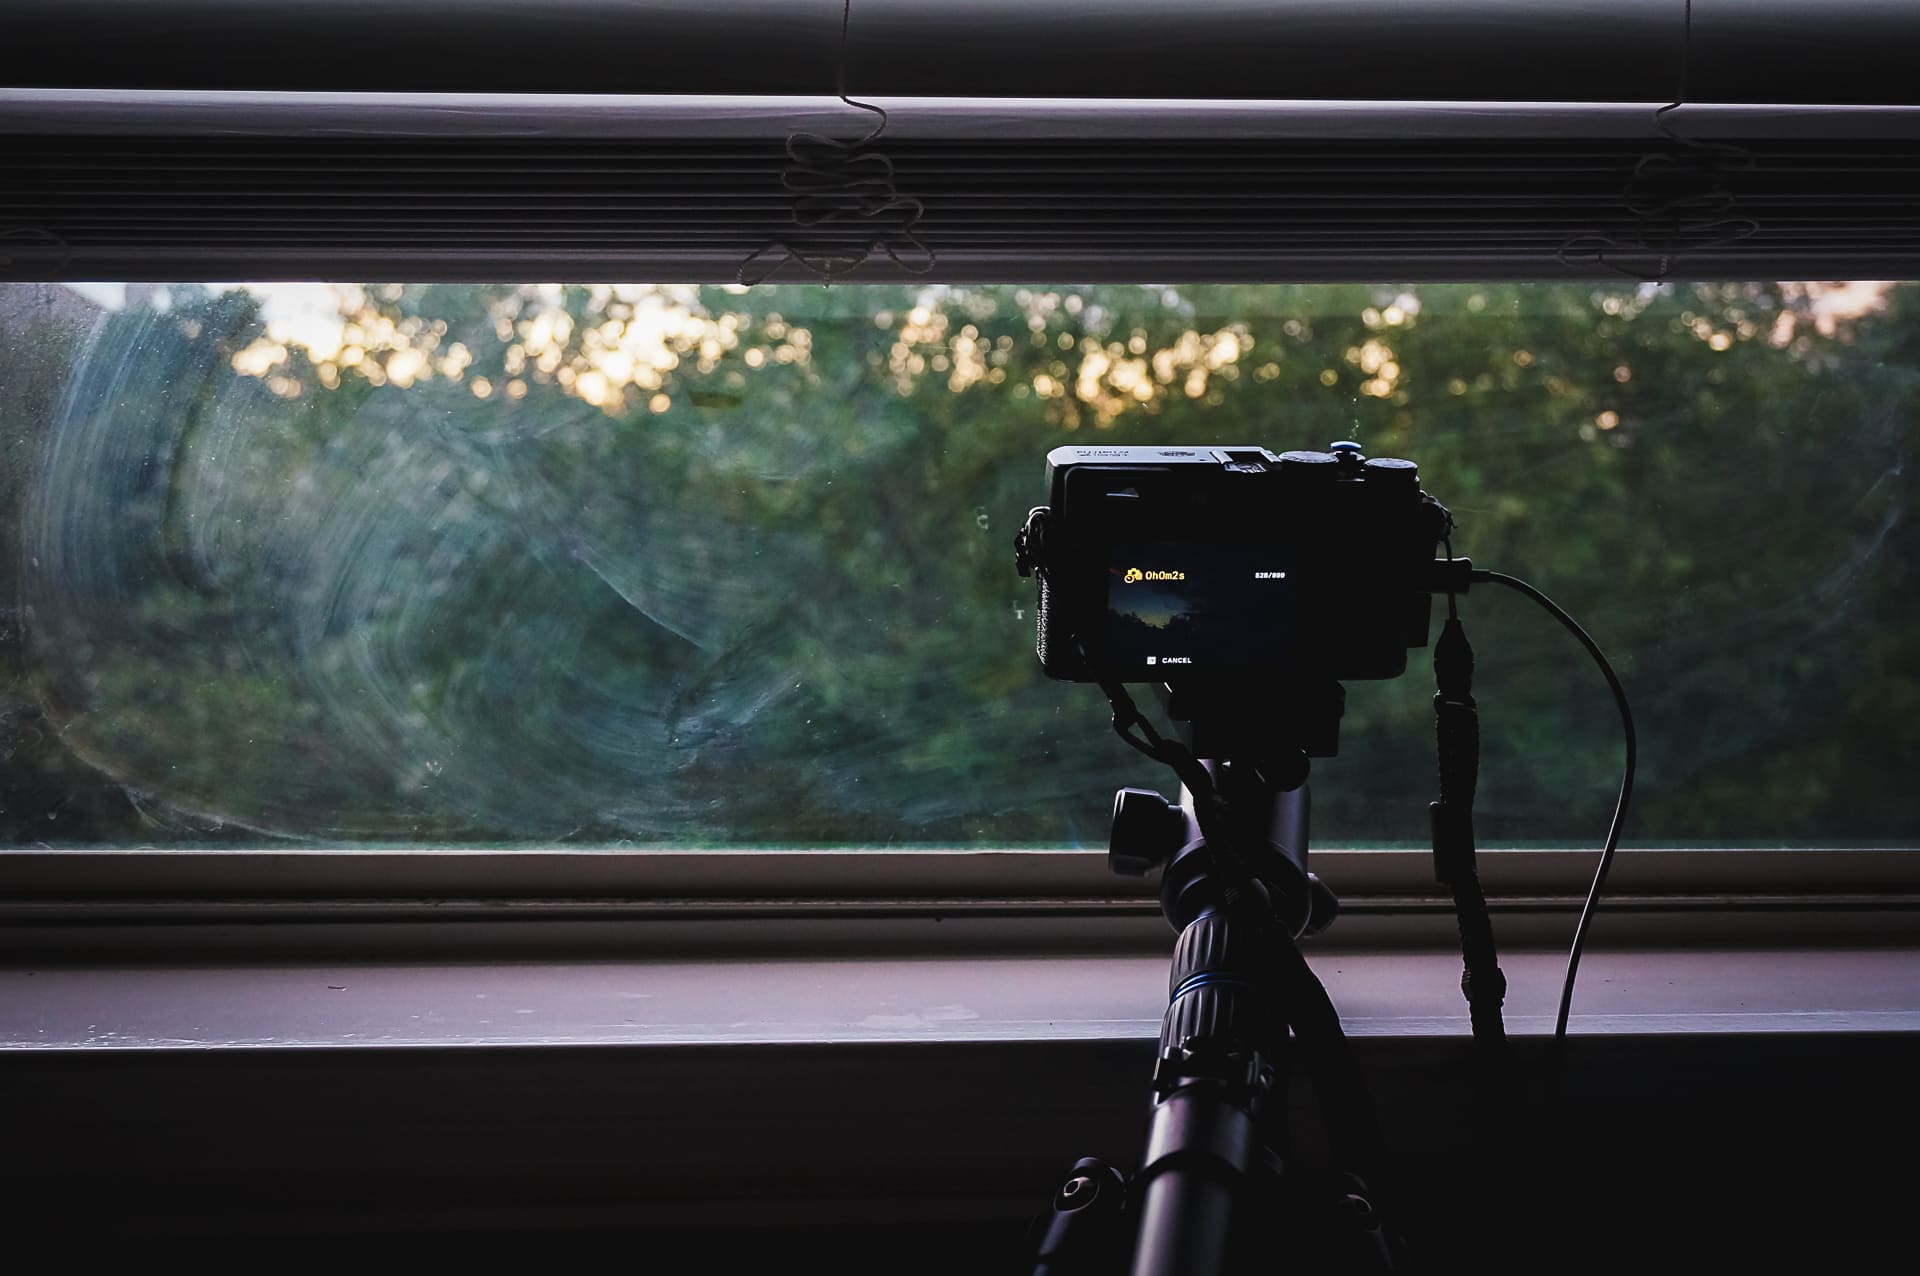
“Lone Tripod” Cedar Park, 2019
I knew I’d be outside for a while, so to pass the time, I brought my folding chair and my iPad and did some sketching and reading. Under the shade of a tree and with a nice breeze, it was quite pleasant! The only thing that ruined the experience were the ants, which would seemingly appear out of nowhere. I got bitten a couple times on my feet, but luckily these weren’t fire ants so there was just the initial sting. Whew. But still, what a nuisance!
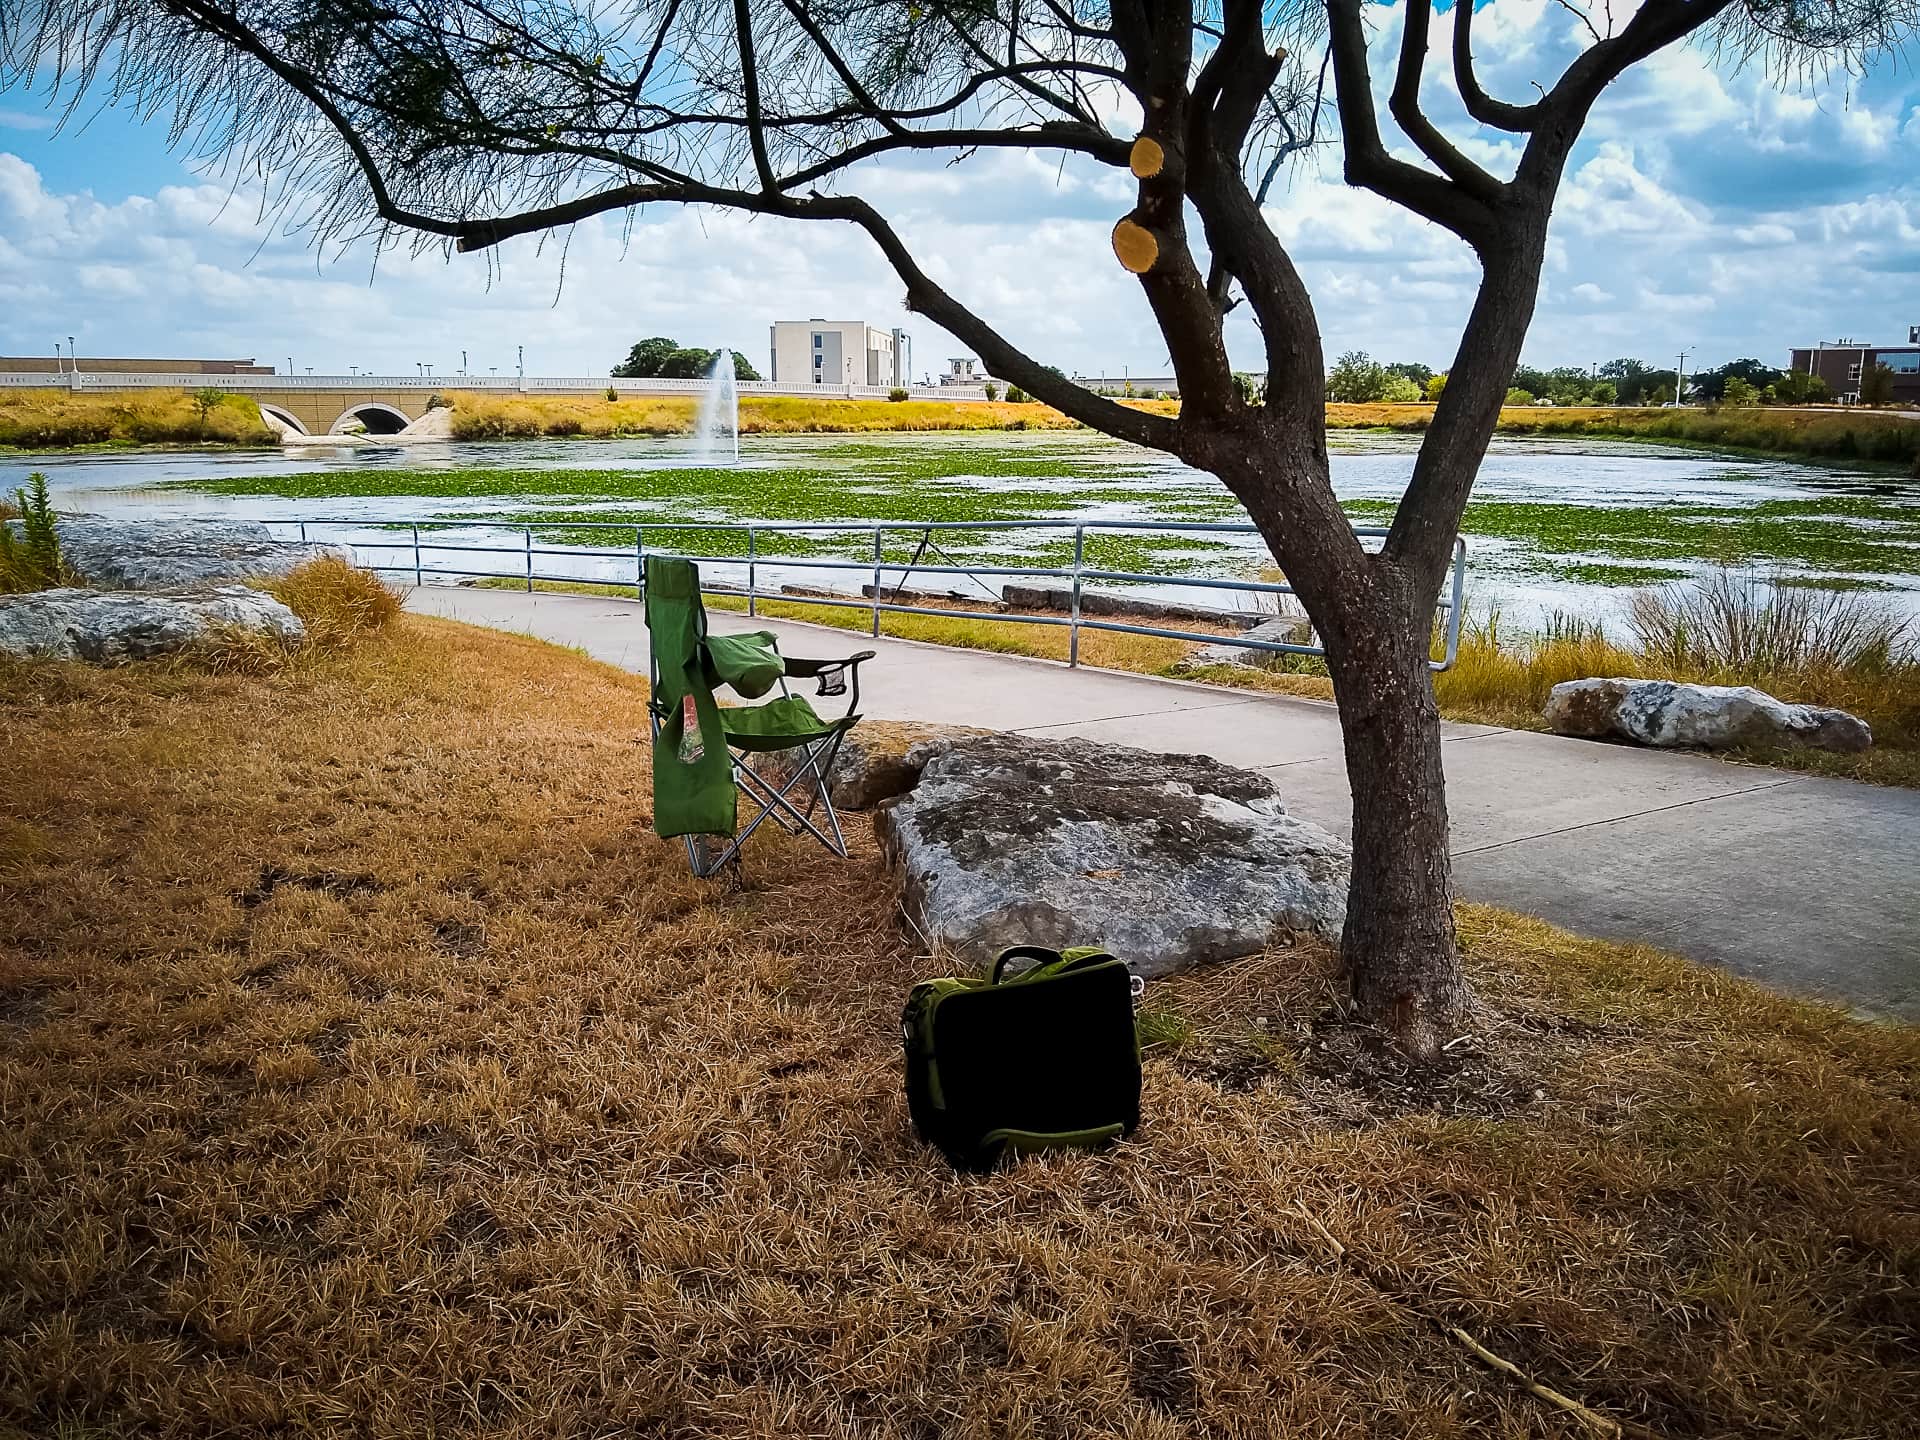
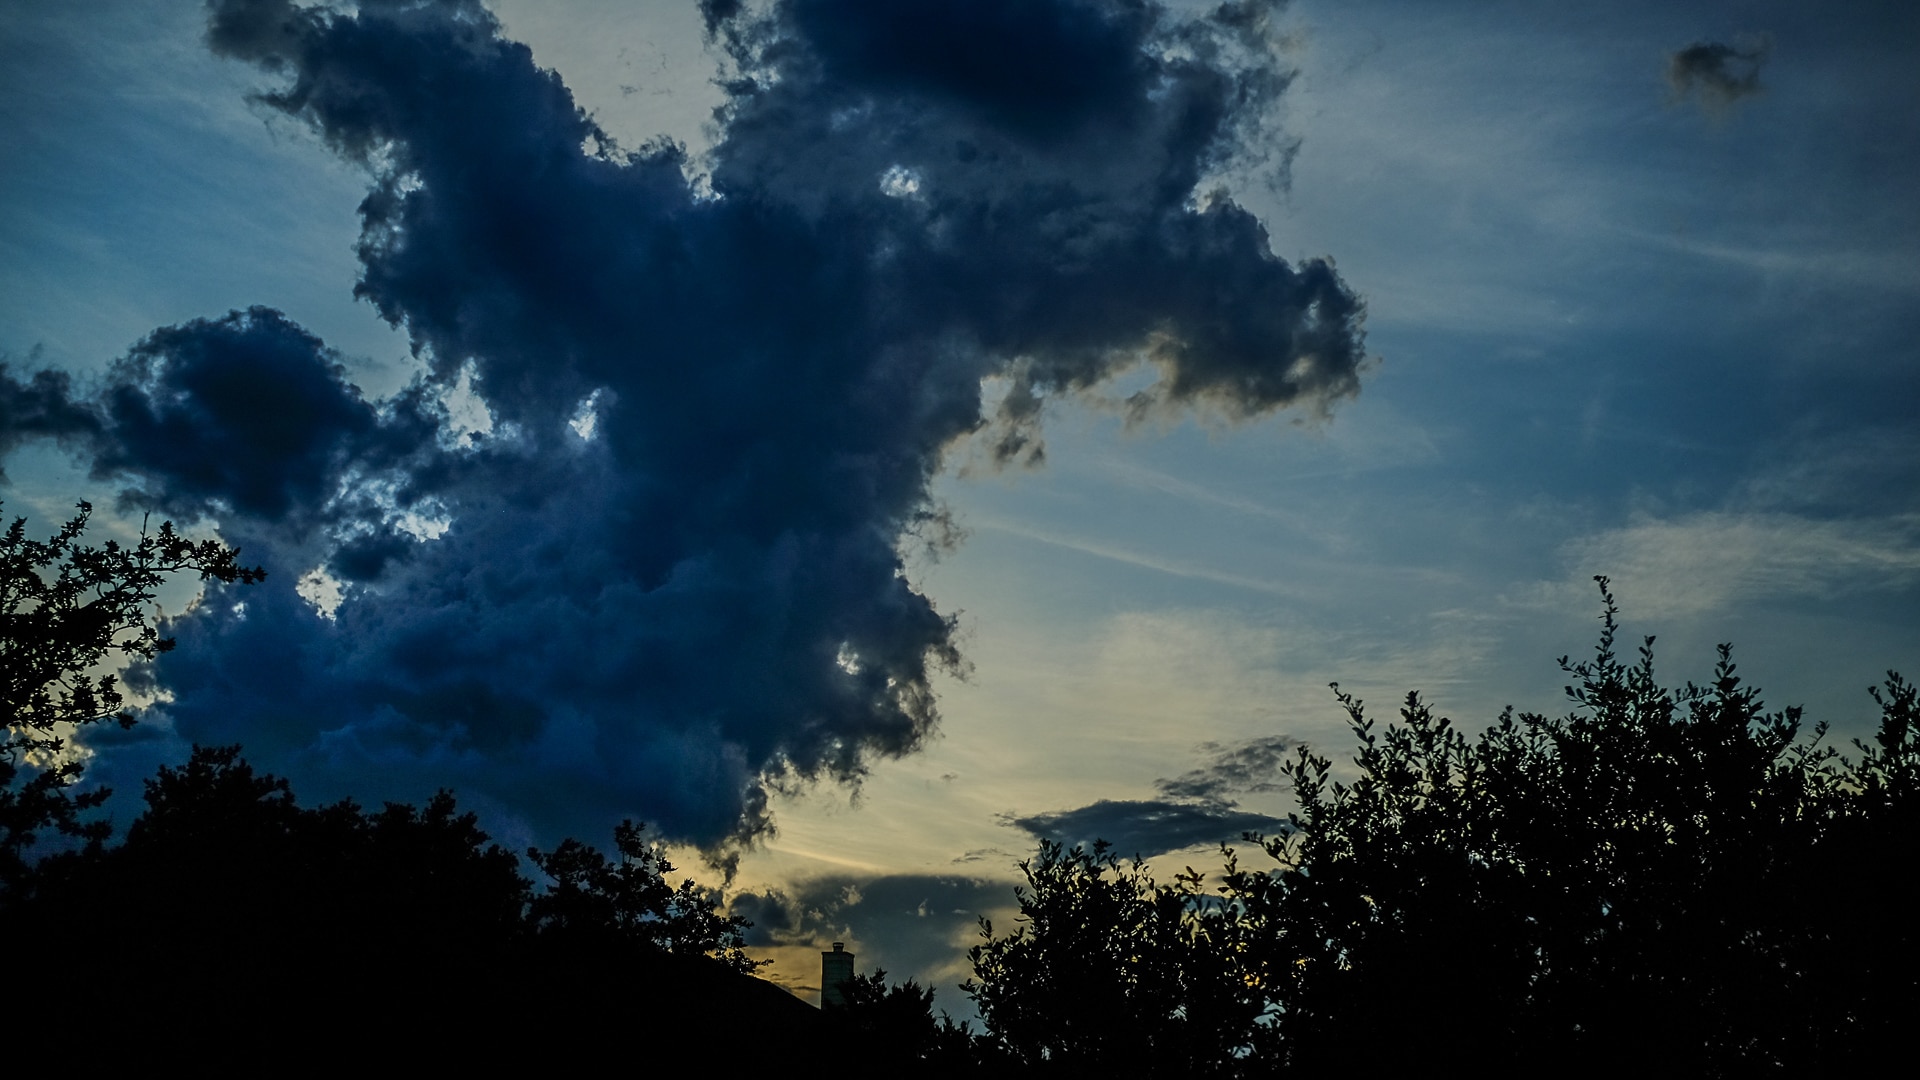
“Relax Spot” Cedar Park, 2019
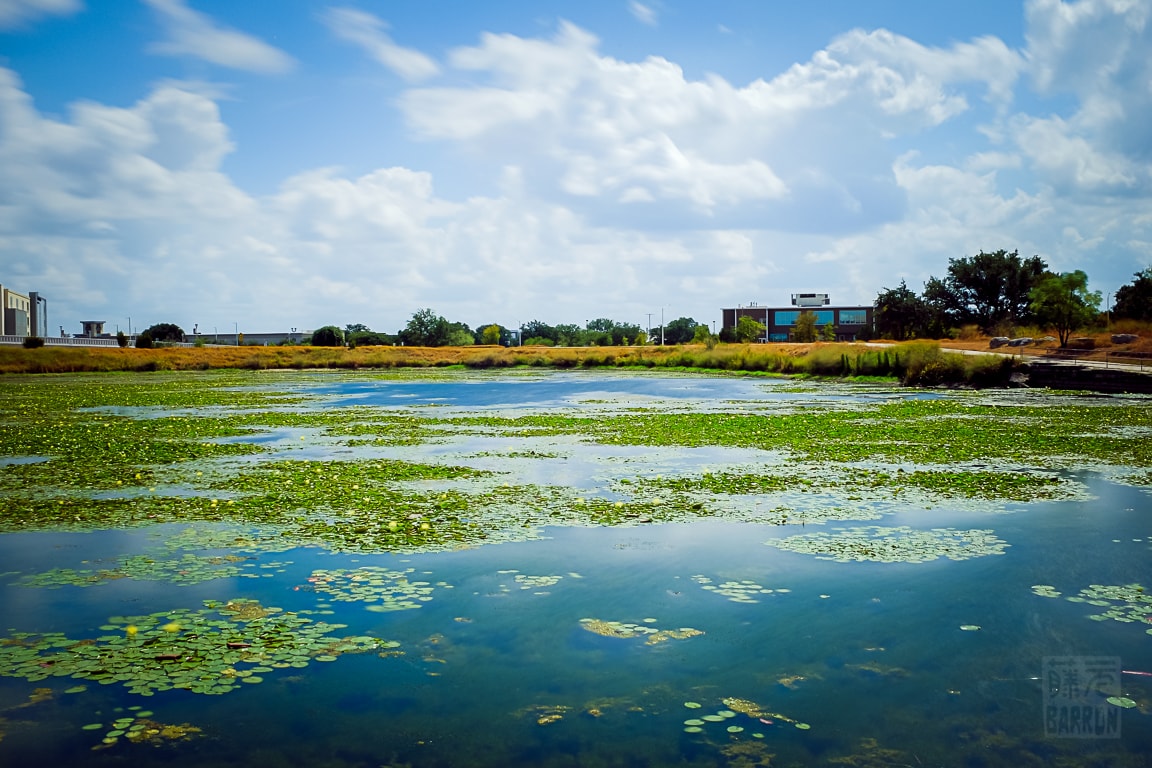
When setting up for the lily pad sequence, I was entertained by a small catfish that was enjoying the afternoon as well. Can you spot it in the time-lapse video? 😊
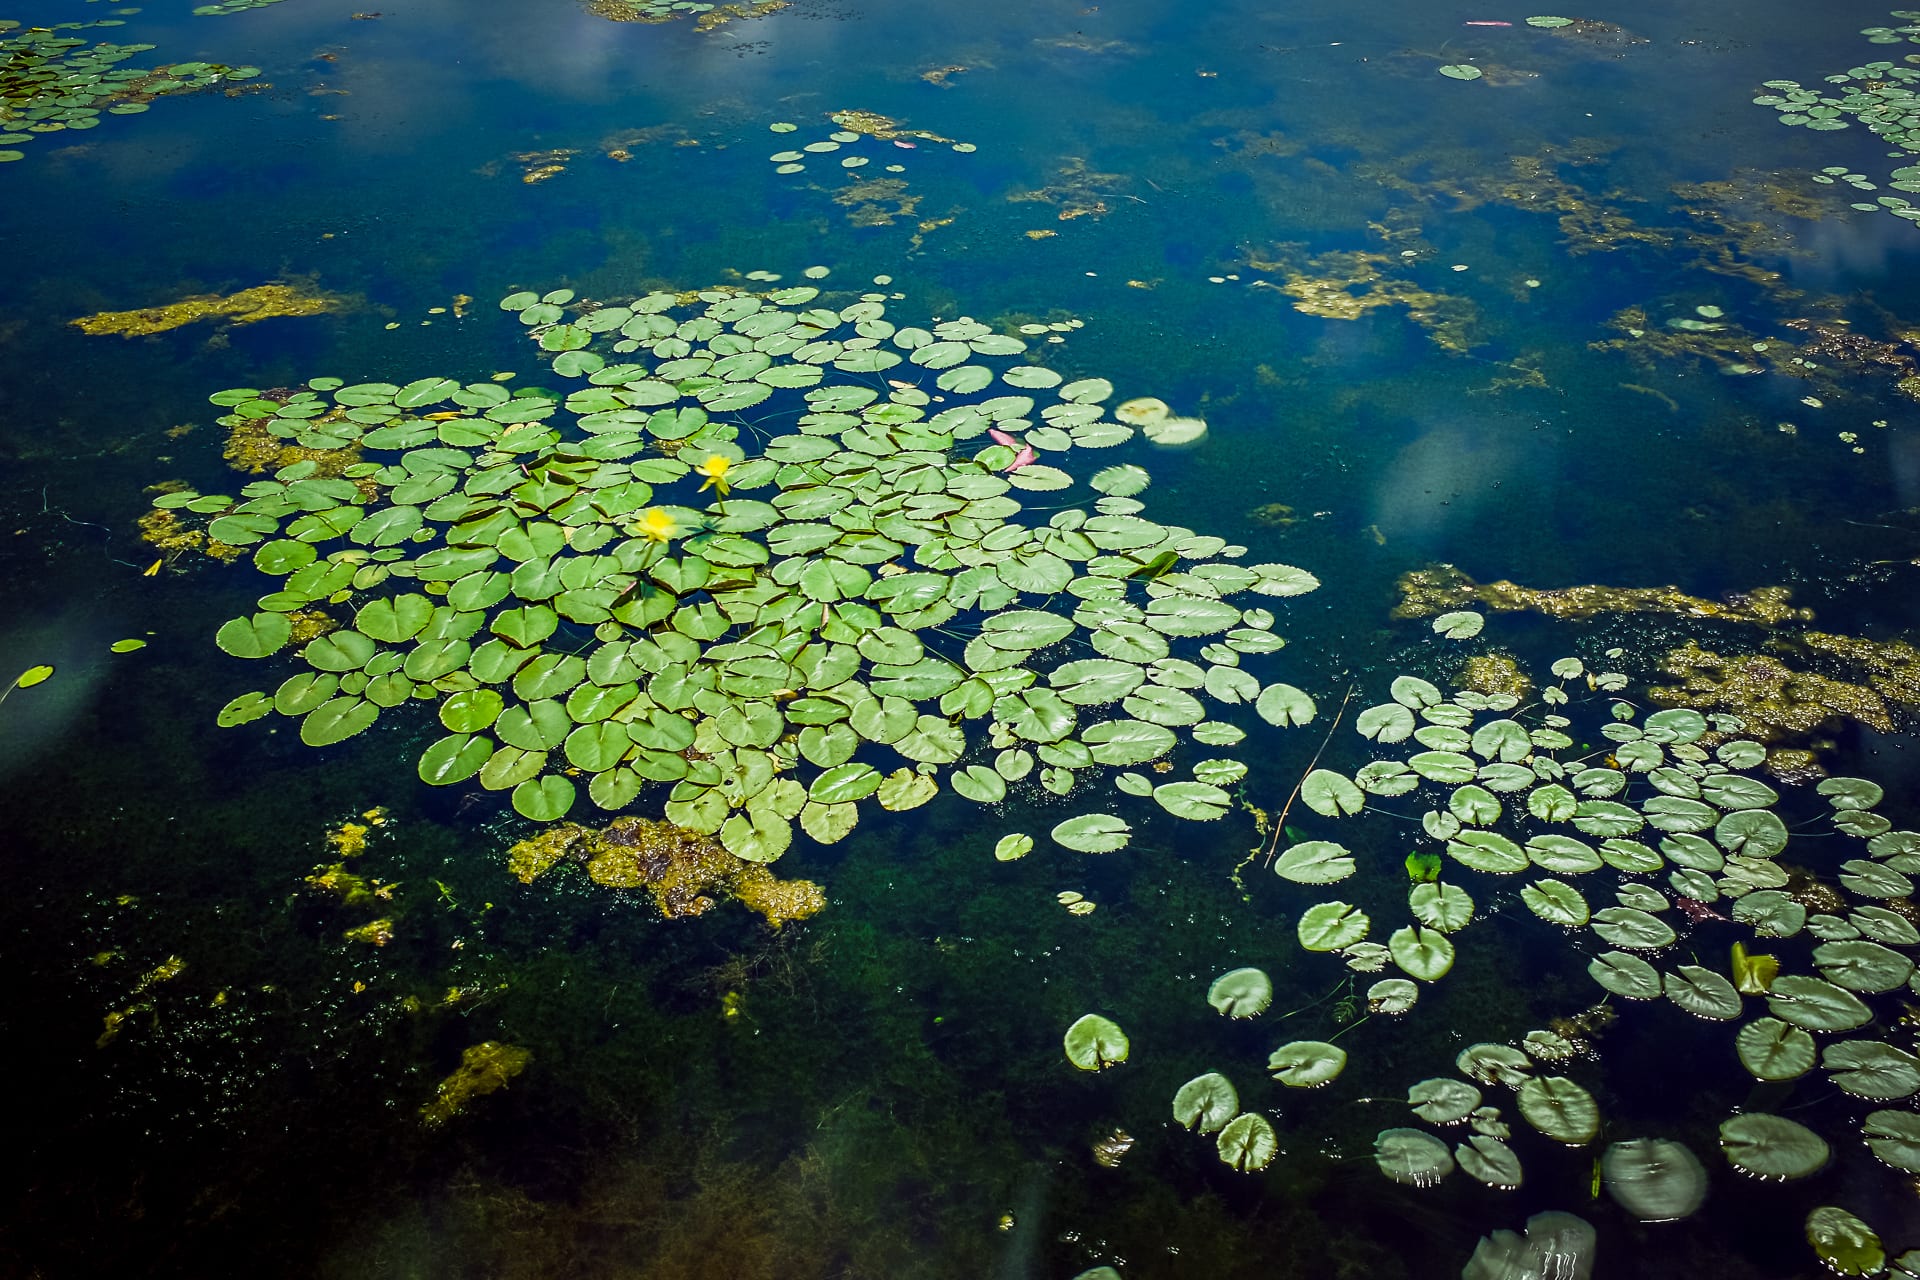
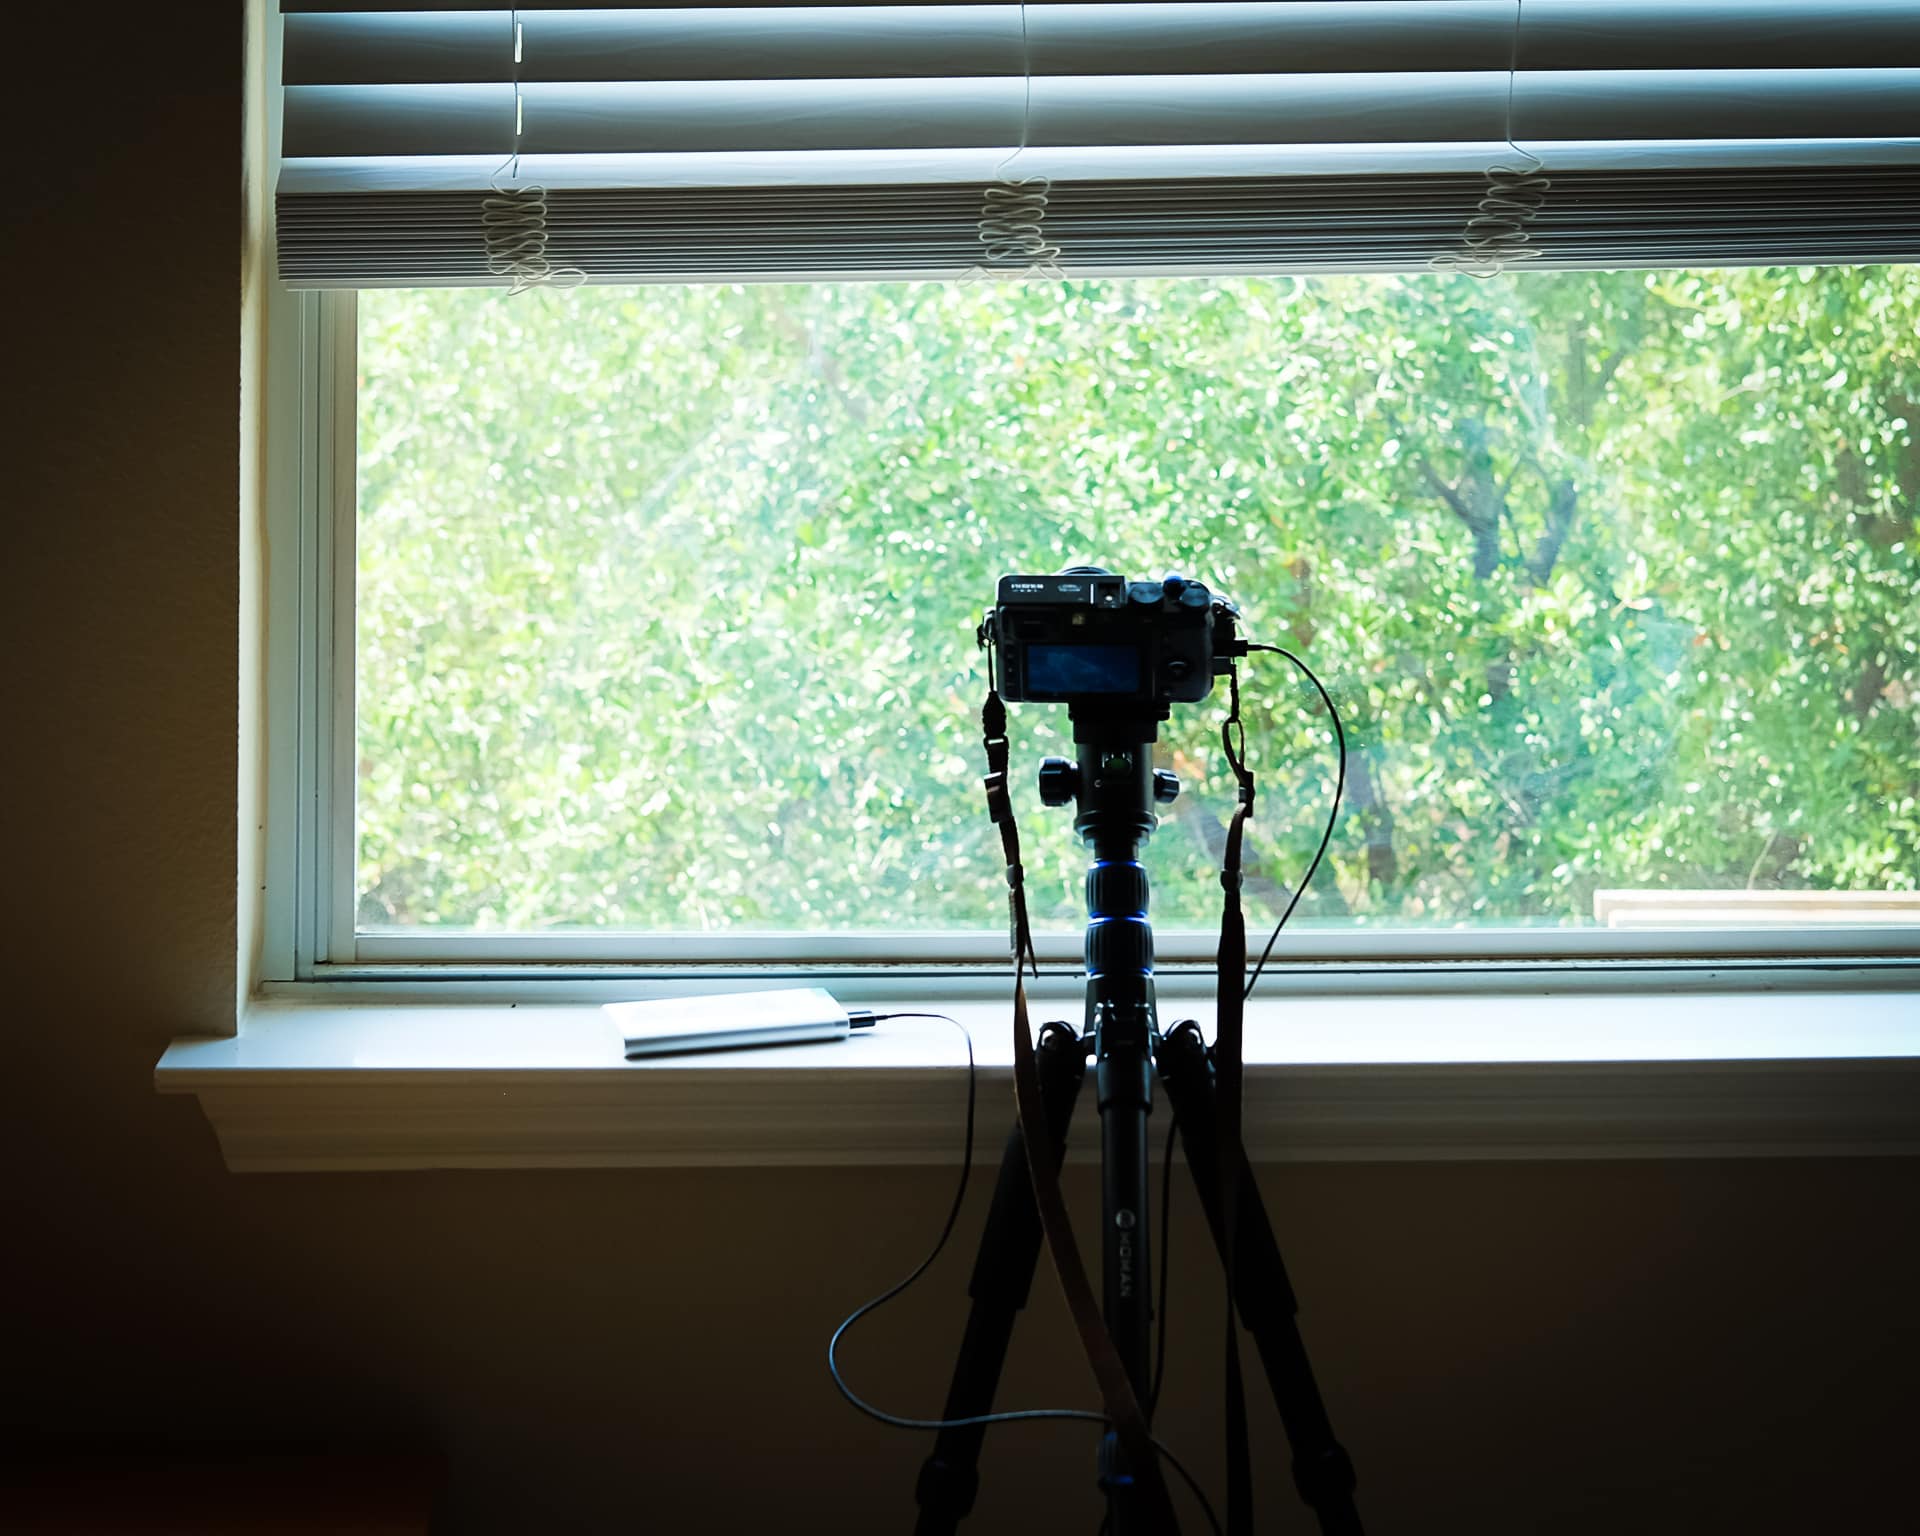
“Lily Pads” Cedar Park, 2019
In addition to the regular camera gear, I think it’s useful to bring a fold-able chair, hat, sunscreen, and water. And don’t forget the lens hood! (I forgot mine).
It was fun to go outside to take the time-lapse photos and I’m looking forward to doing more of them!
またね~