“Window to Summer” USA. Texas. Cedar Park. 2016.
こんばんは!Hello! How’s it going? I hope you had a nice Sunday.
Today is a special day… not because it is Super Bowl Sunday, but it happens to be my wife’s birthday! We did a few things to celebrate: brunch at a popular restaurant, washing and tidying up her car, and I cooked a dinner that she requested. My wife also had a long nap in the afternoon, which I think is well-earned!
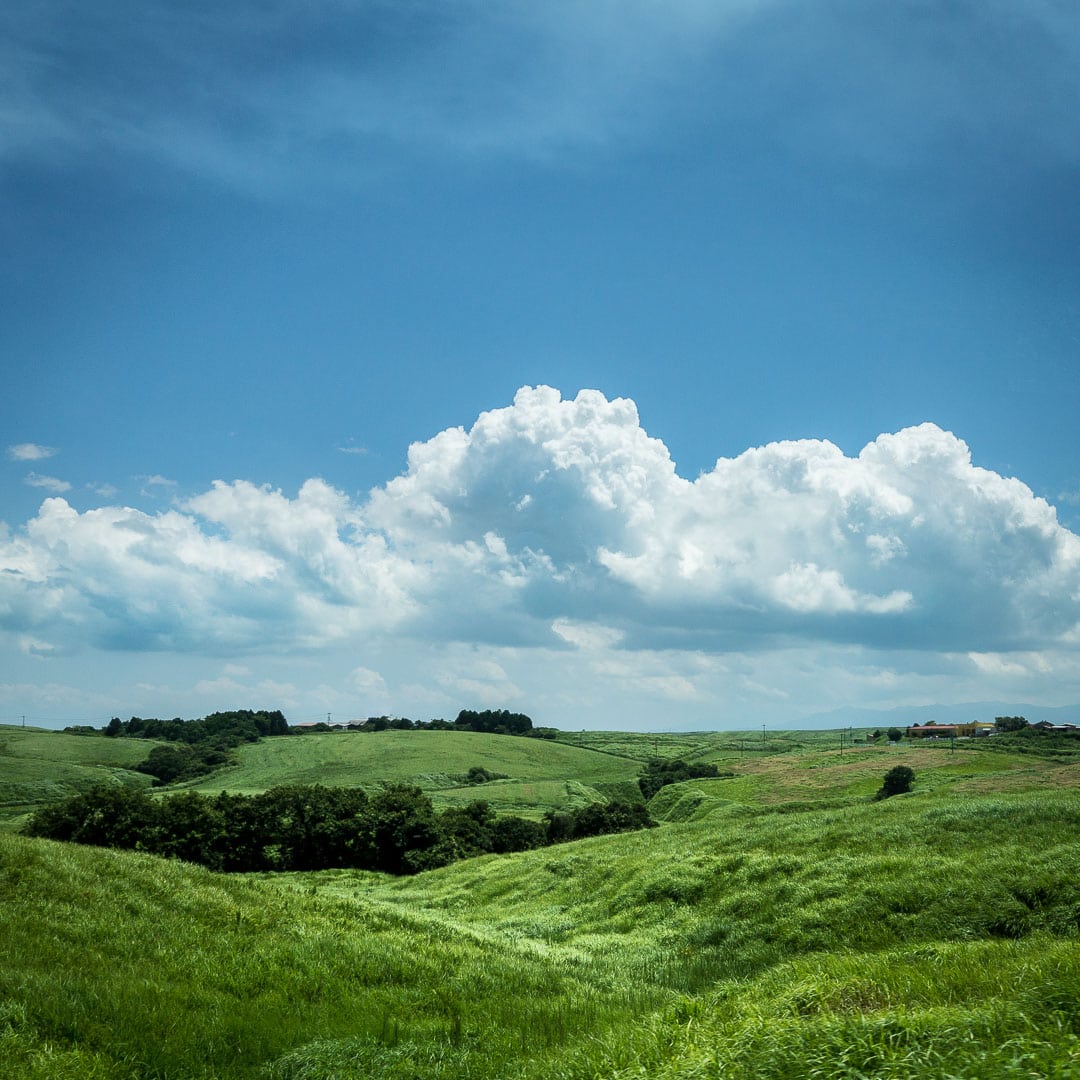
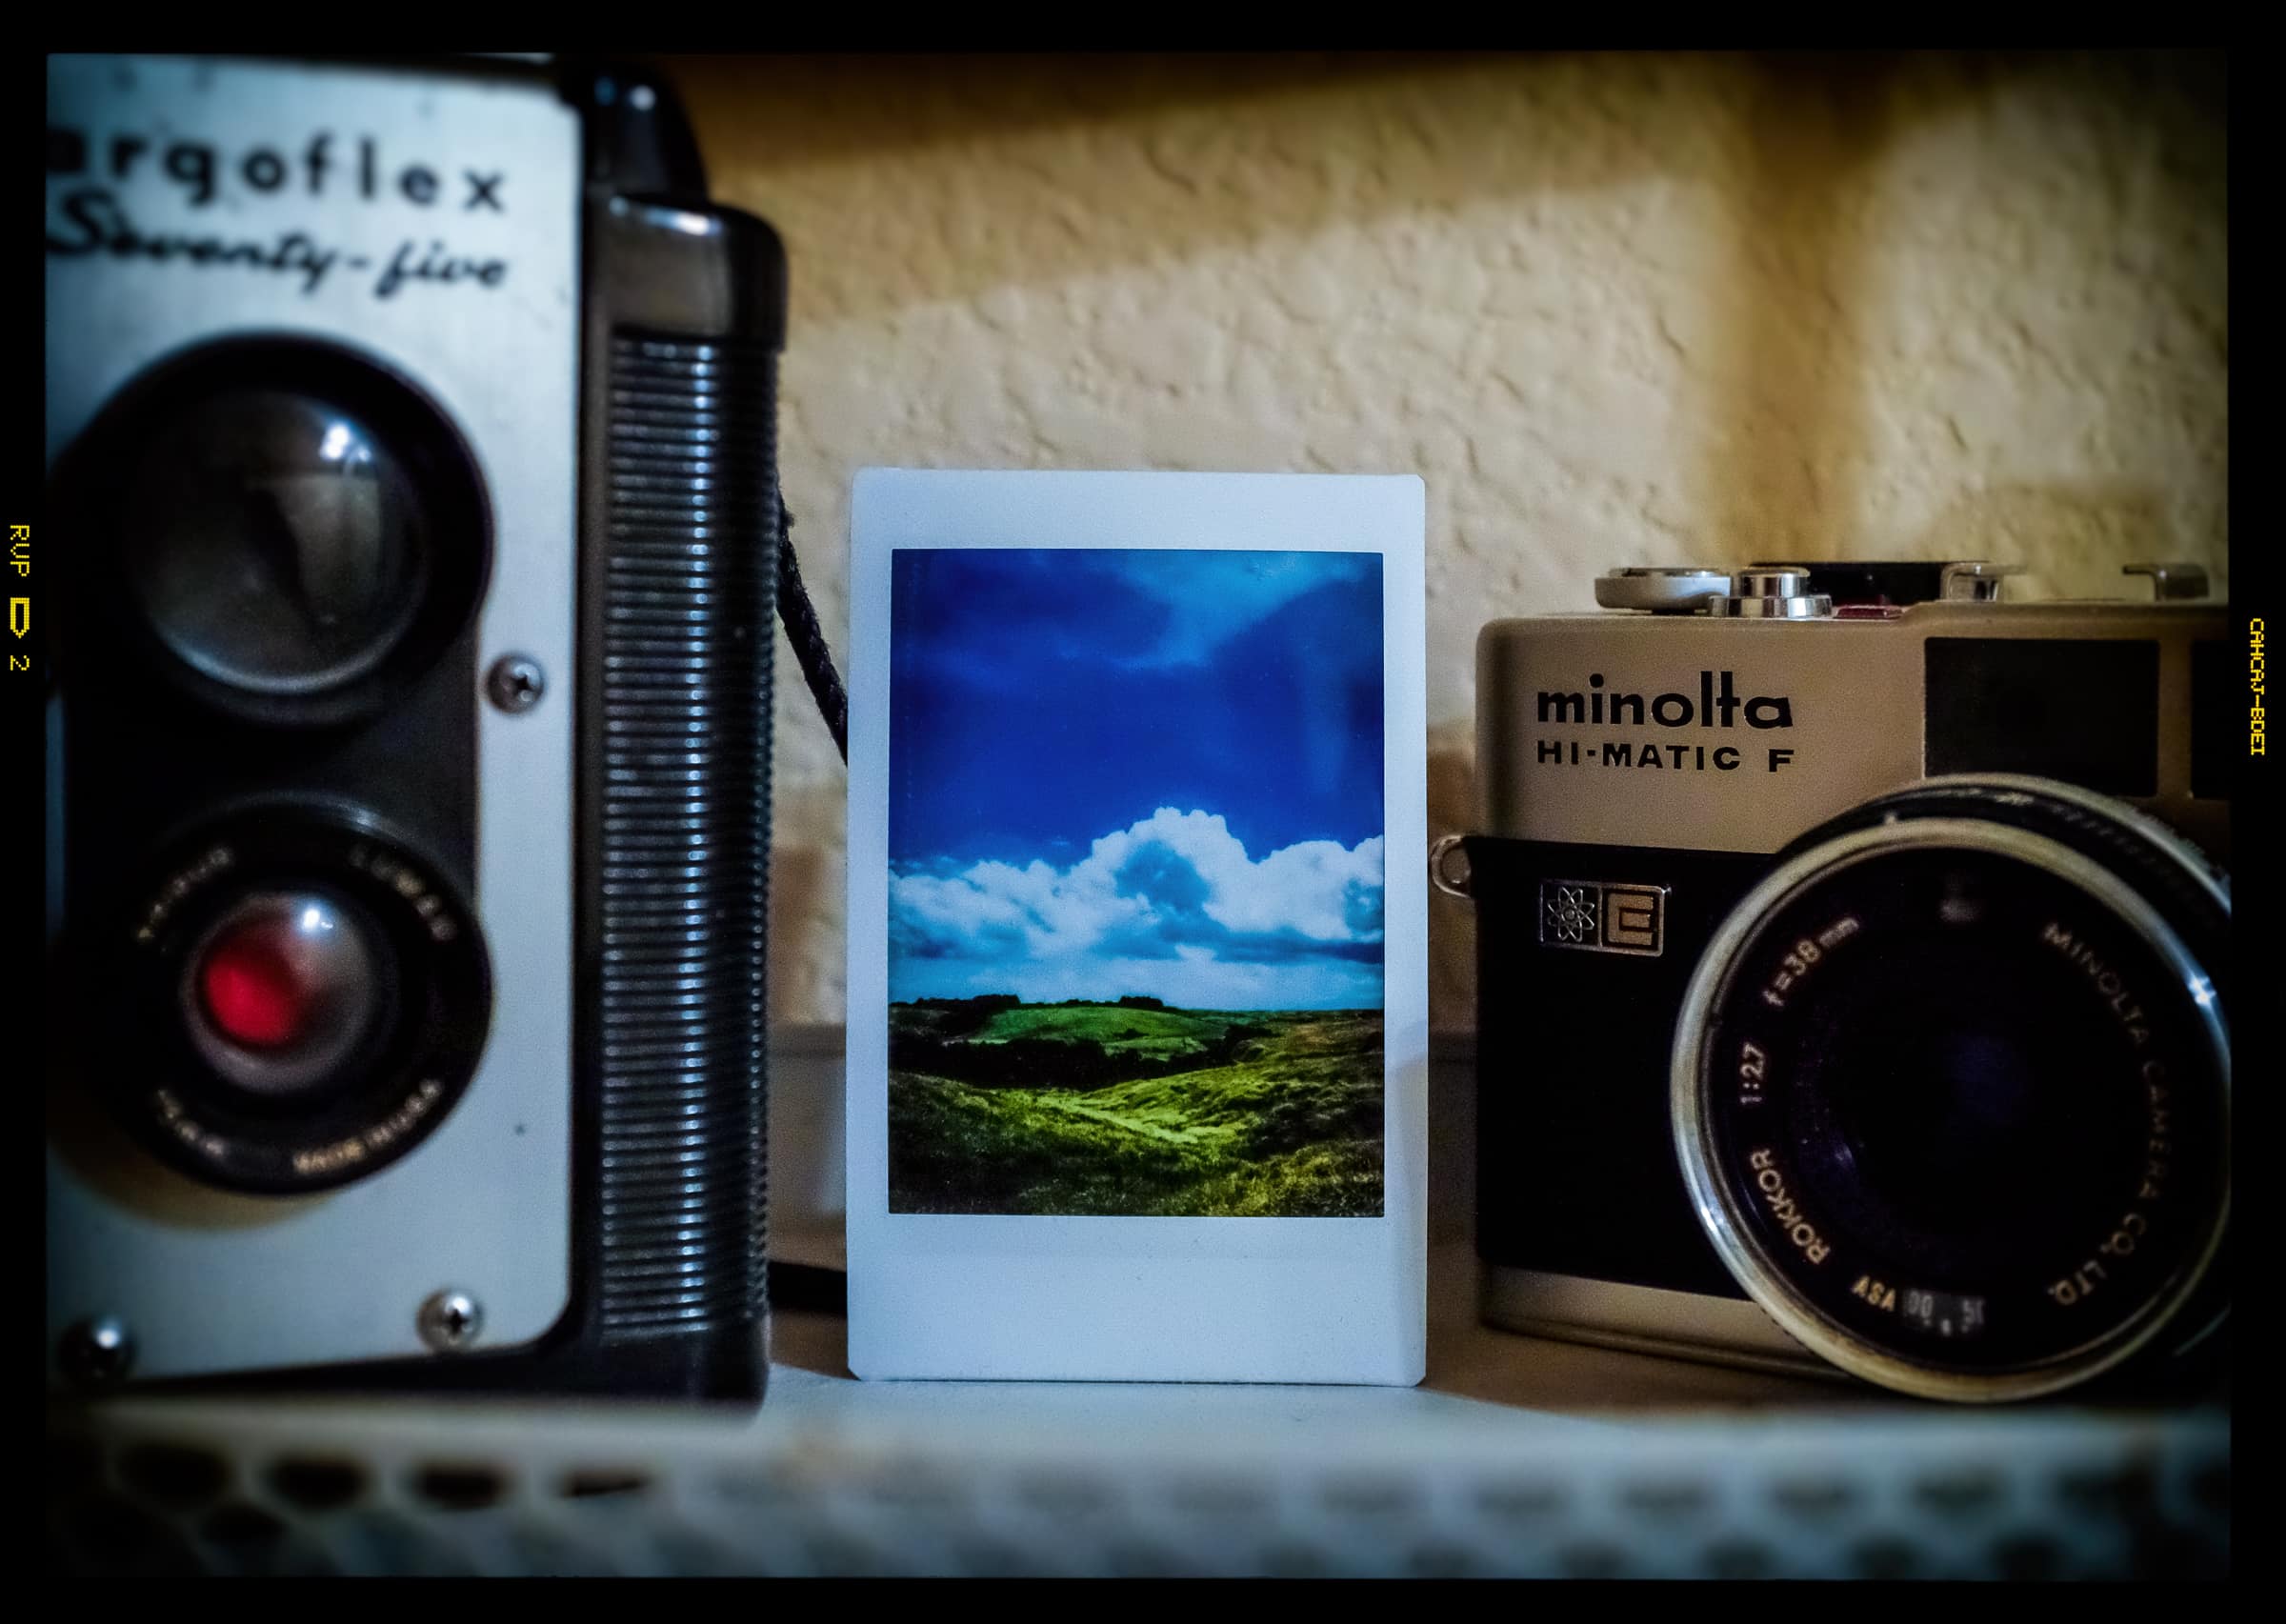
Today’s photo is of a couple of vintage cameras and an Instax print. I really like this photo because the print looks like a window to another place and another season. The landscape is Kyushu, Japan in summer. I took it when we were on a special tour of the island. I’ve been to Japan many times (my wife is from Osaka) and when we visit, we sometimes go on tours of areas of the country we haven’t been to as a family. This tour we took was during the summer of 2014 and was so much fun! I loved it. I can’t wait to make more pleasant memories while traveling the world.
As I mentioned in another post, this coming week is going to be a busy one! I’m going to get some rest… the football game is almost over (I can hear it downstairs) but I am going to turn in.
Take care! おやすみなさい!
-B ![]()